This is the second lesson in the Getting Started series. In this lesson, you will add Locations to Supplier, Contacts to Location, and interact with them through dynamically generated pages. You will also explore your app's API through API Explorer.
Working with an App Manager
App Managers automatically stop after two hours of inactivity. If you completed the first lesson more than two hours ago, you will see the Start App Manager icon button in the toolbar. Click it to restart your App Manager:
As your App Manager starts, messages will be displayed in the toolbar:
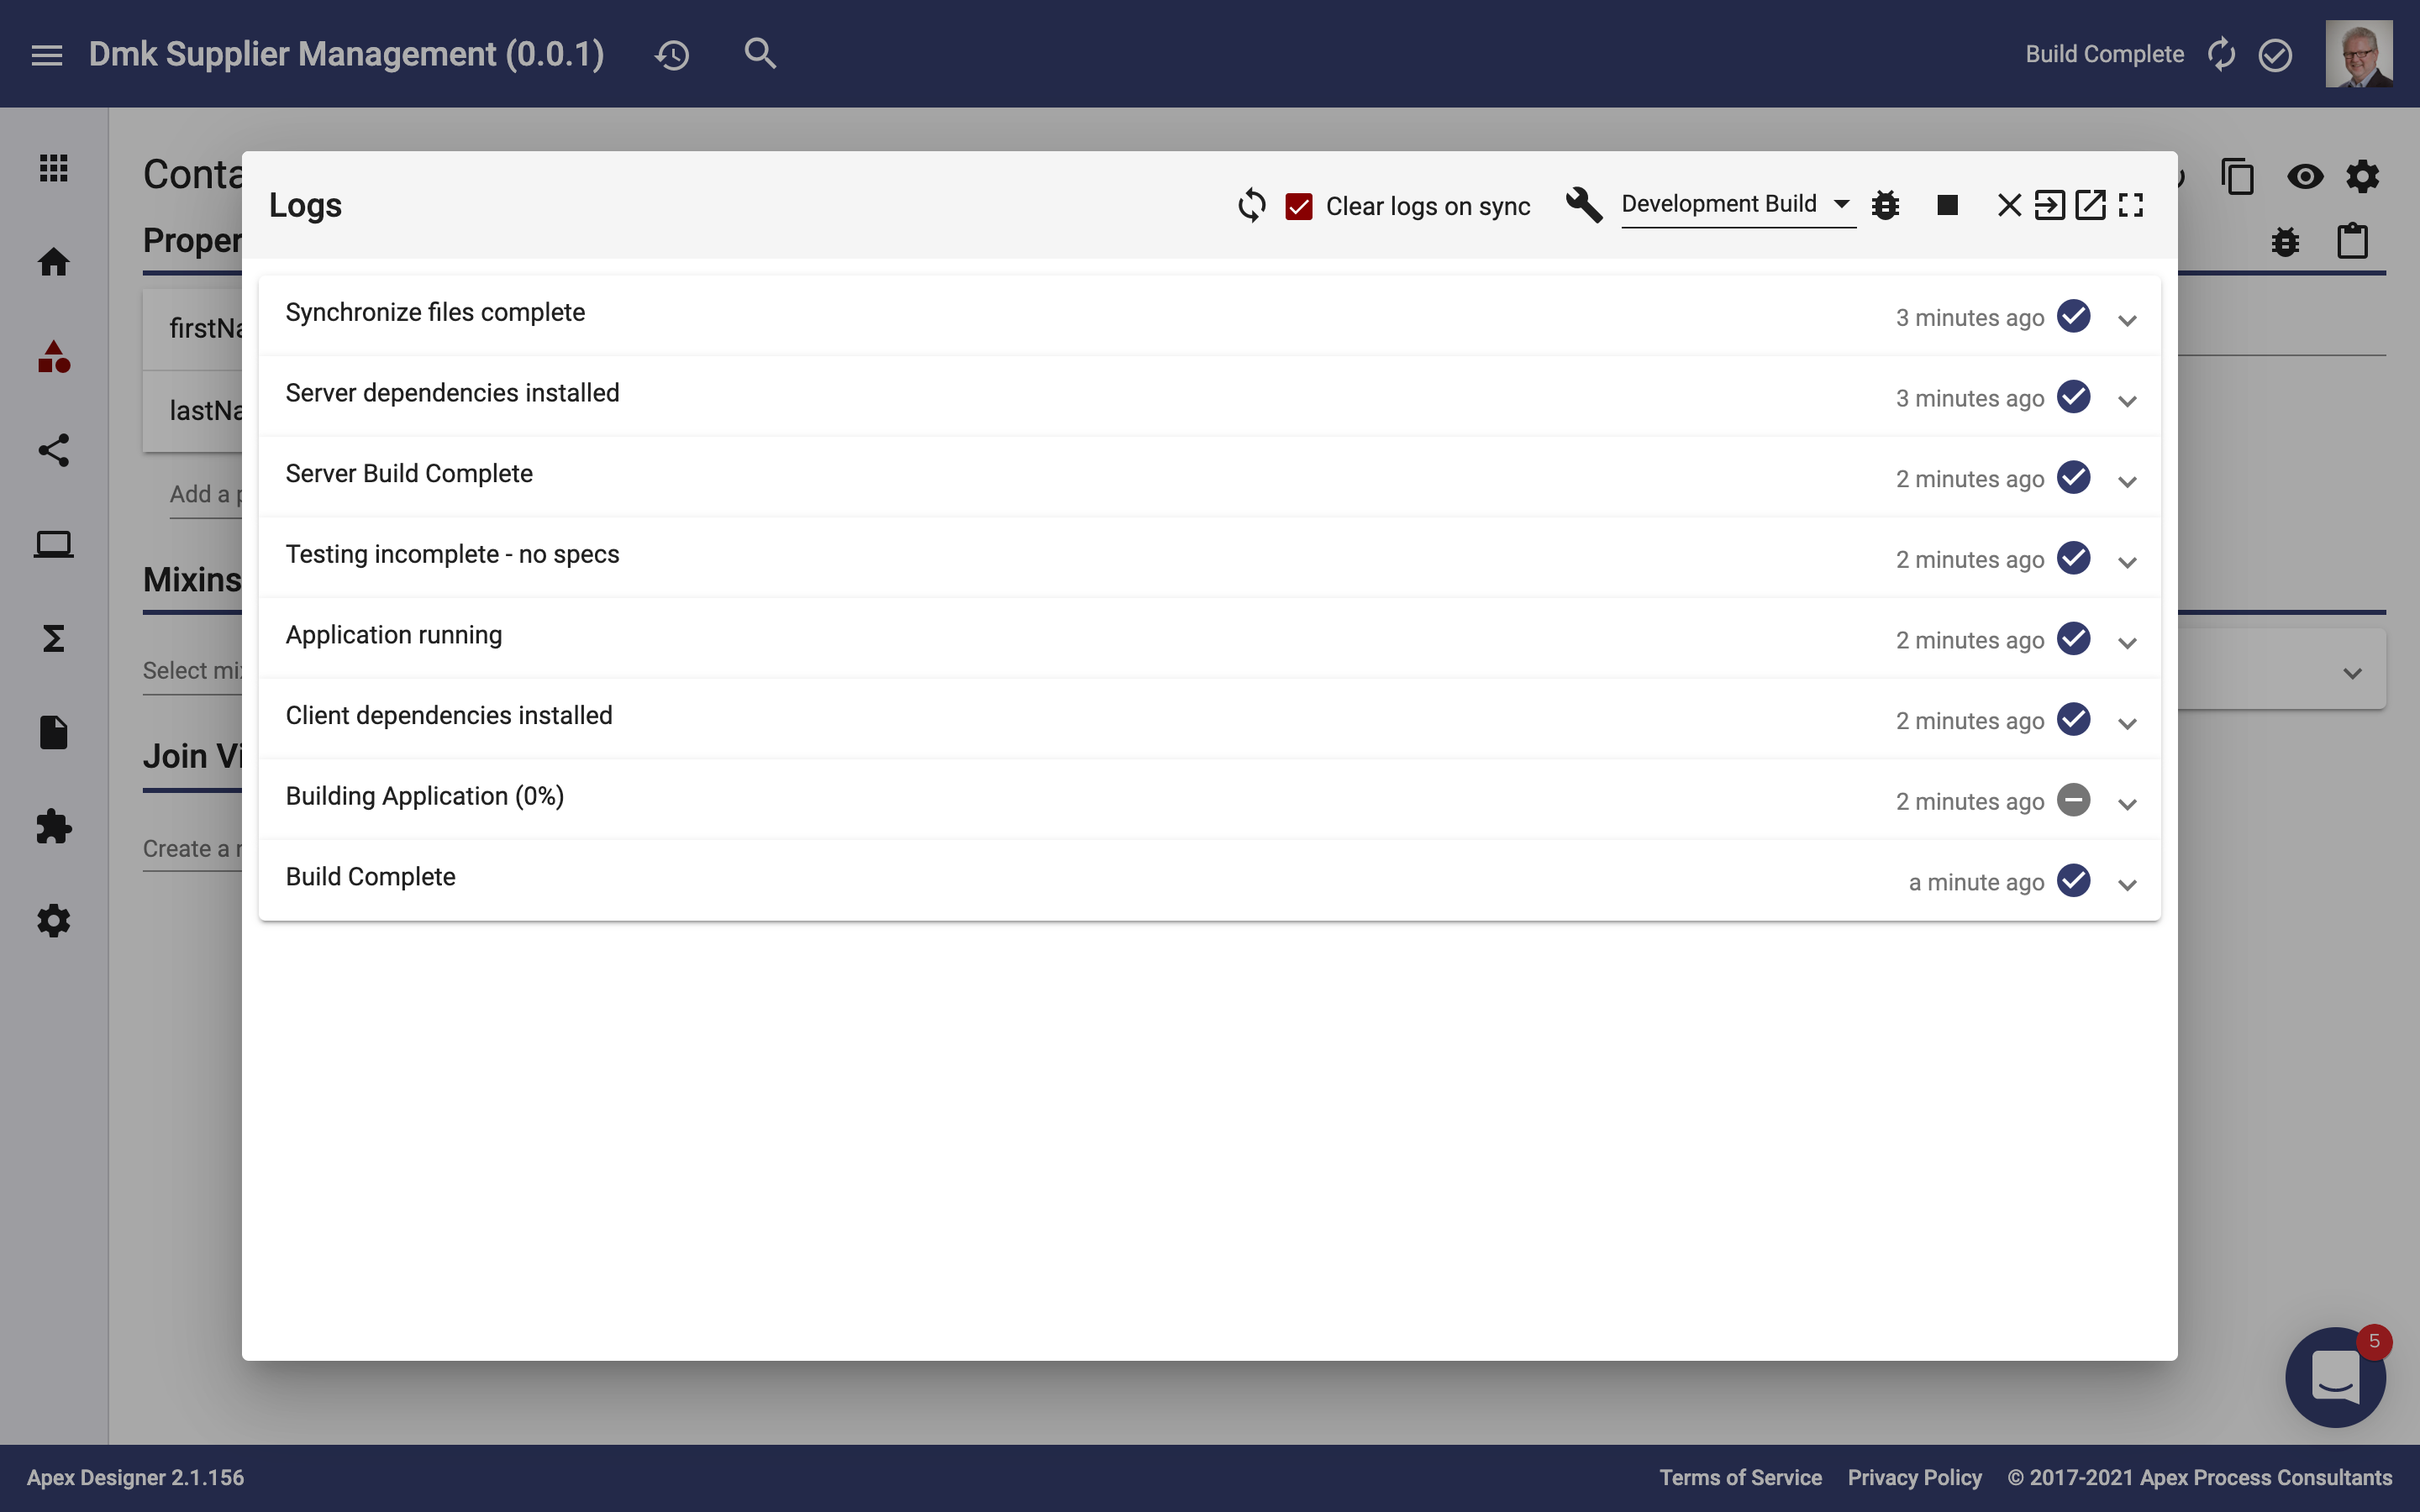
You can click the messages at any time to see the details of the build and run process:
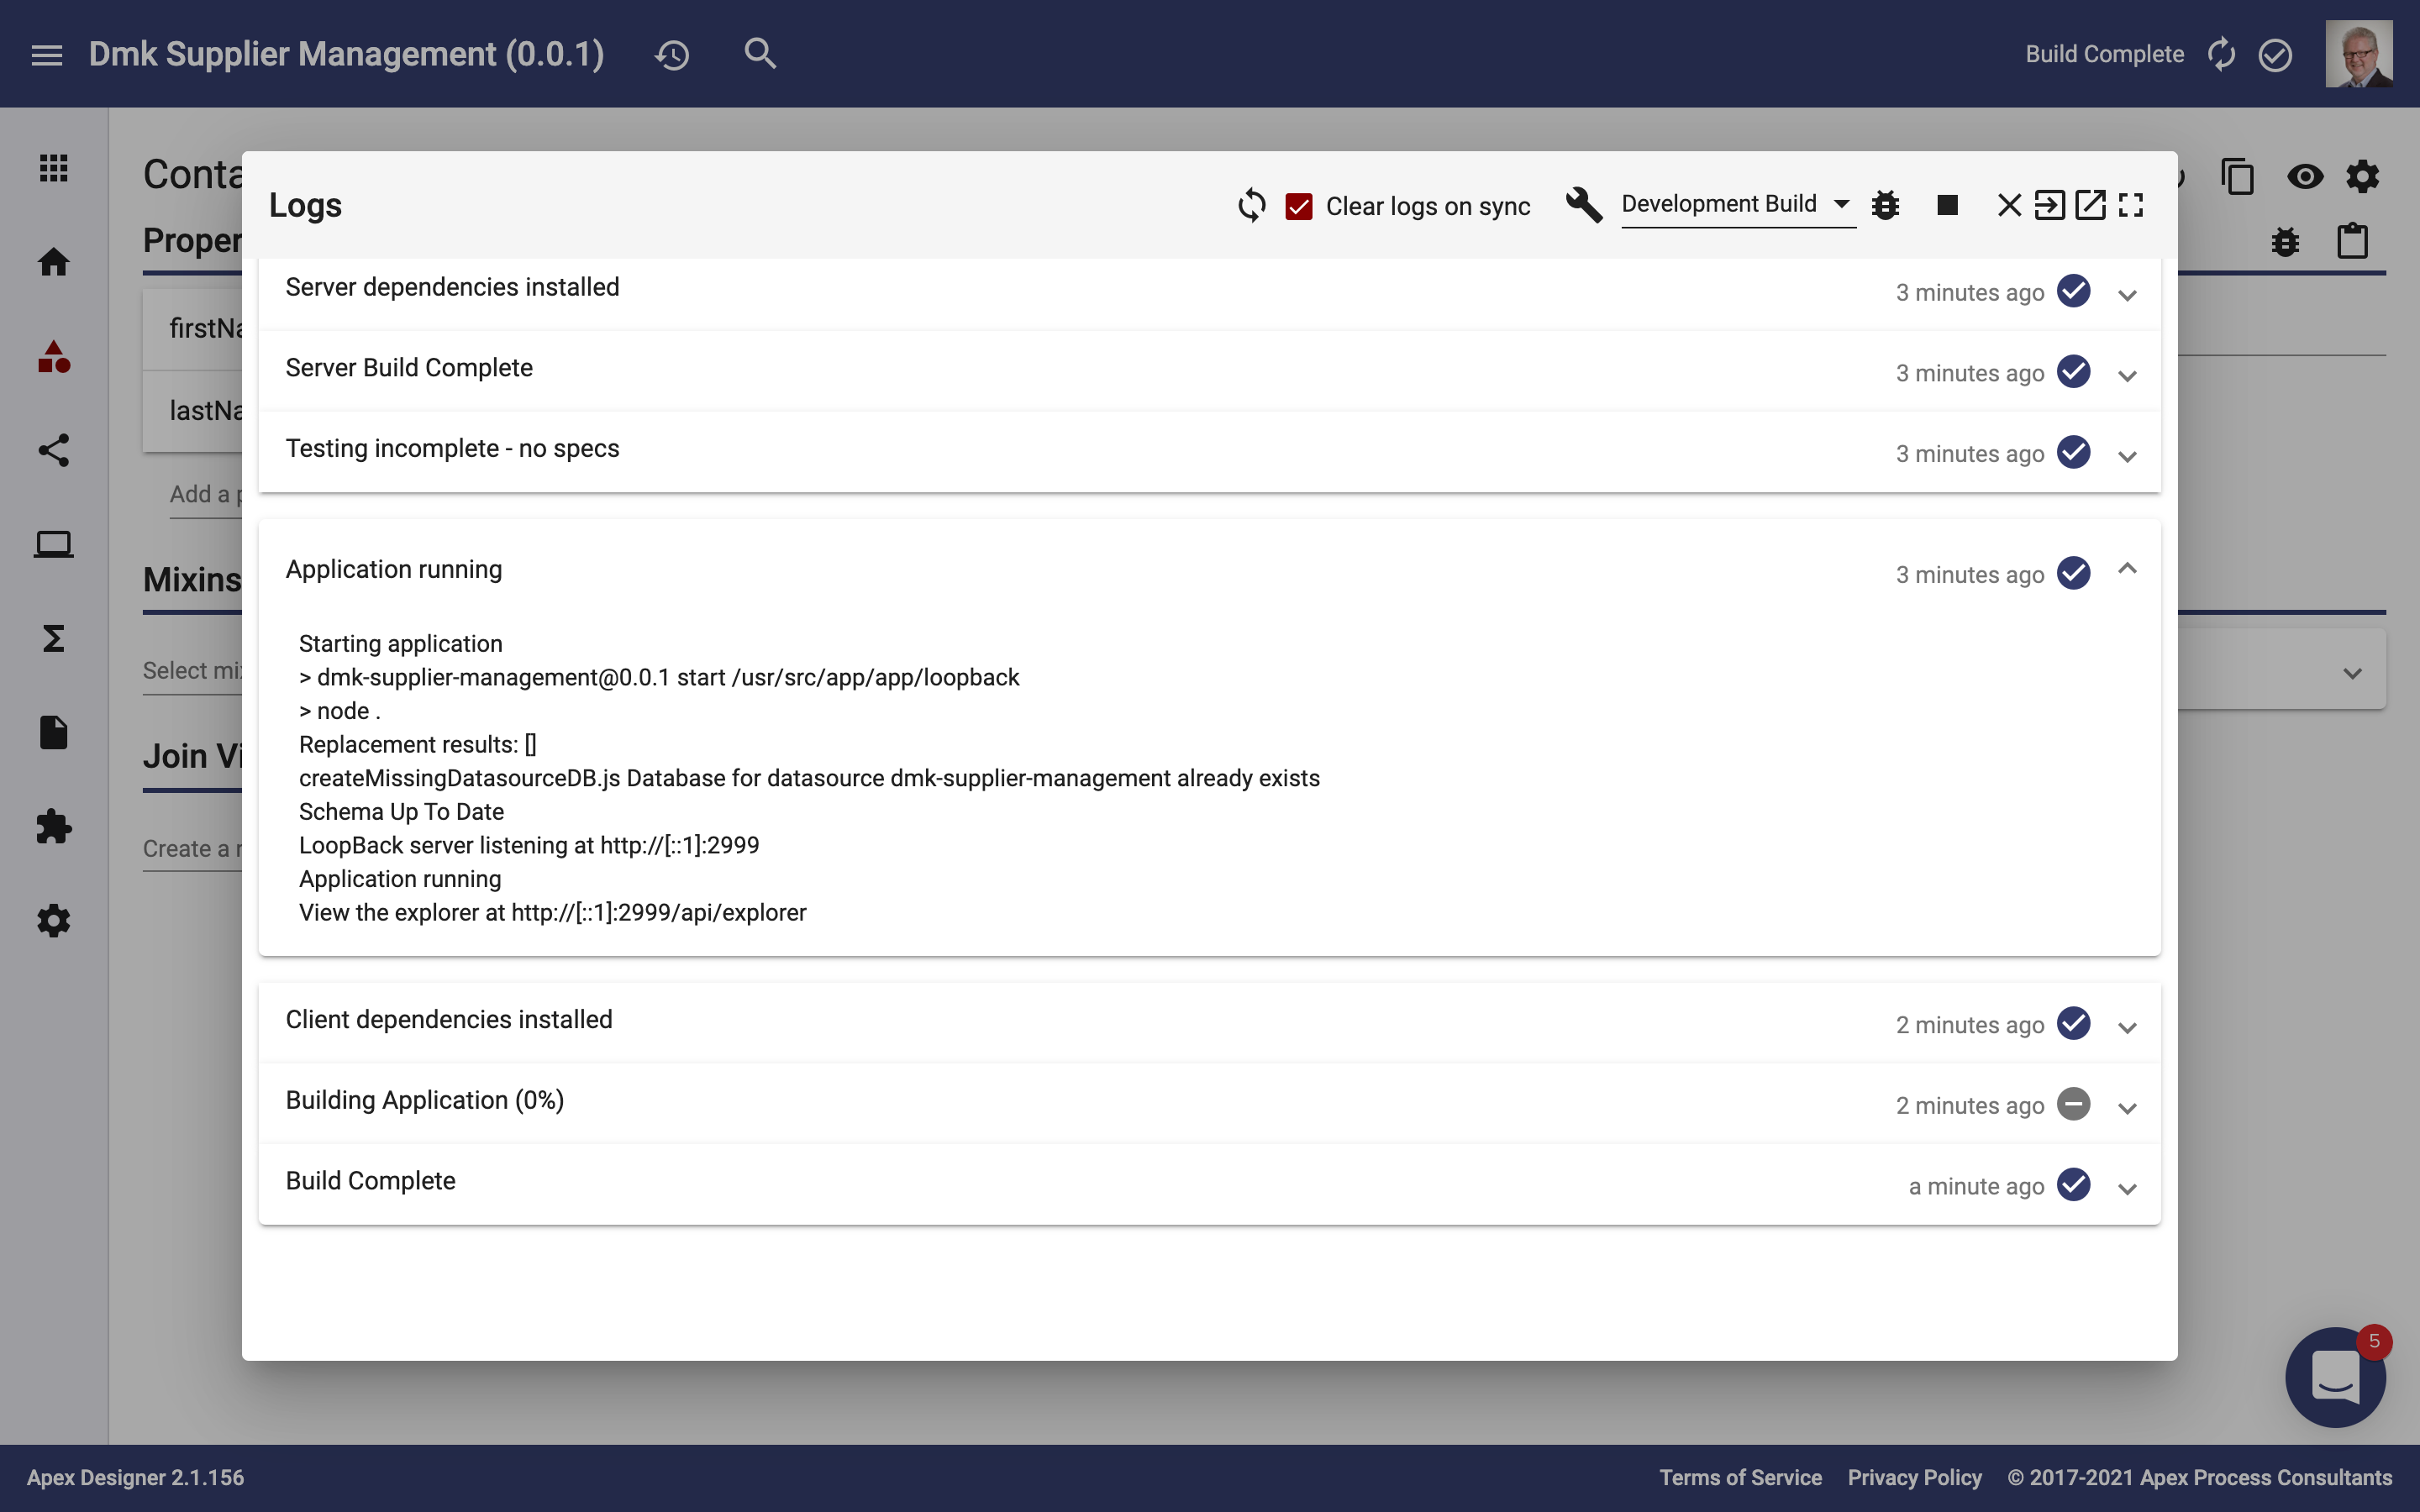
You can open any of the Log entry expansion panels to view the details:
Add Locations to Supplier
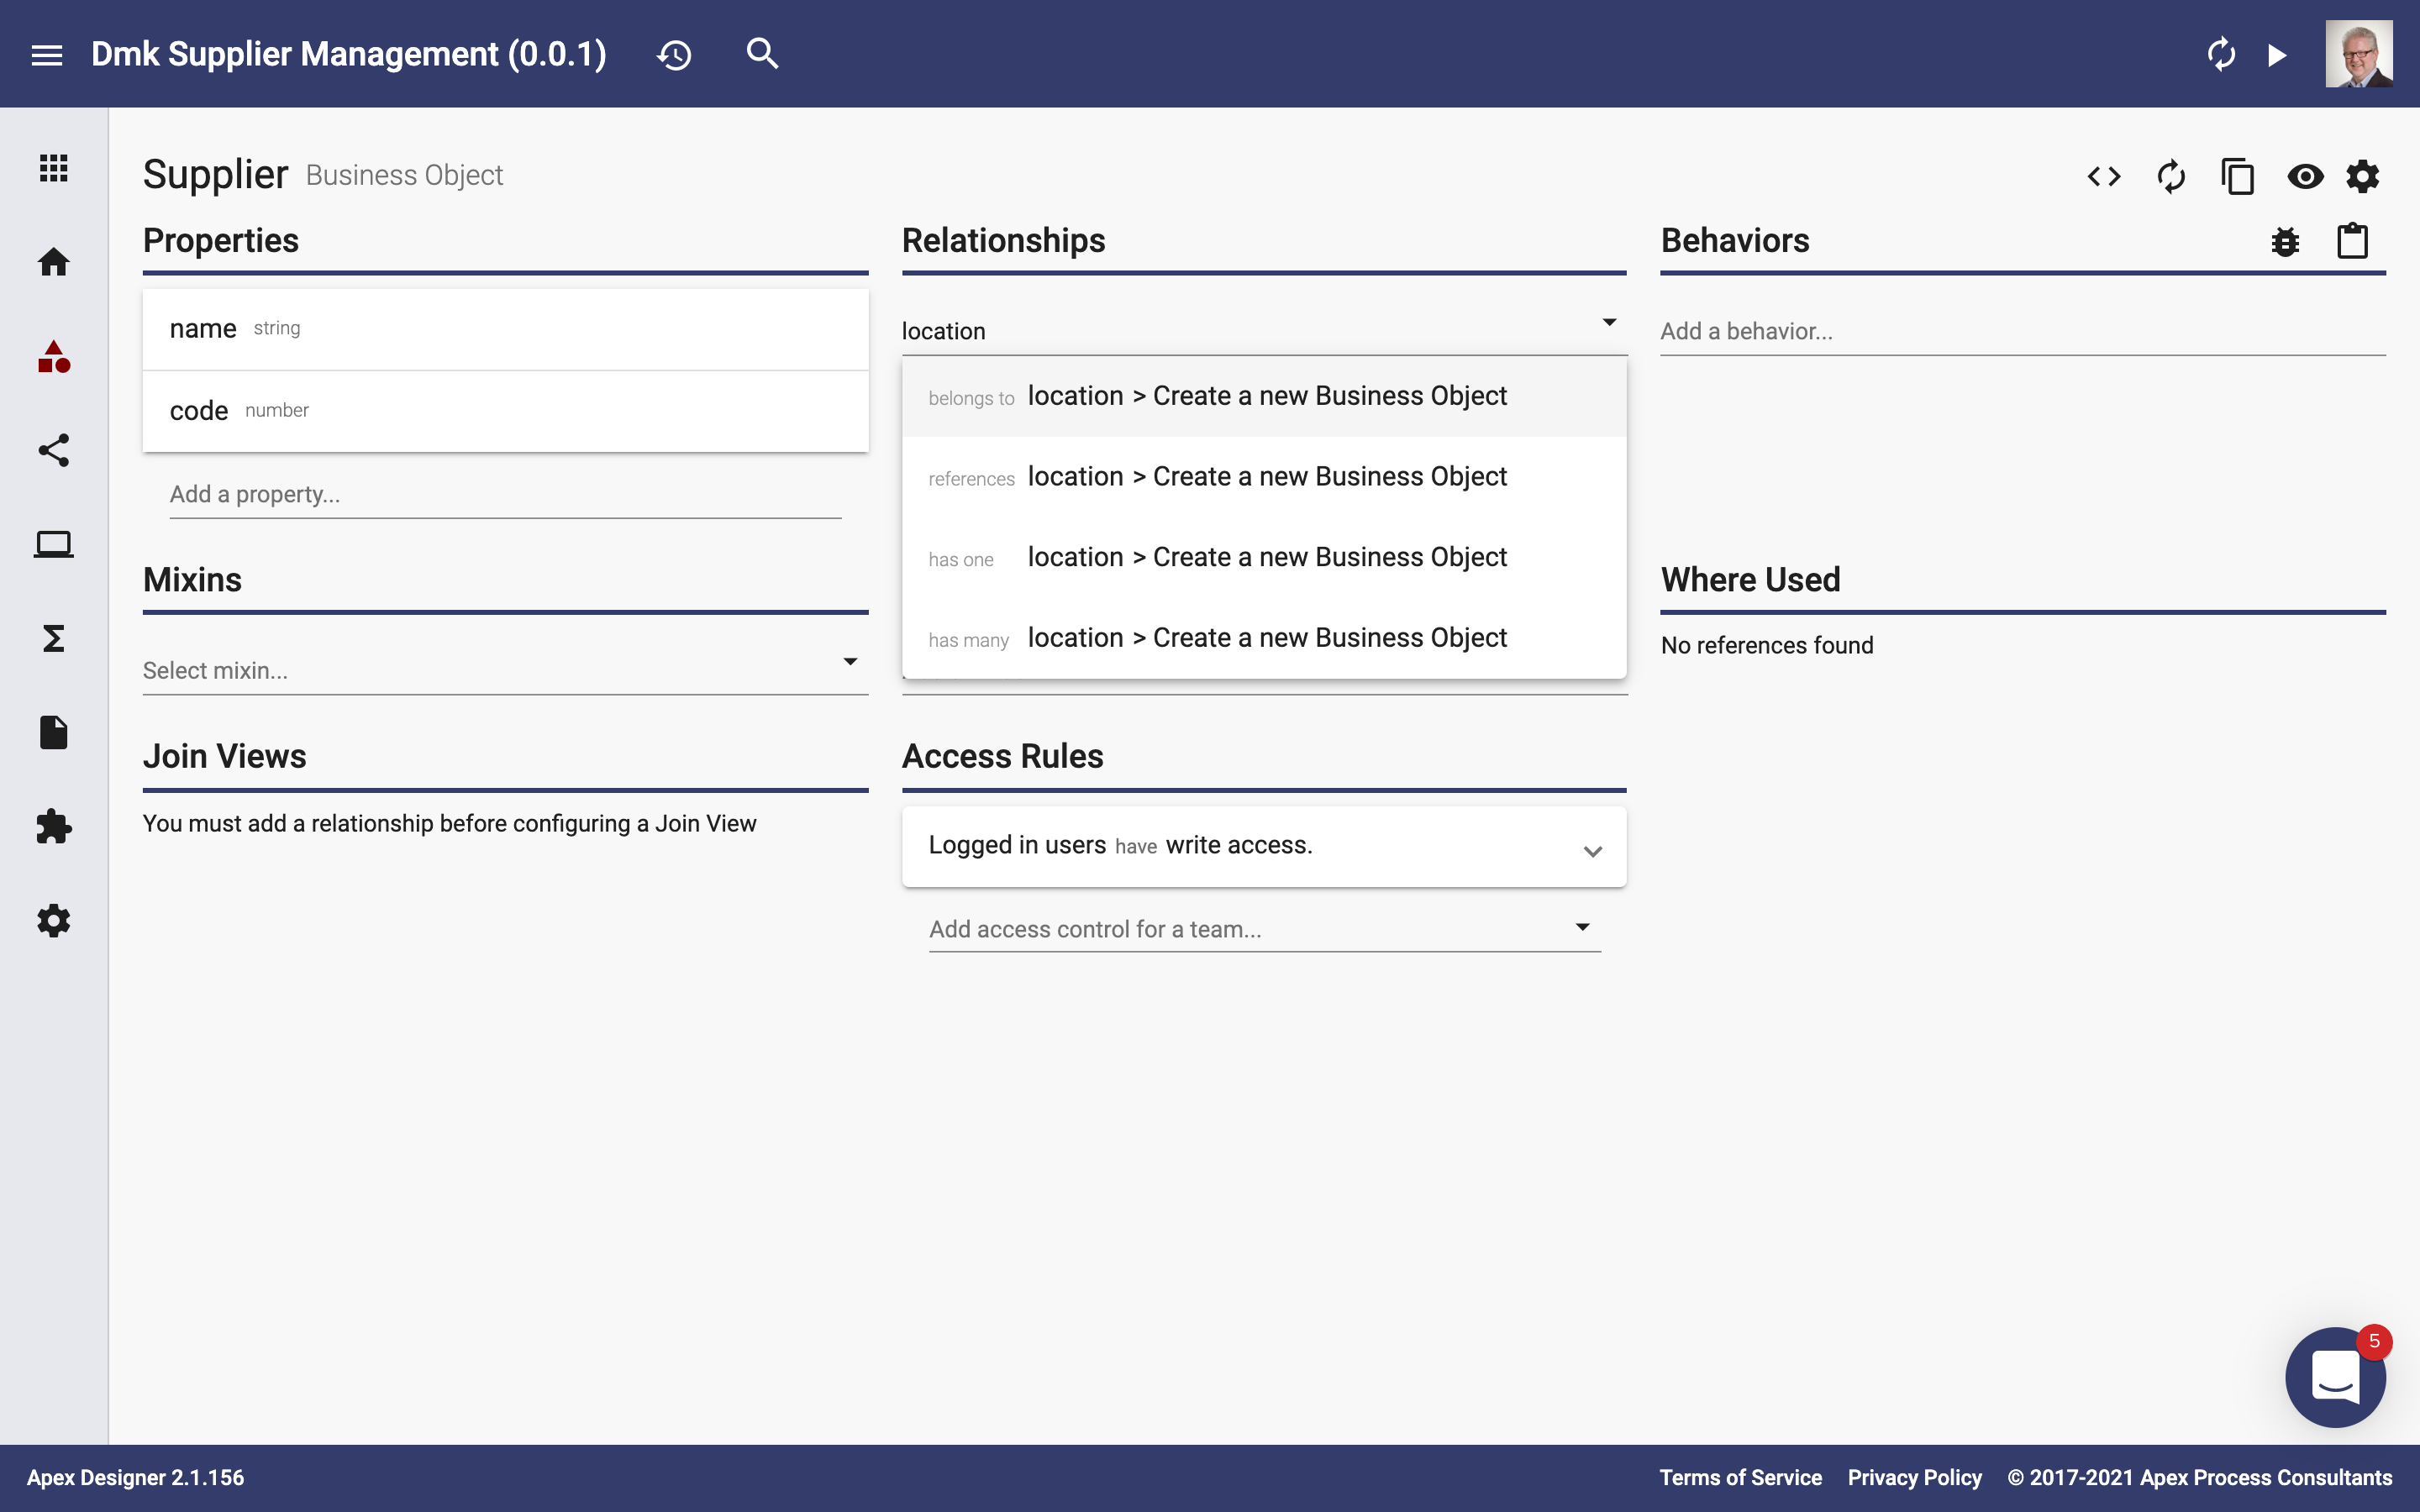
Open the Supplier business object and enter "location" in the "Add a relationship..." field:
Notice that there are several types of relationships presented. You can learn more about relationship types in Business Object Relationships.
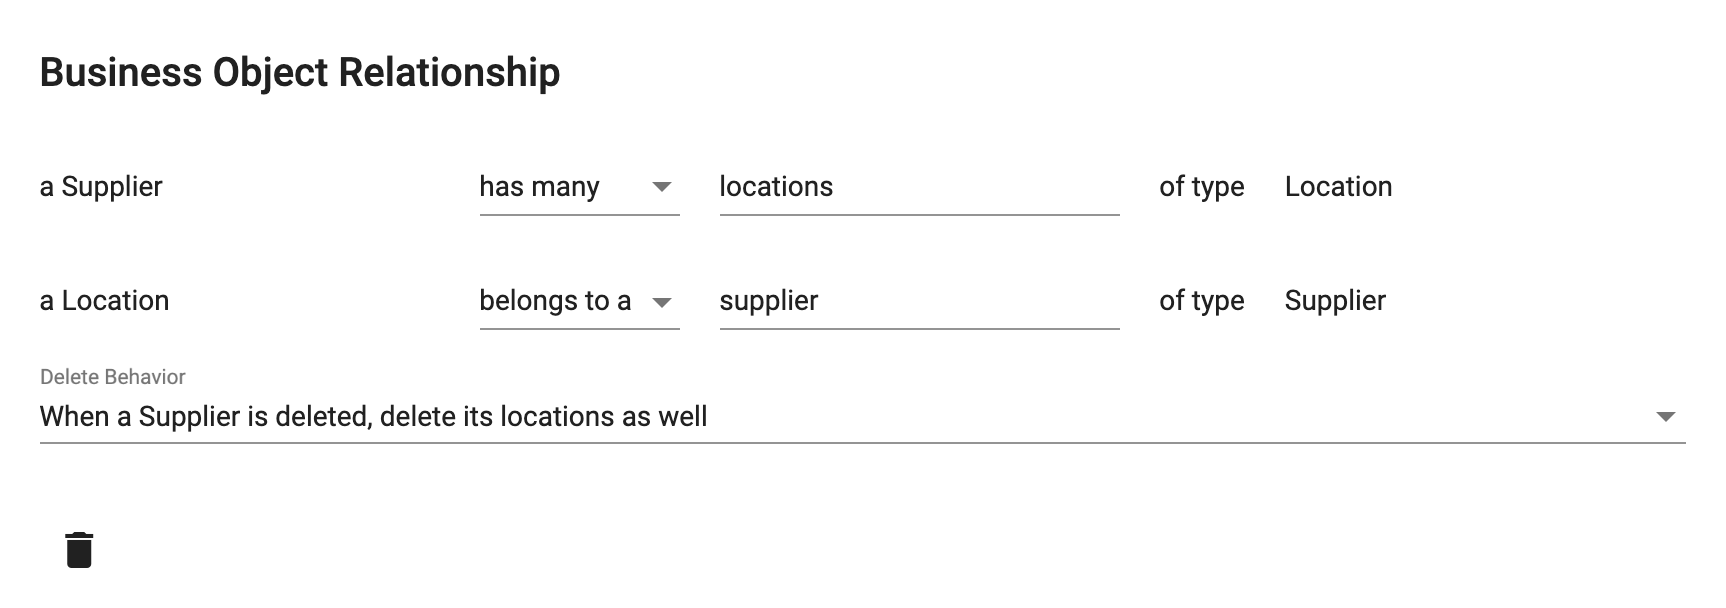
Select "has many" to create the business object and relate it to Supplier. The Business Object Relationship dialog is opened with details of the relationship:
The dialog shows the relationship name from parent to child and from child to parent. It also shows what should happen when a Supplier is deleted.
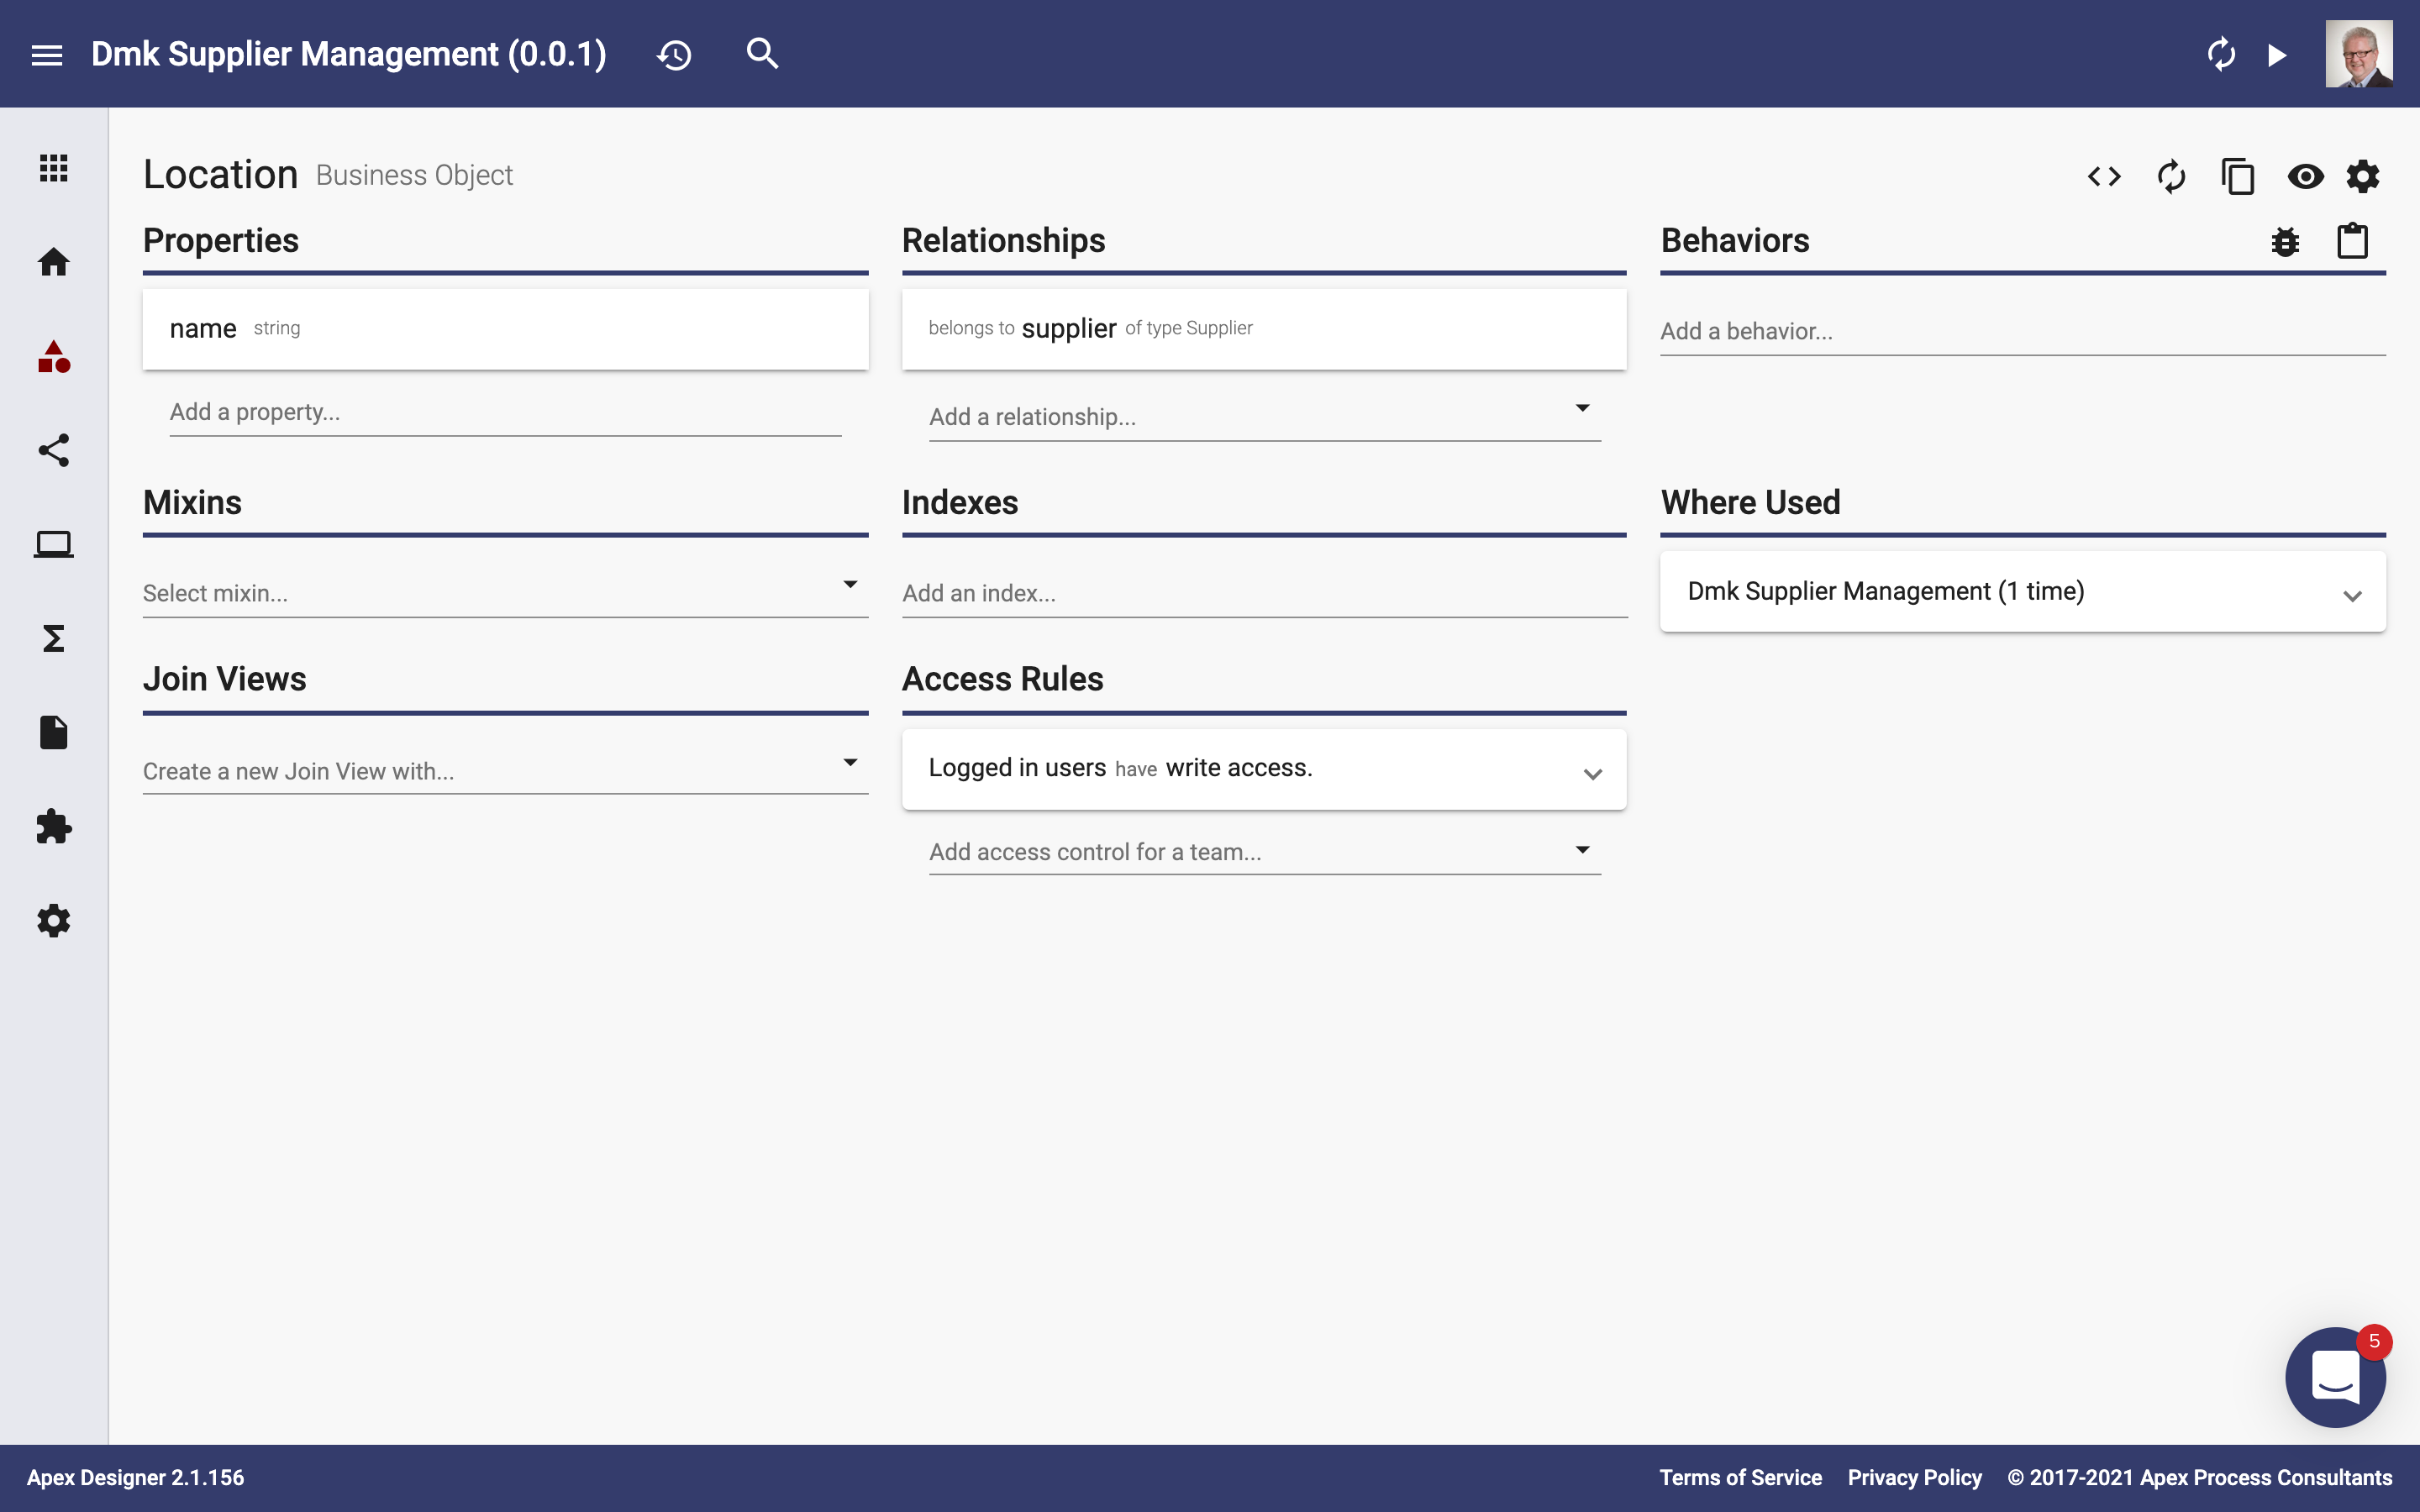
Click on "Location" to navigate to the Location business object:
Add Contacts to Location
Enter "contact" in the "Add a relationship..." field, select the "has many" option, and click Contact to open the business object:
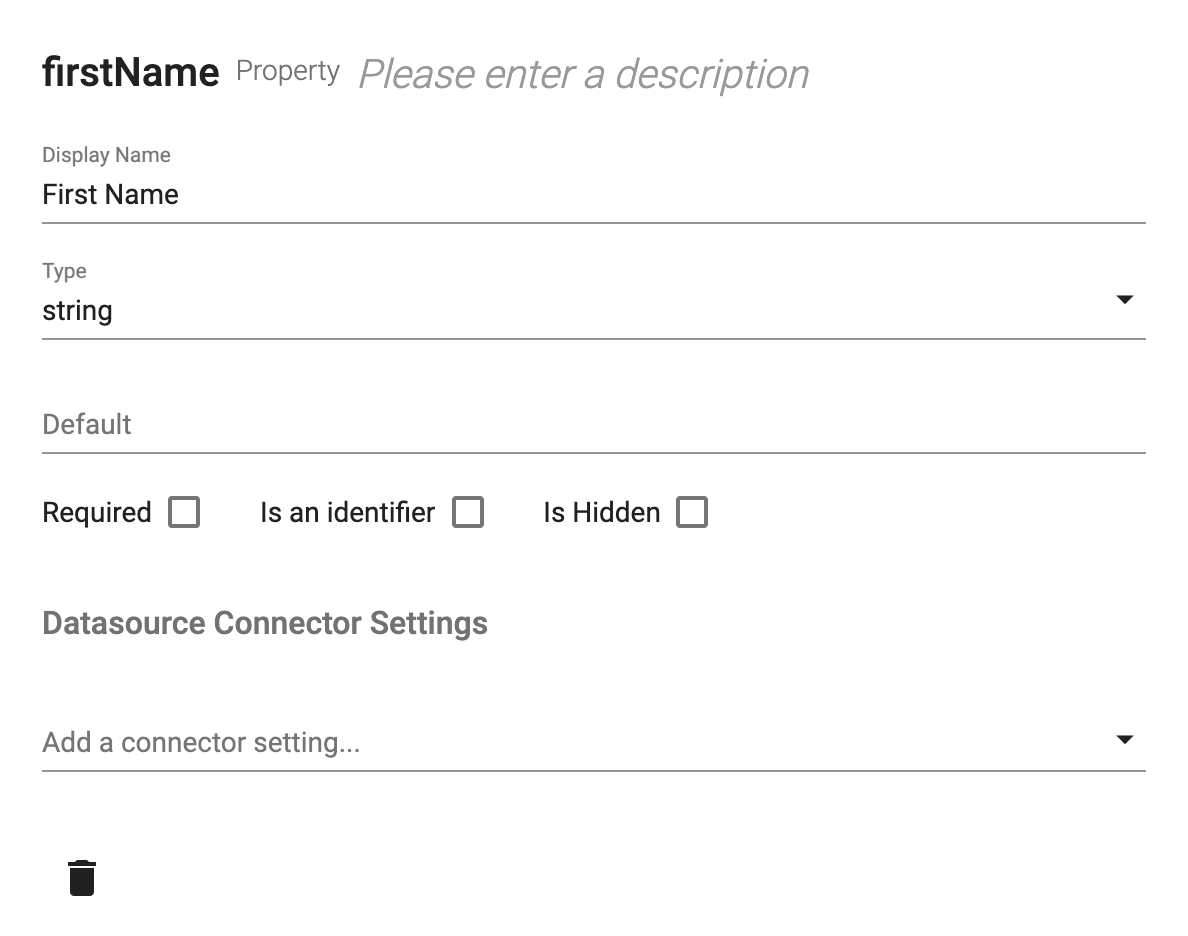
Click the "name" property and change "name" to "firstName":
Enter "lastName" and press enter to add a lastName property of type string.
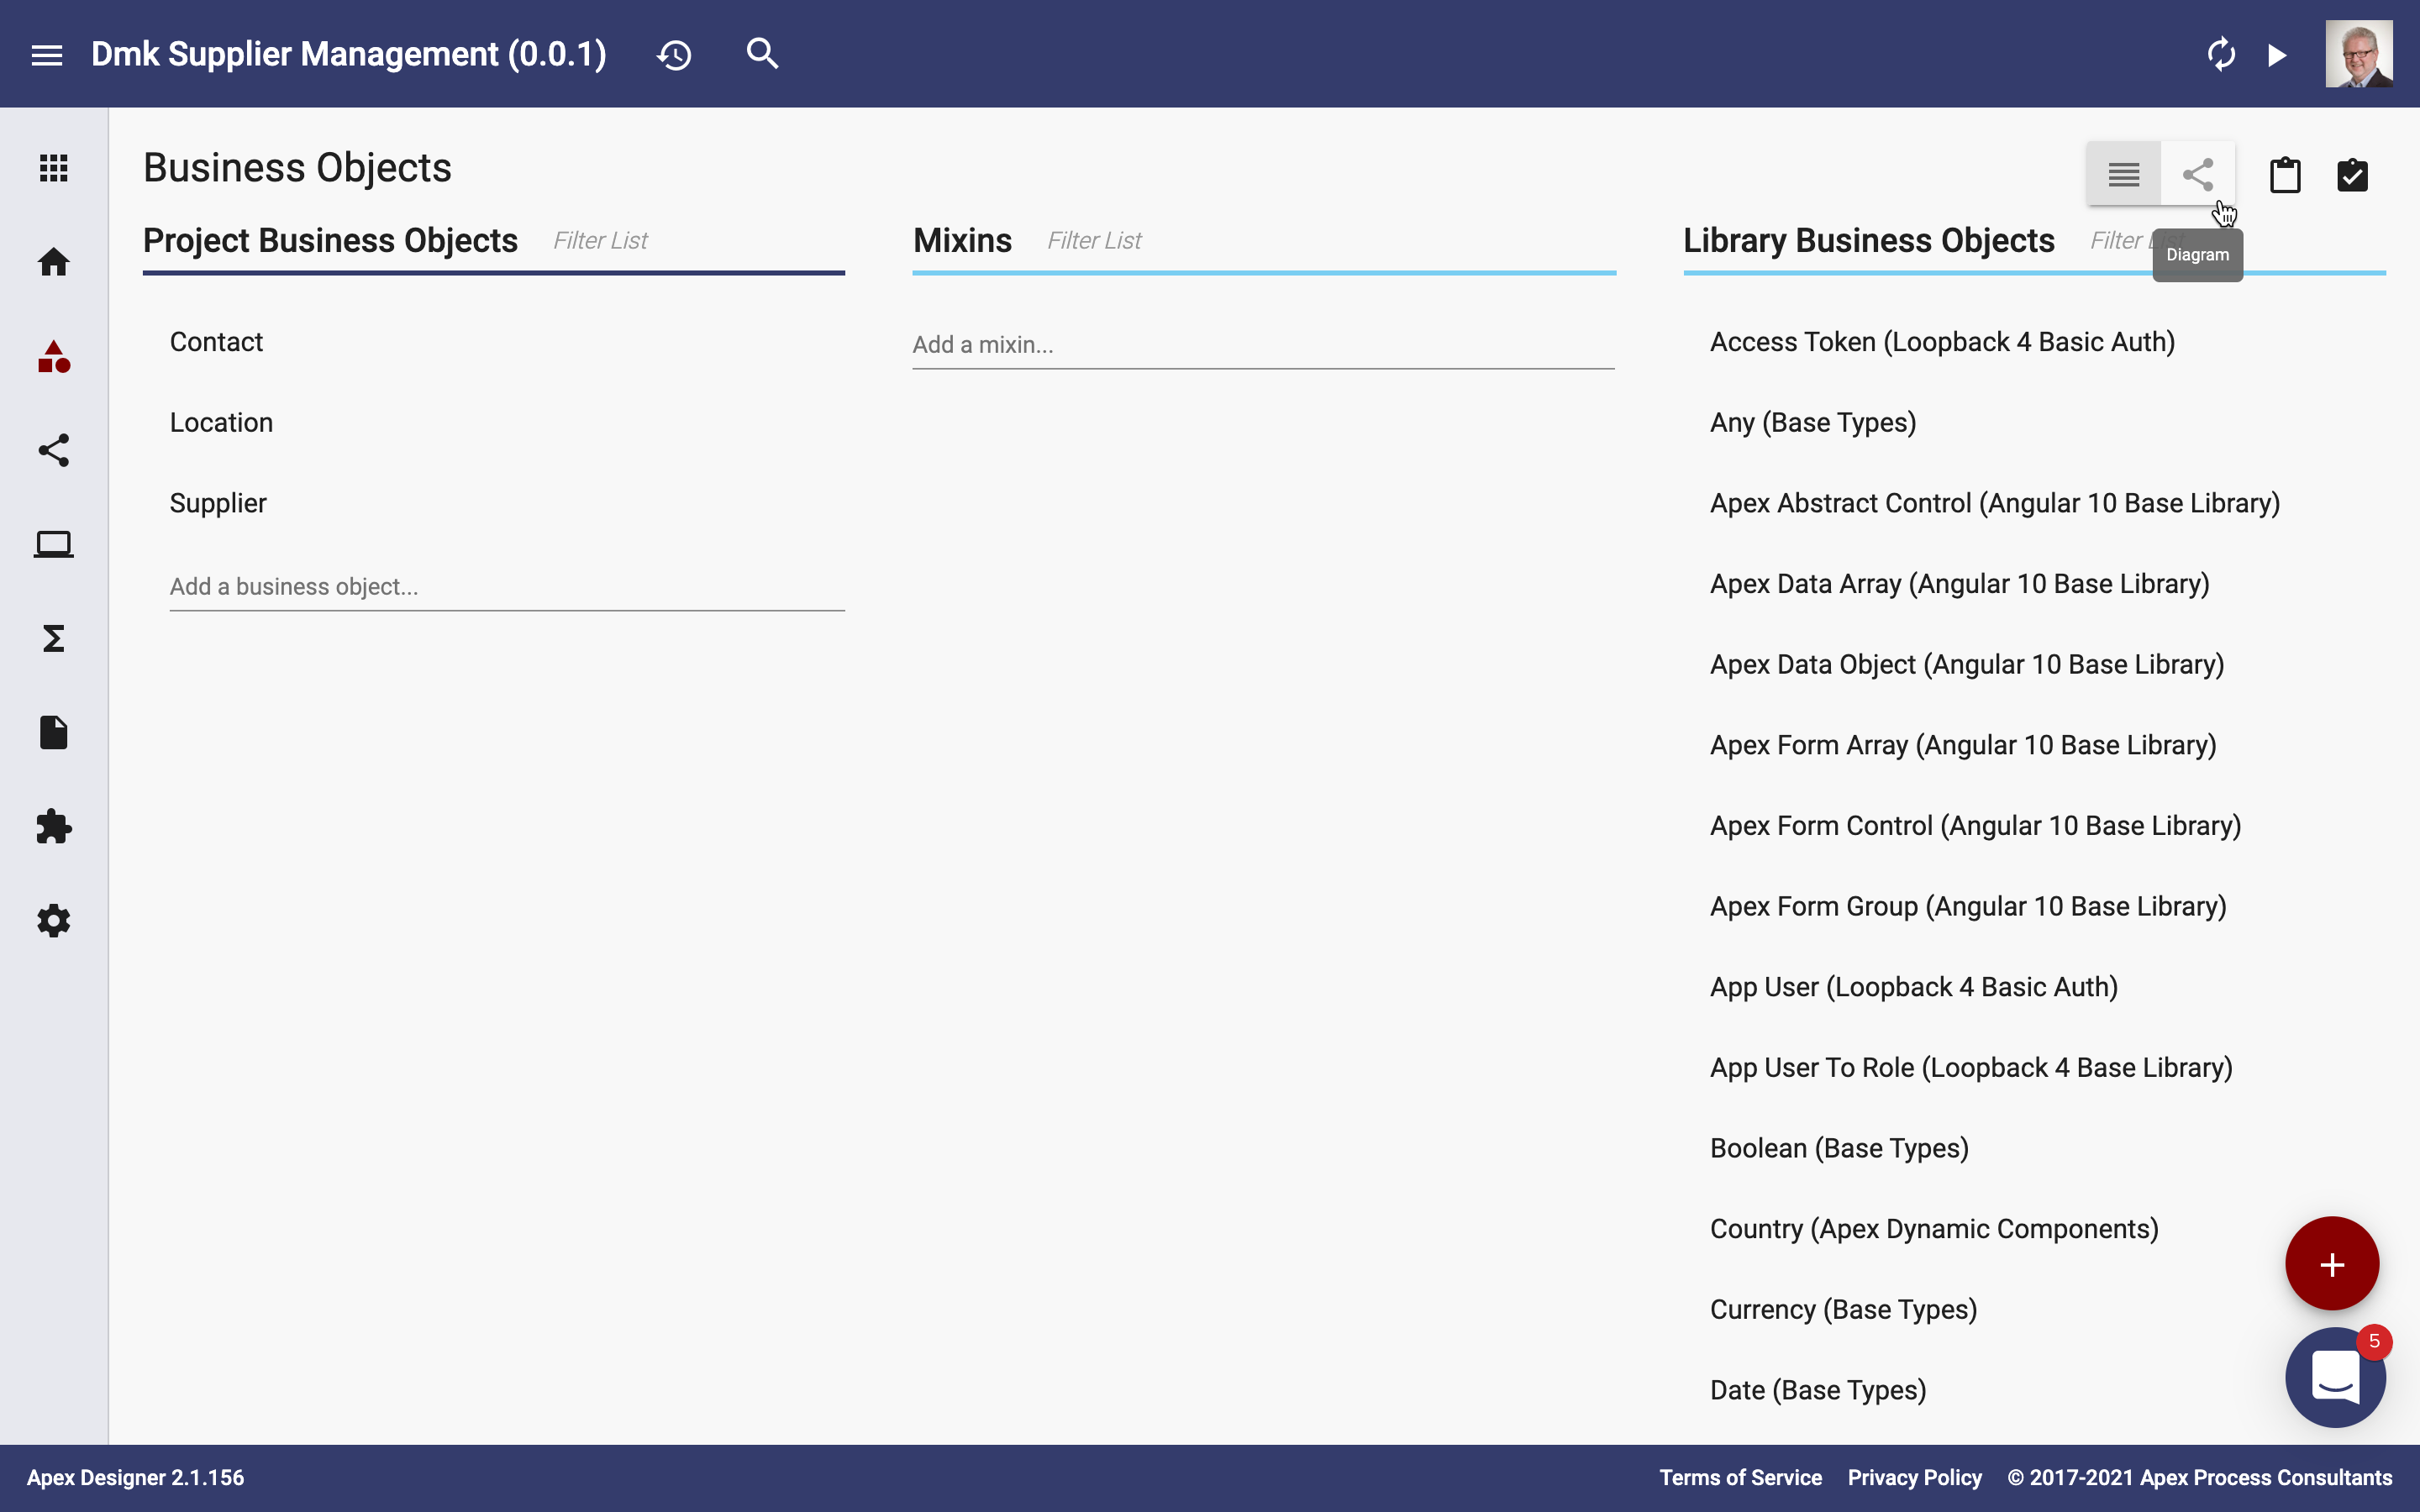
View the Business Object Diagram
Click Business Objects on the ribbon and then click the Diagram button toggle on the top right:
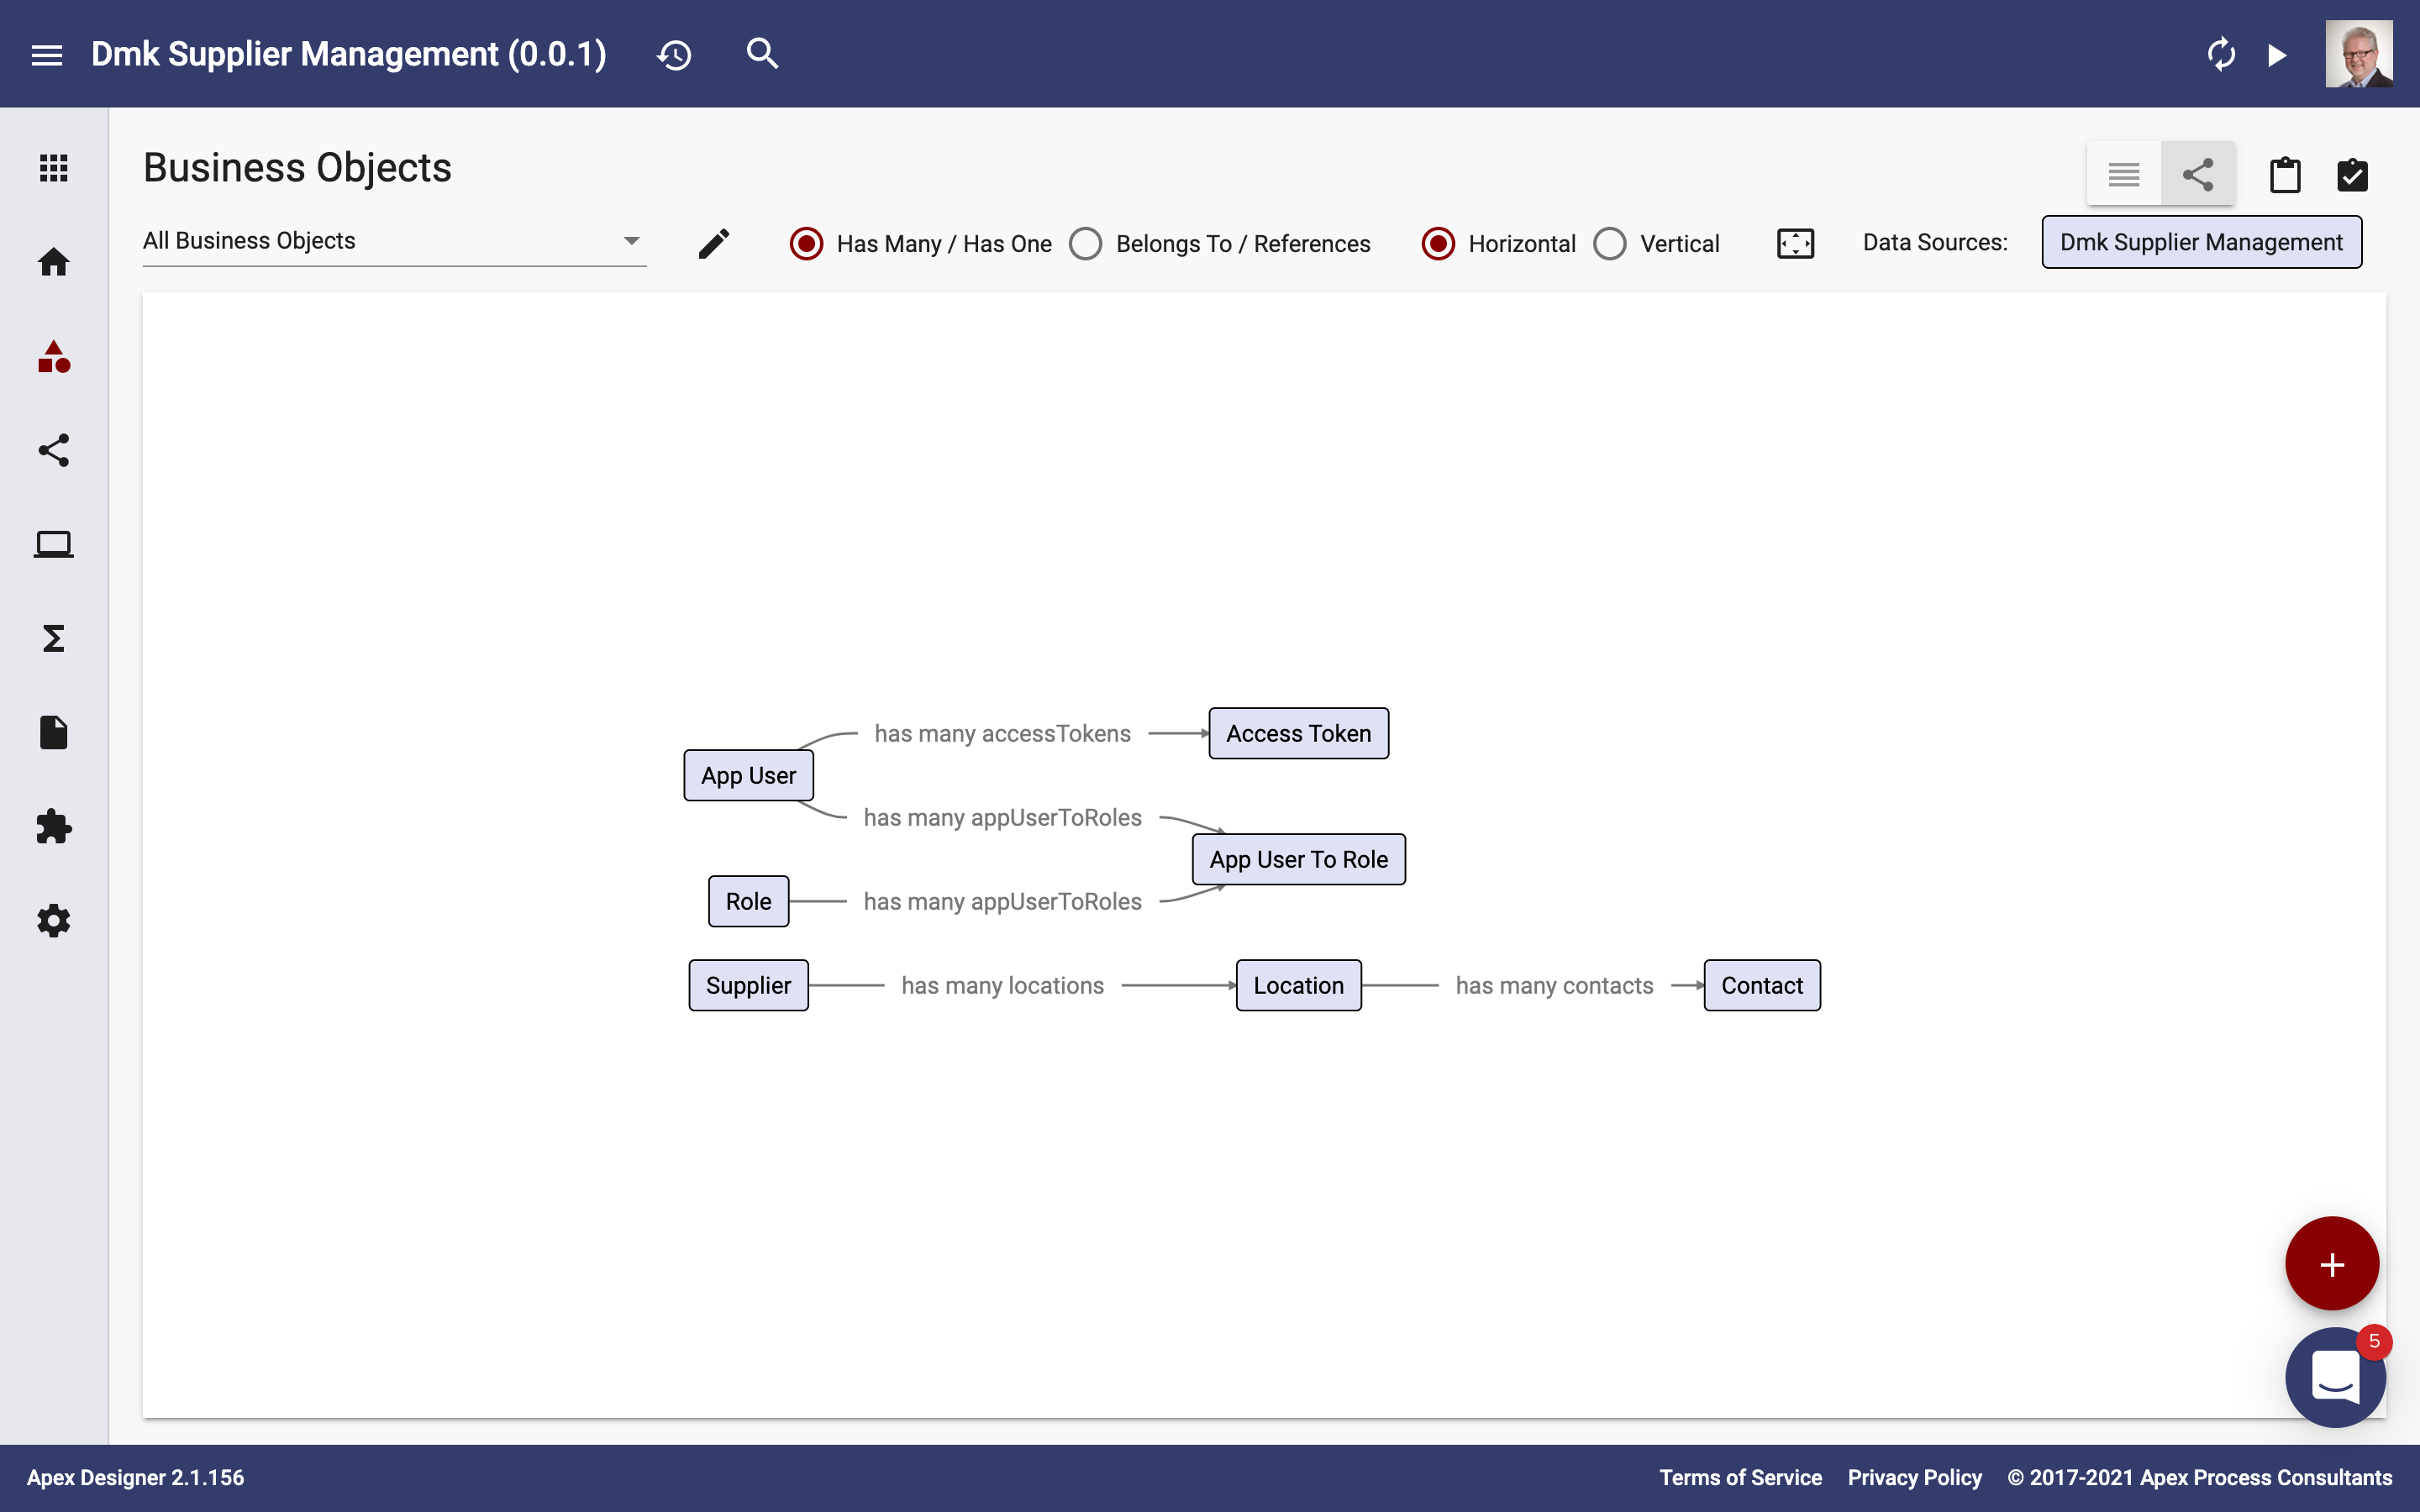
The business object diagram is displayed:
The Access Token, App User, App User To Role, and Role business objects are from the Basic Auth Libraries. You can group business objects into views to show only business objects from your application.
Generate the App and Create Some Data
Click the Generate App icon button to pick up the new business objects.
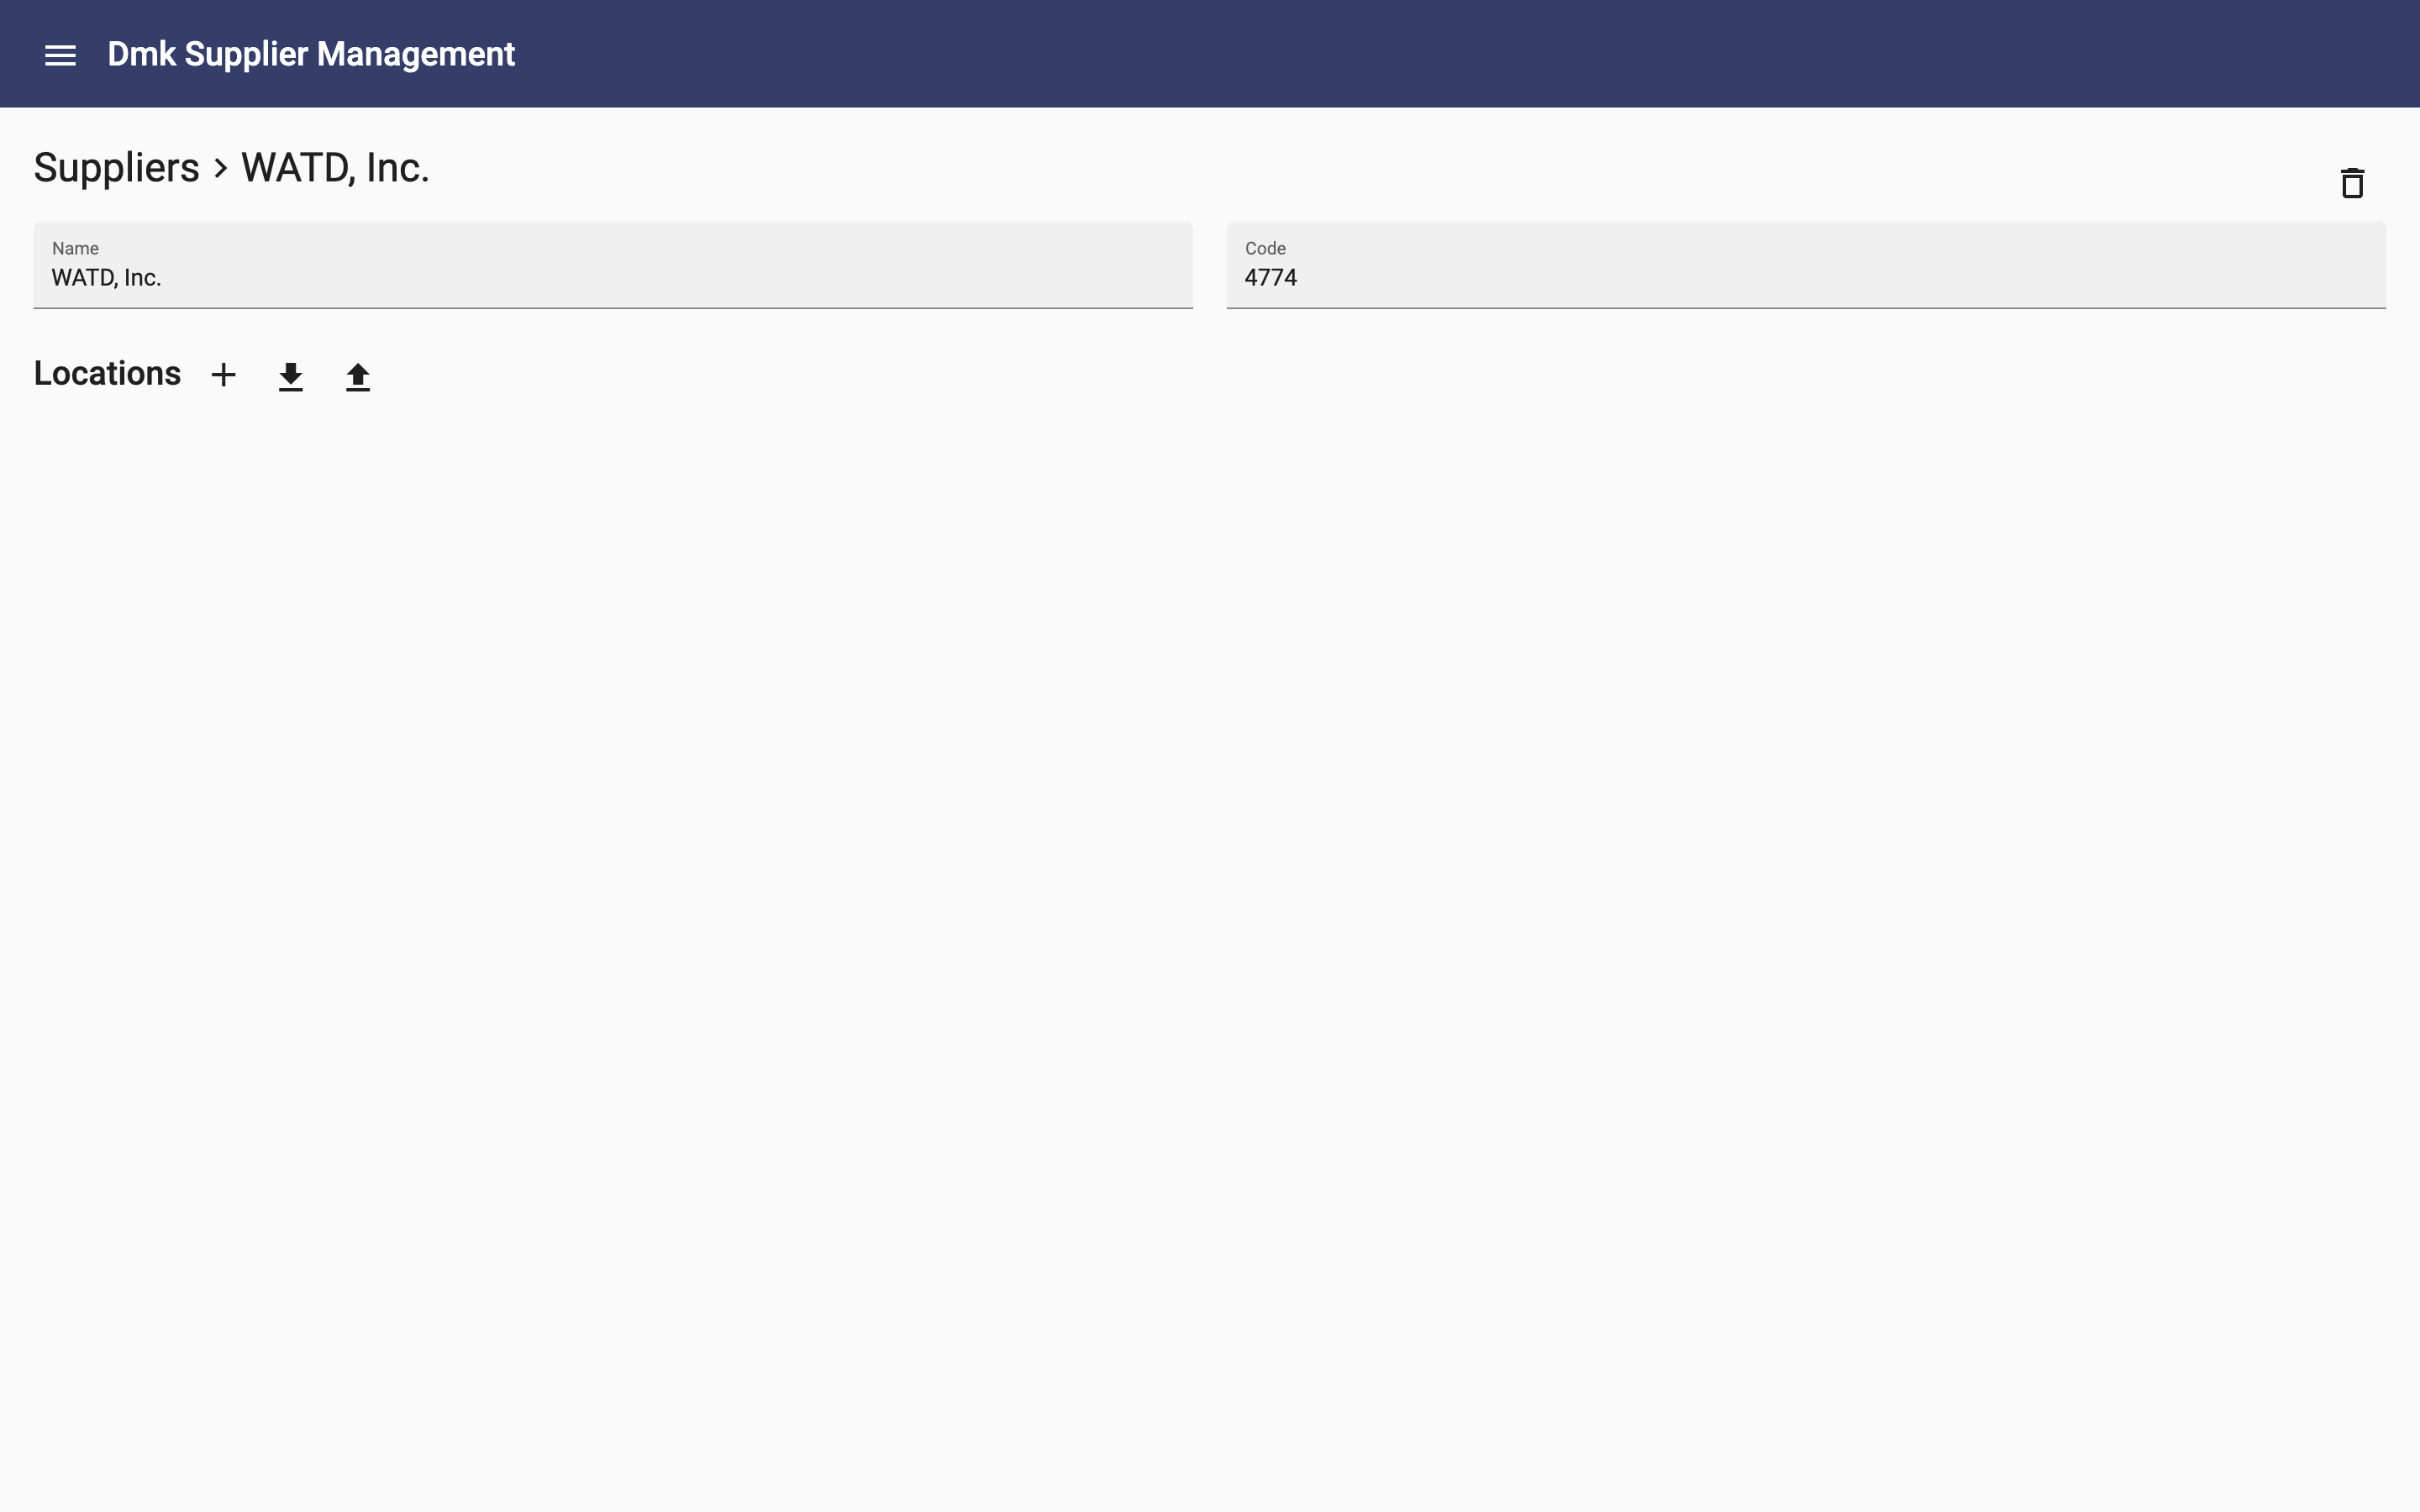
When the build is complete, the Supplier page will reload:
Notice that there is now a Locations section with an Add button.
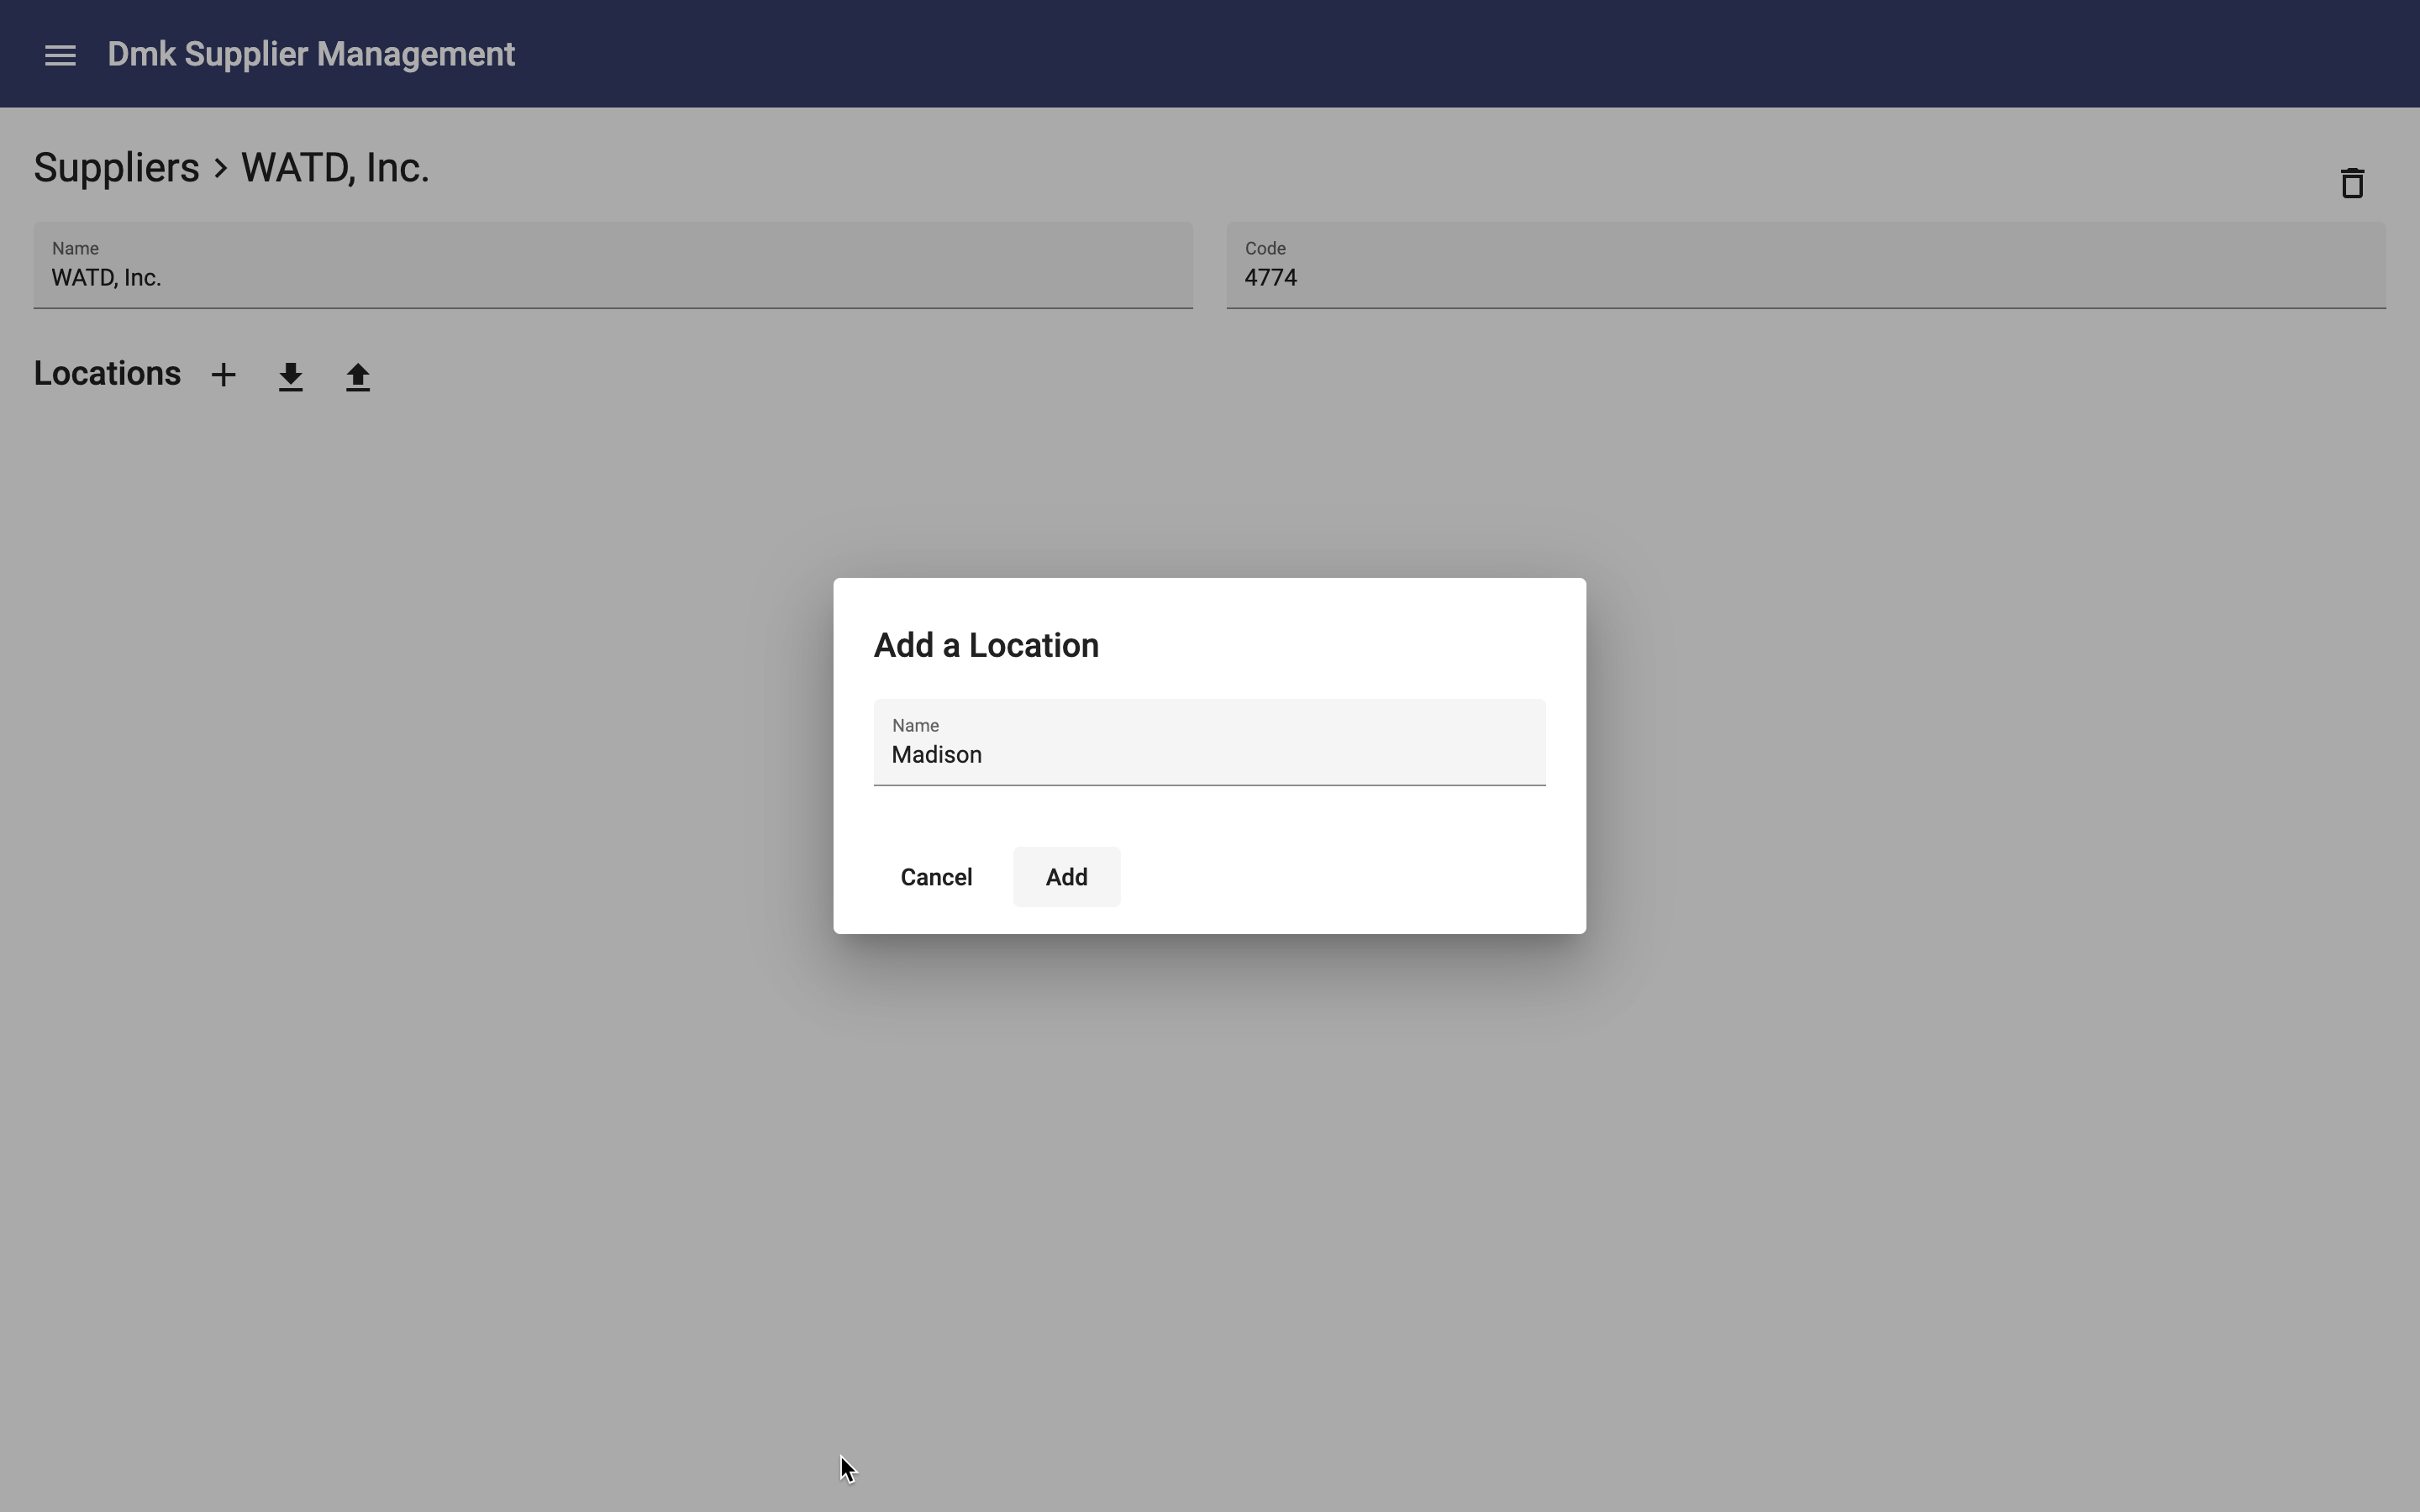
Click the Add button, enter a location name, and click Add
The app redirects to the location page.
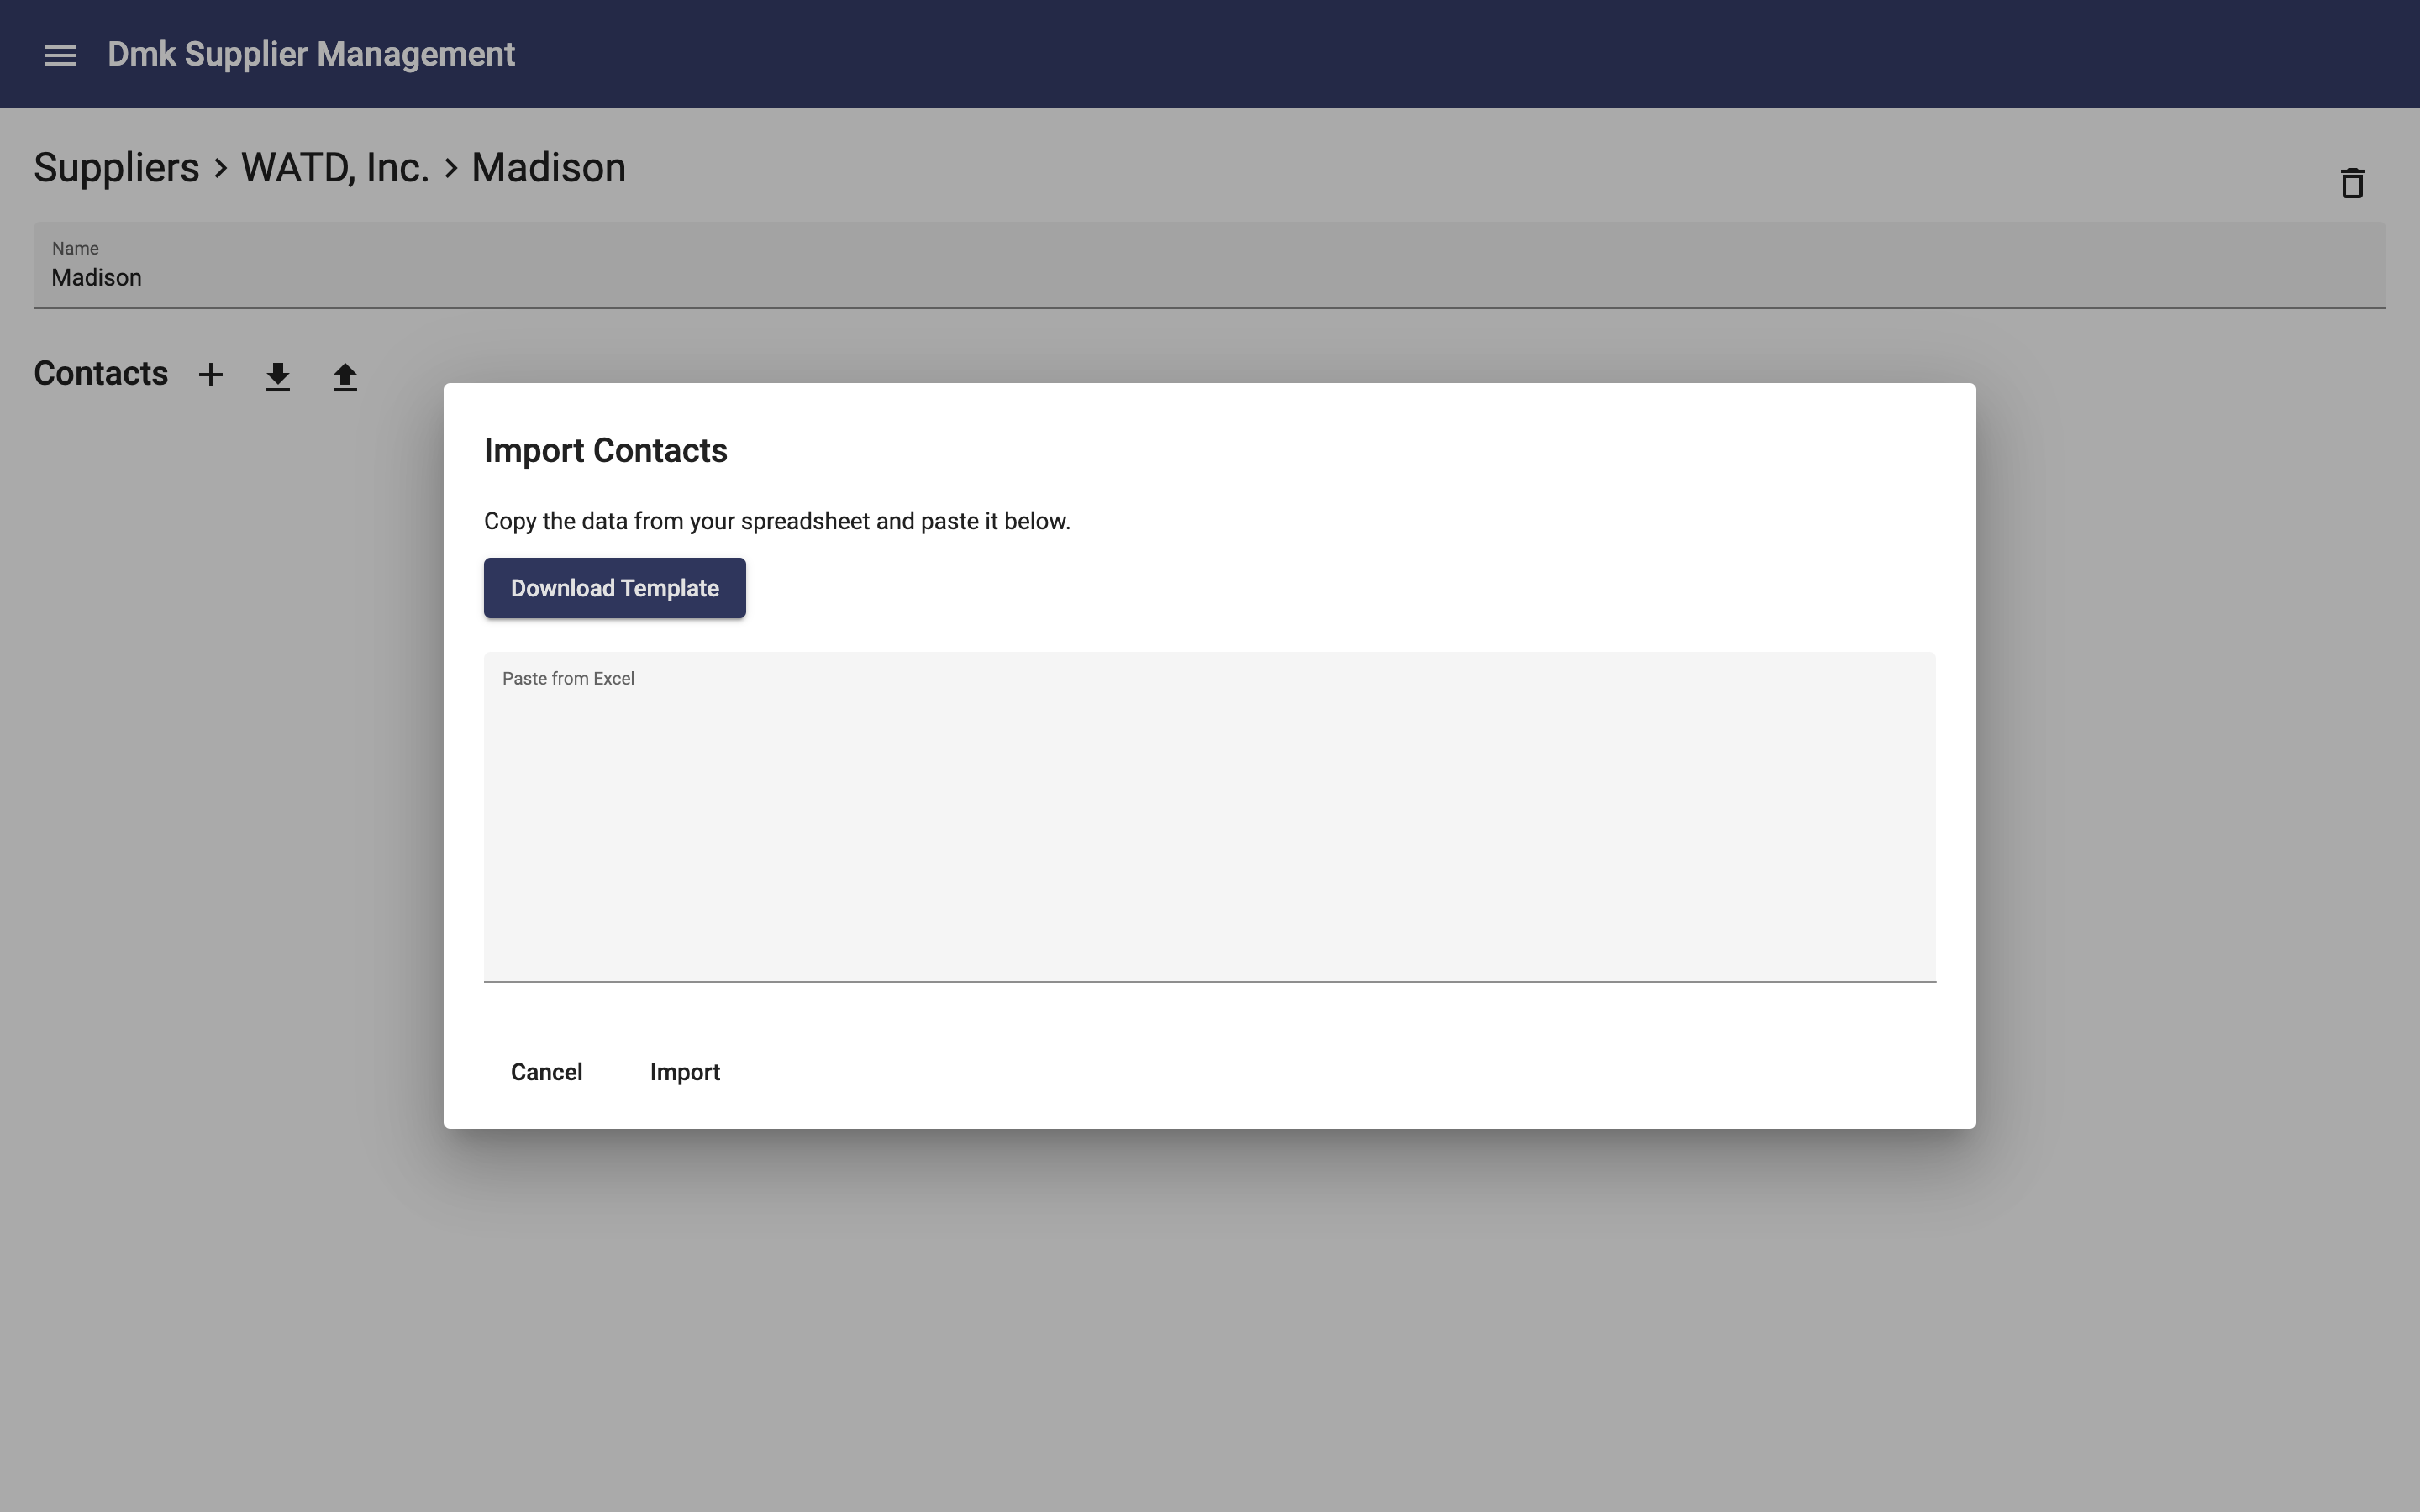
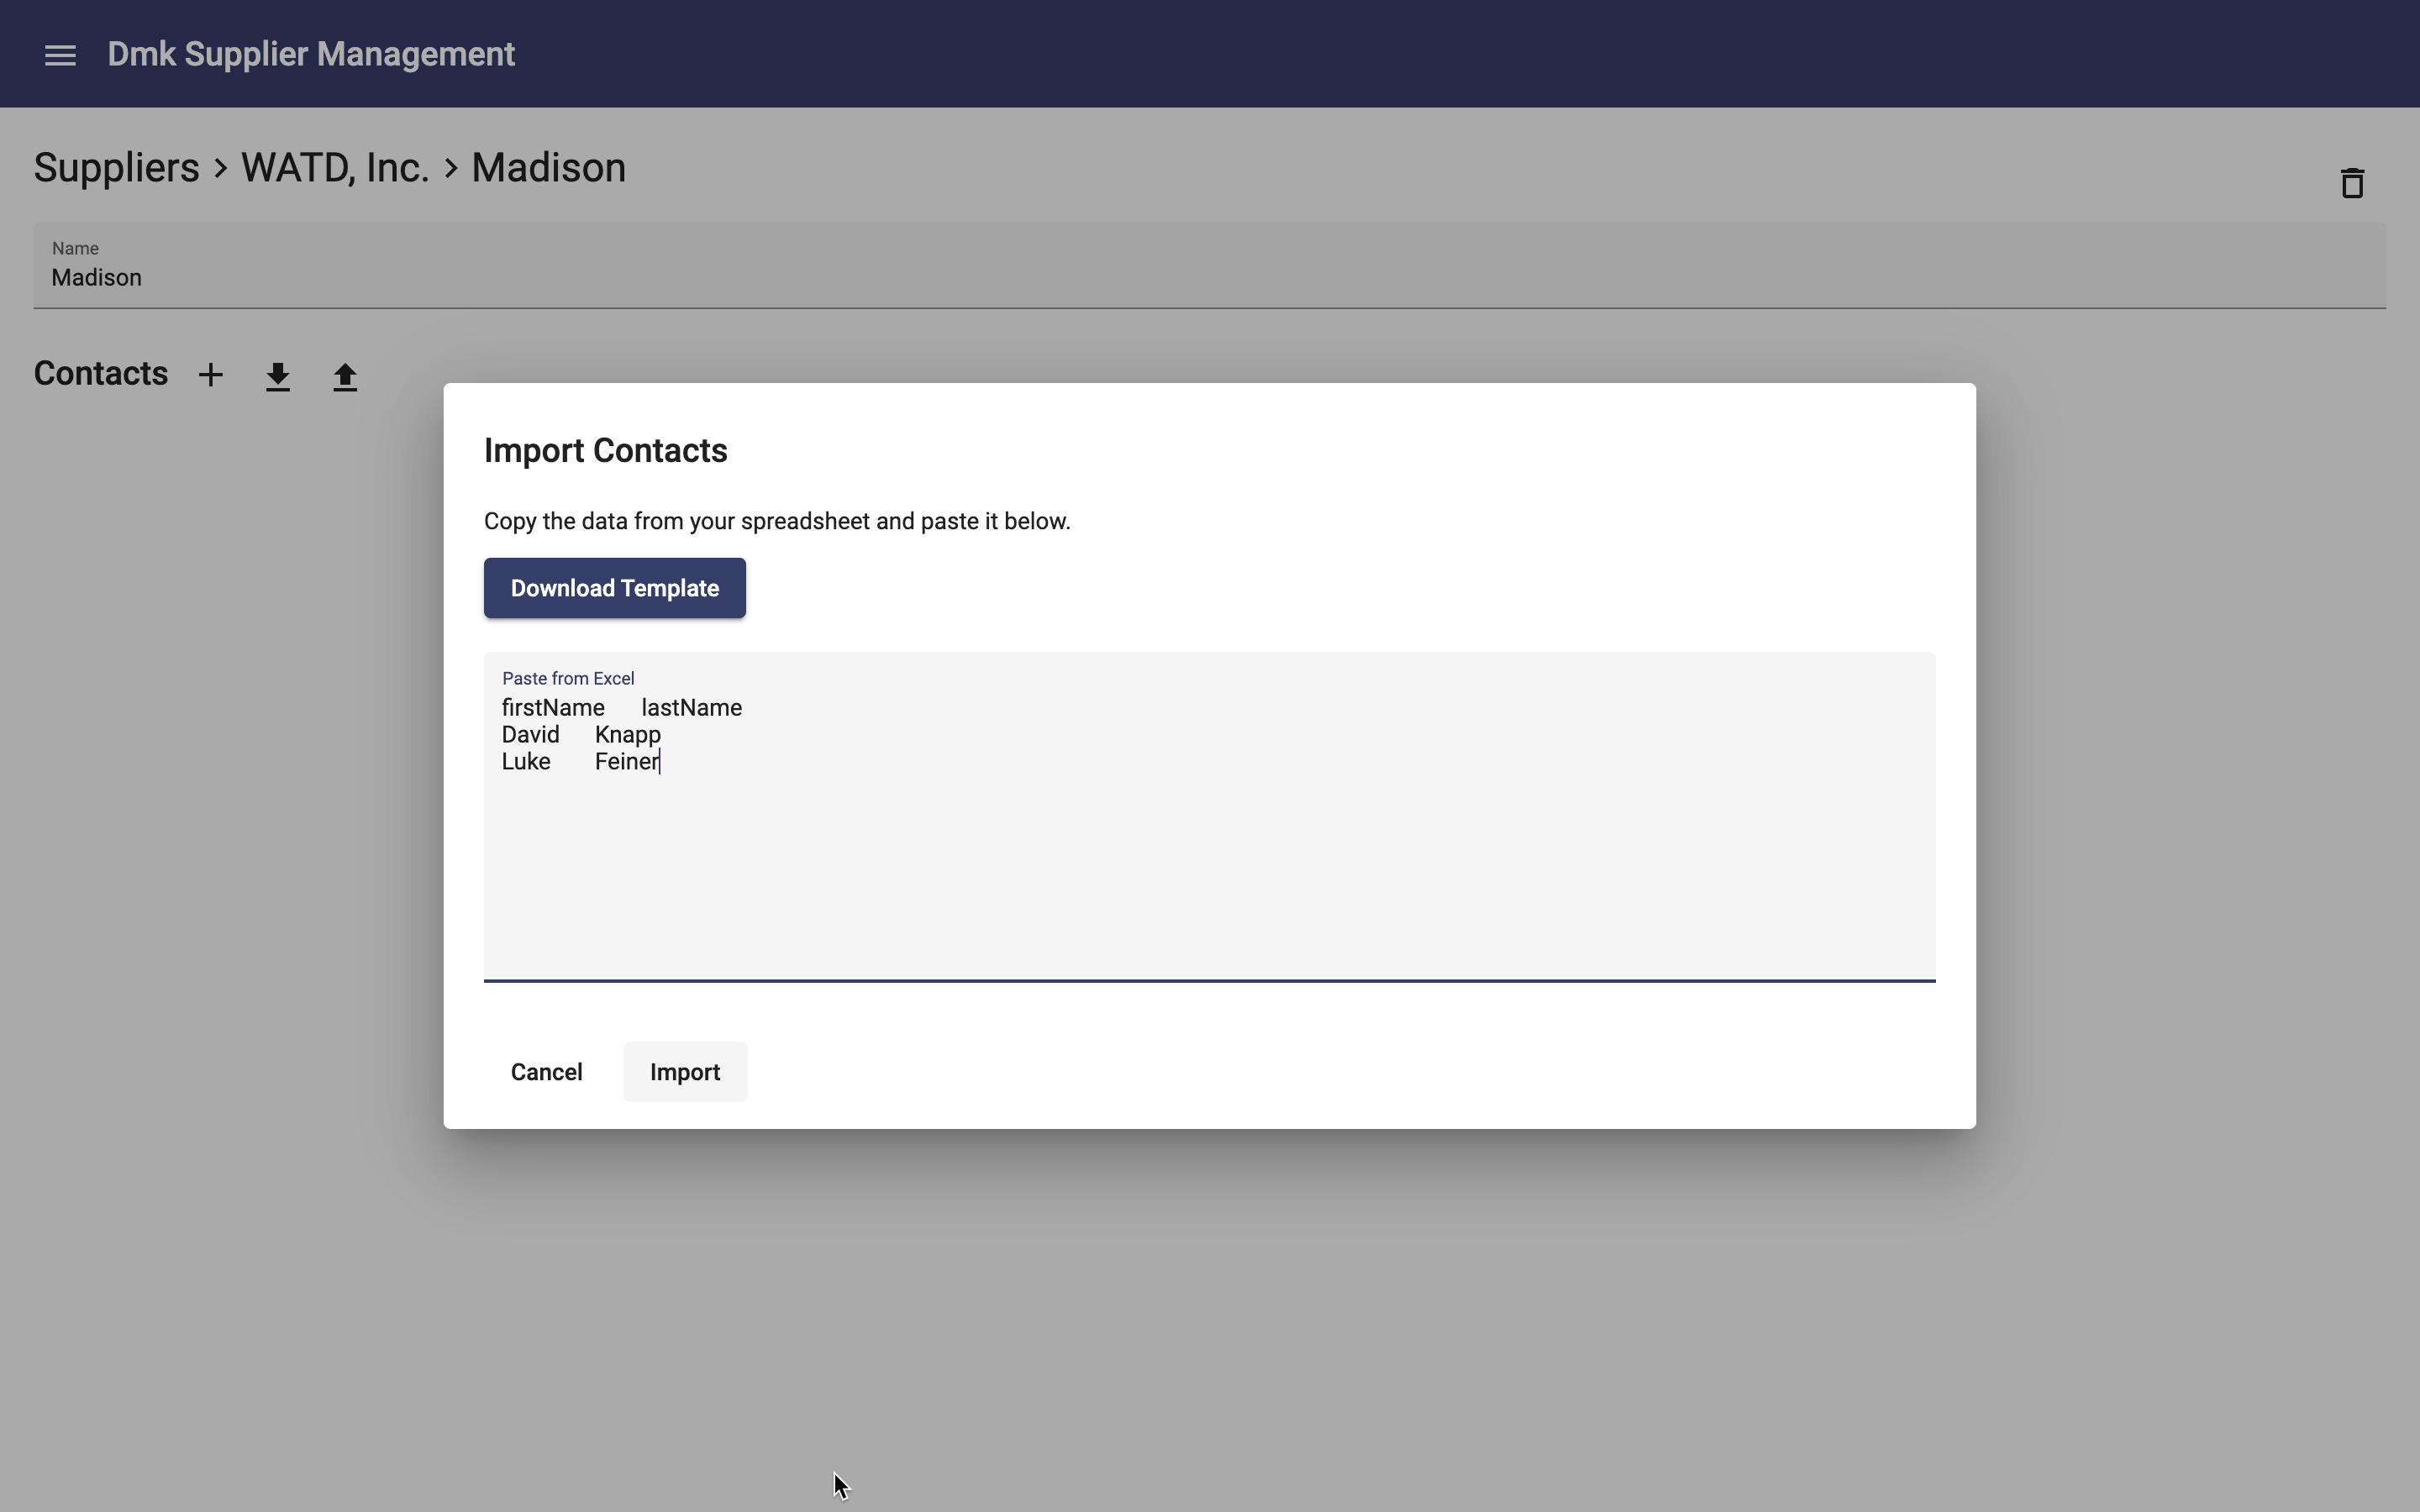
Click the "Import Contacts" icon button to open the Import Contacts dialog:
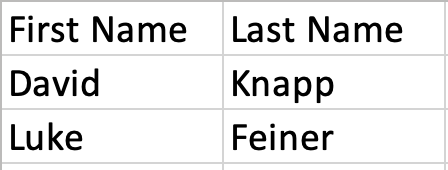
Click the Download Template button to download a spreadsheet and fill in some data:
Select the data, copy it, paste it into the Import Contacts dialog:
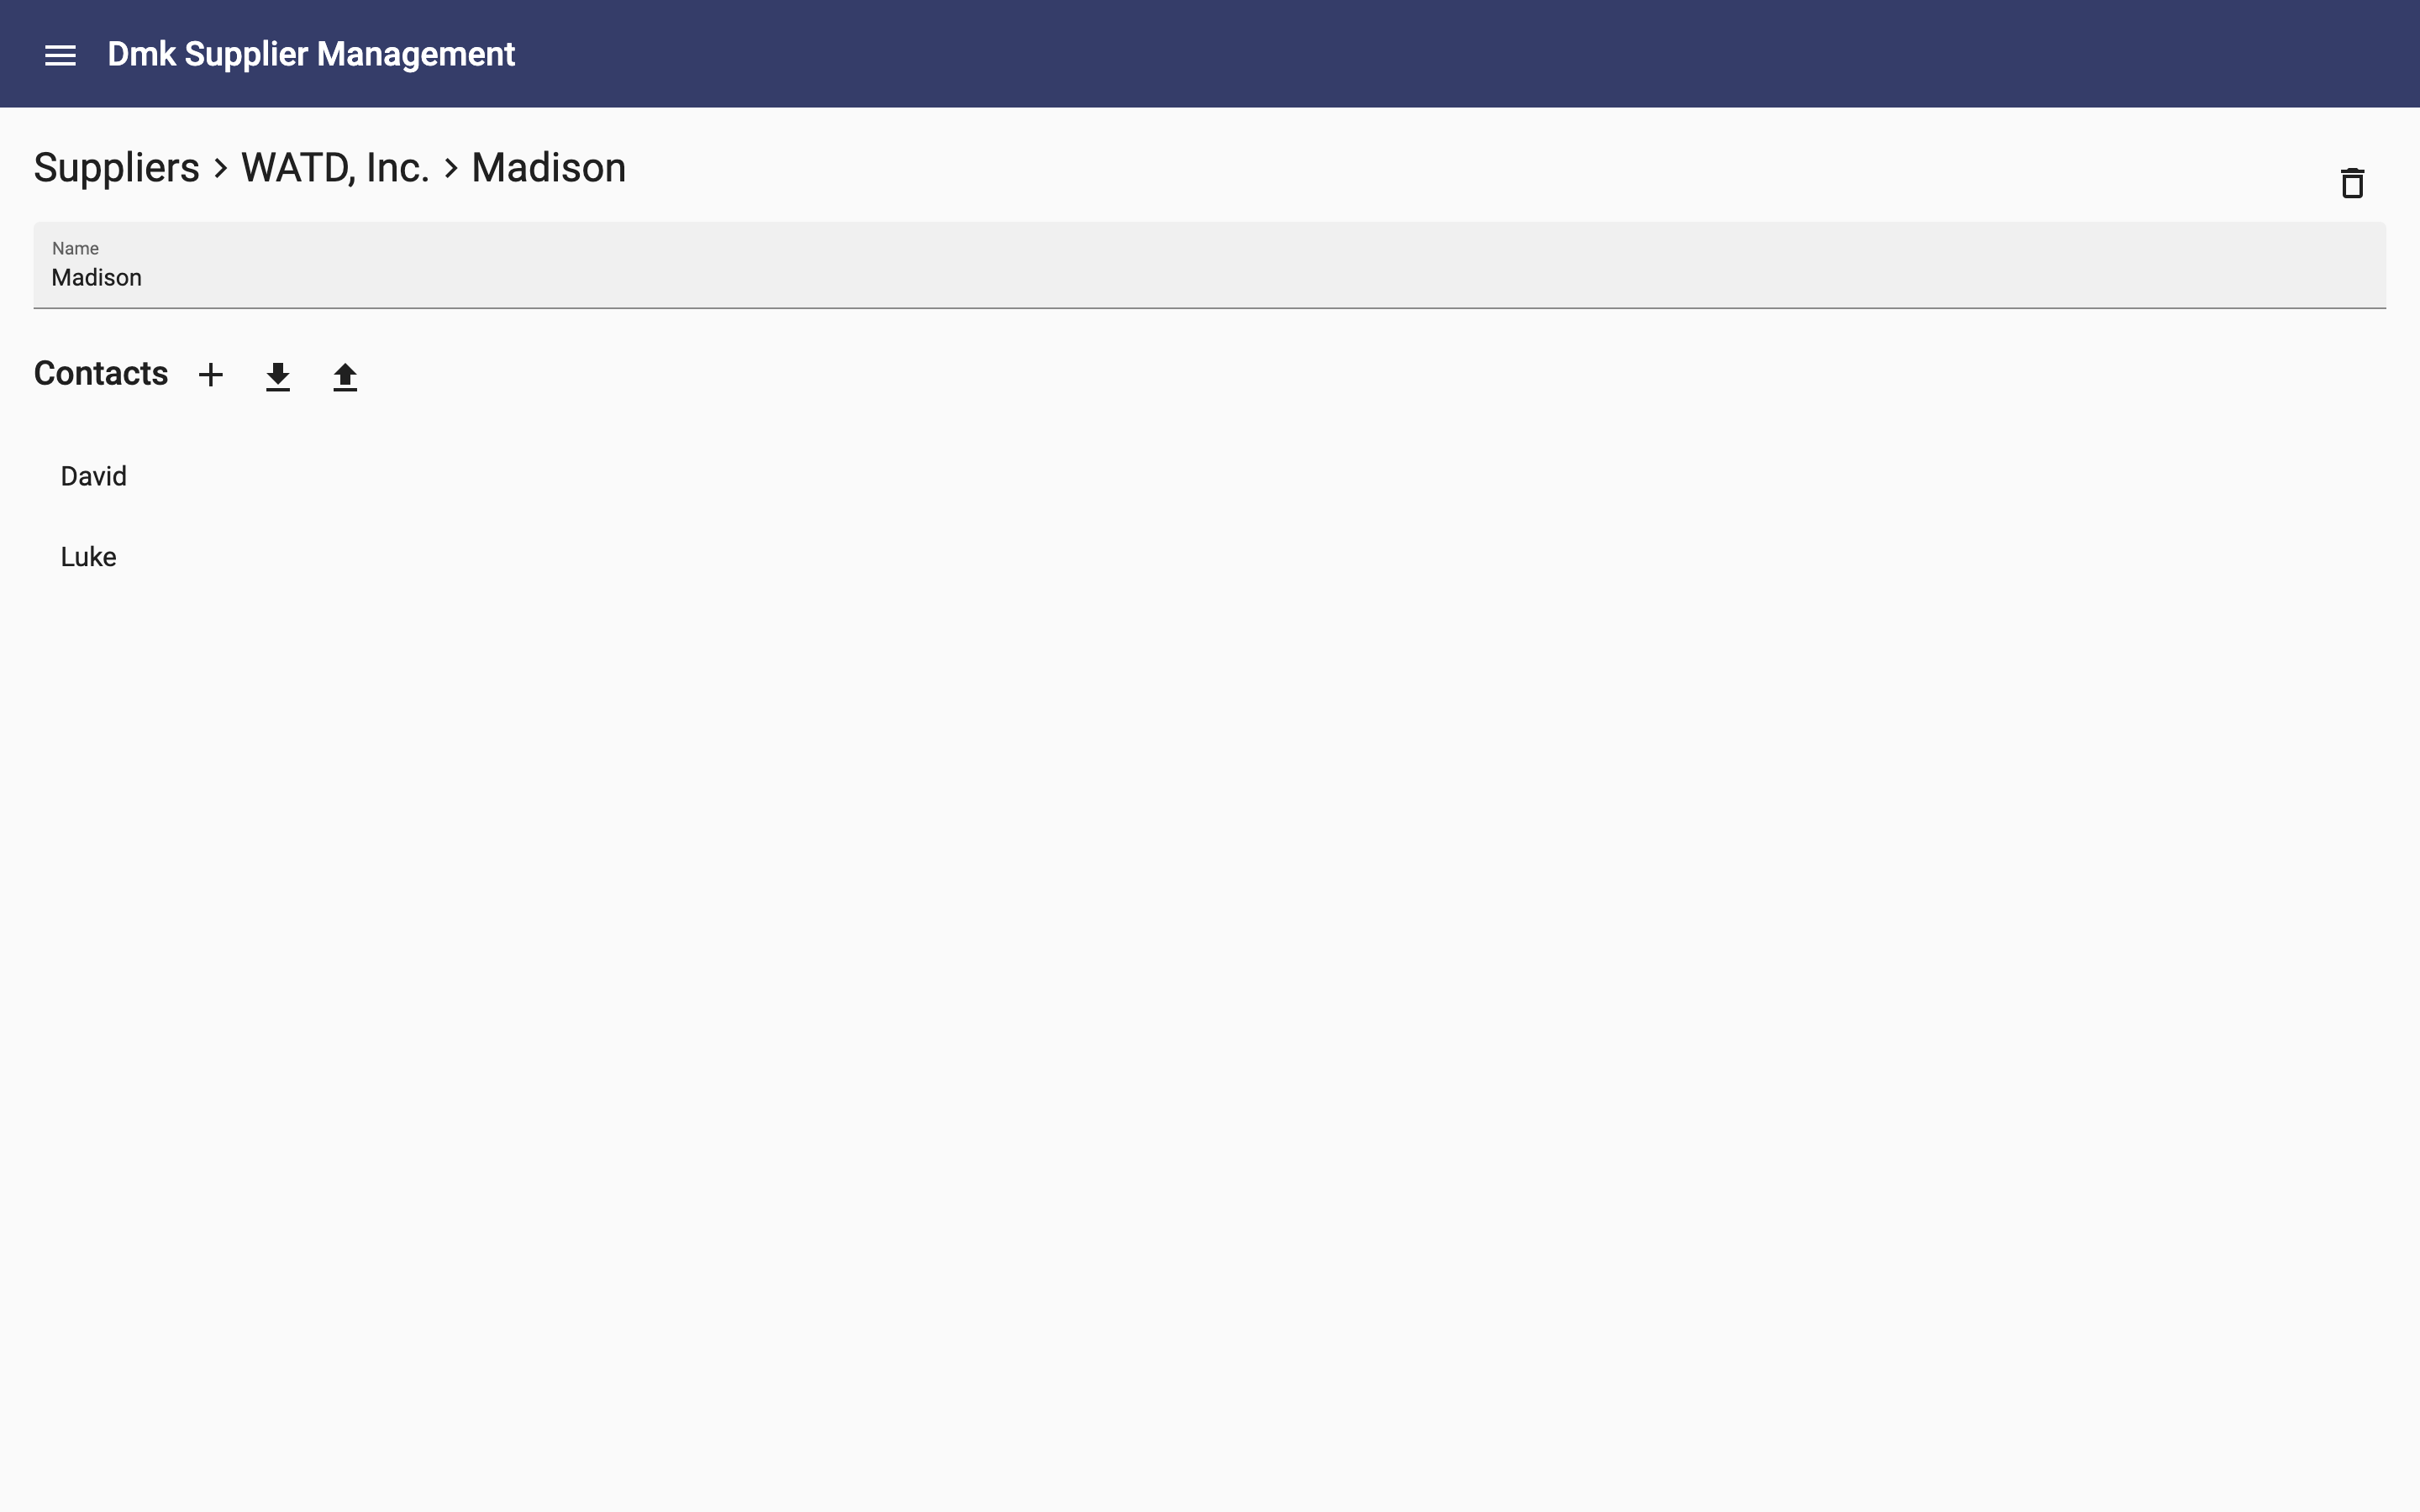
The contacts are created:
Notice that the nav list only shows the first property (first name in this case) by default. The next lesson will cover how to change that.
Explore the API
Open the App Manager dialog and click the Launch API Explorer icon button:
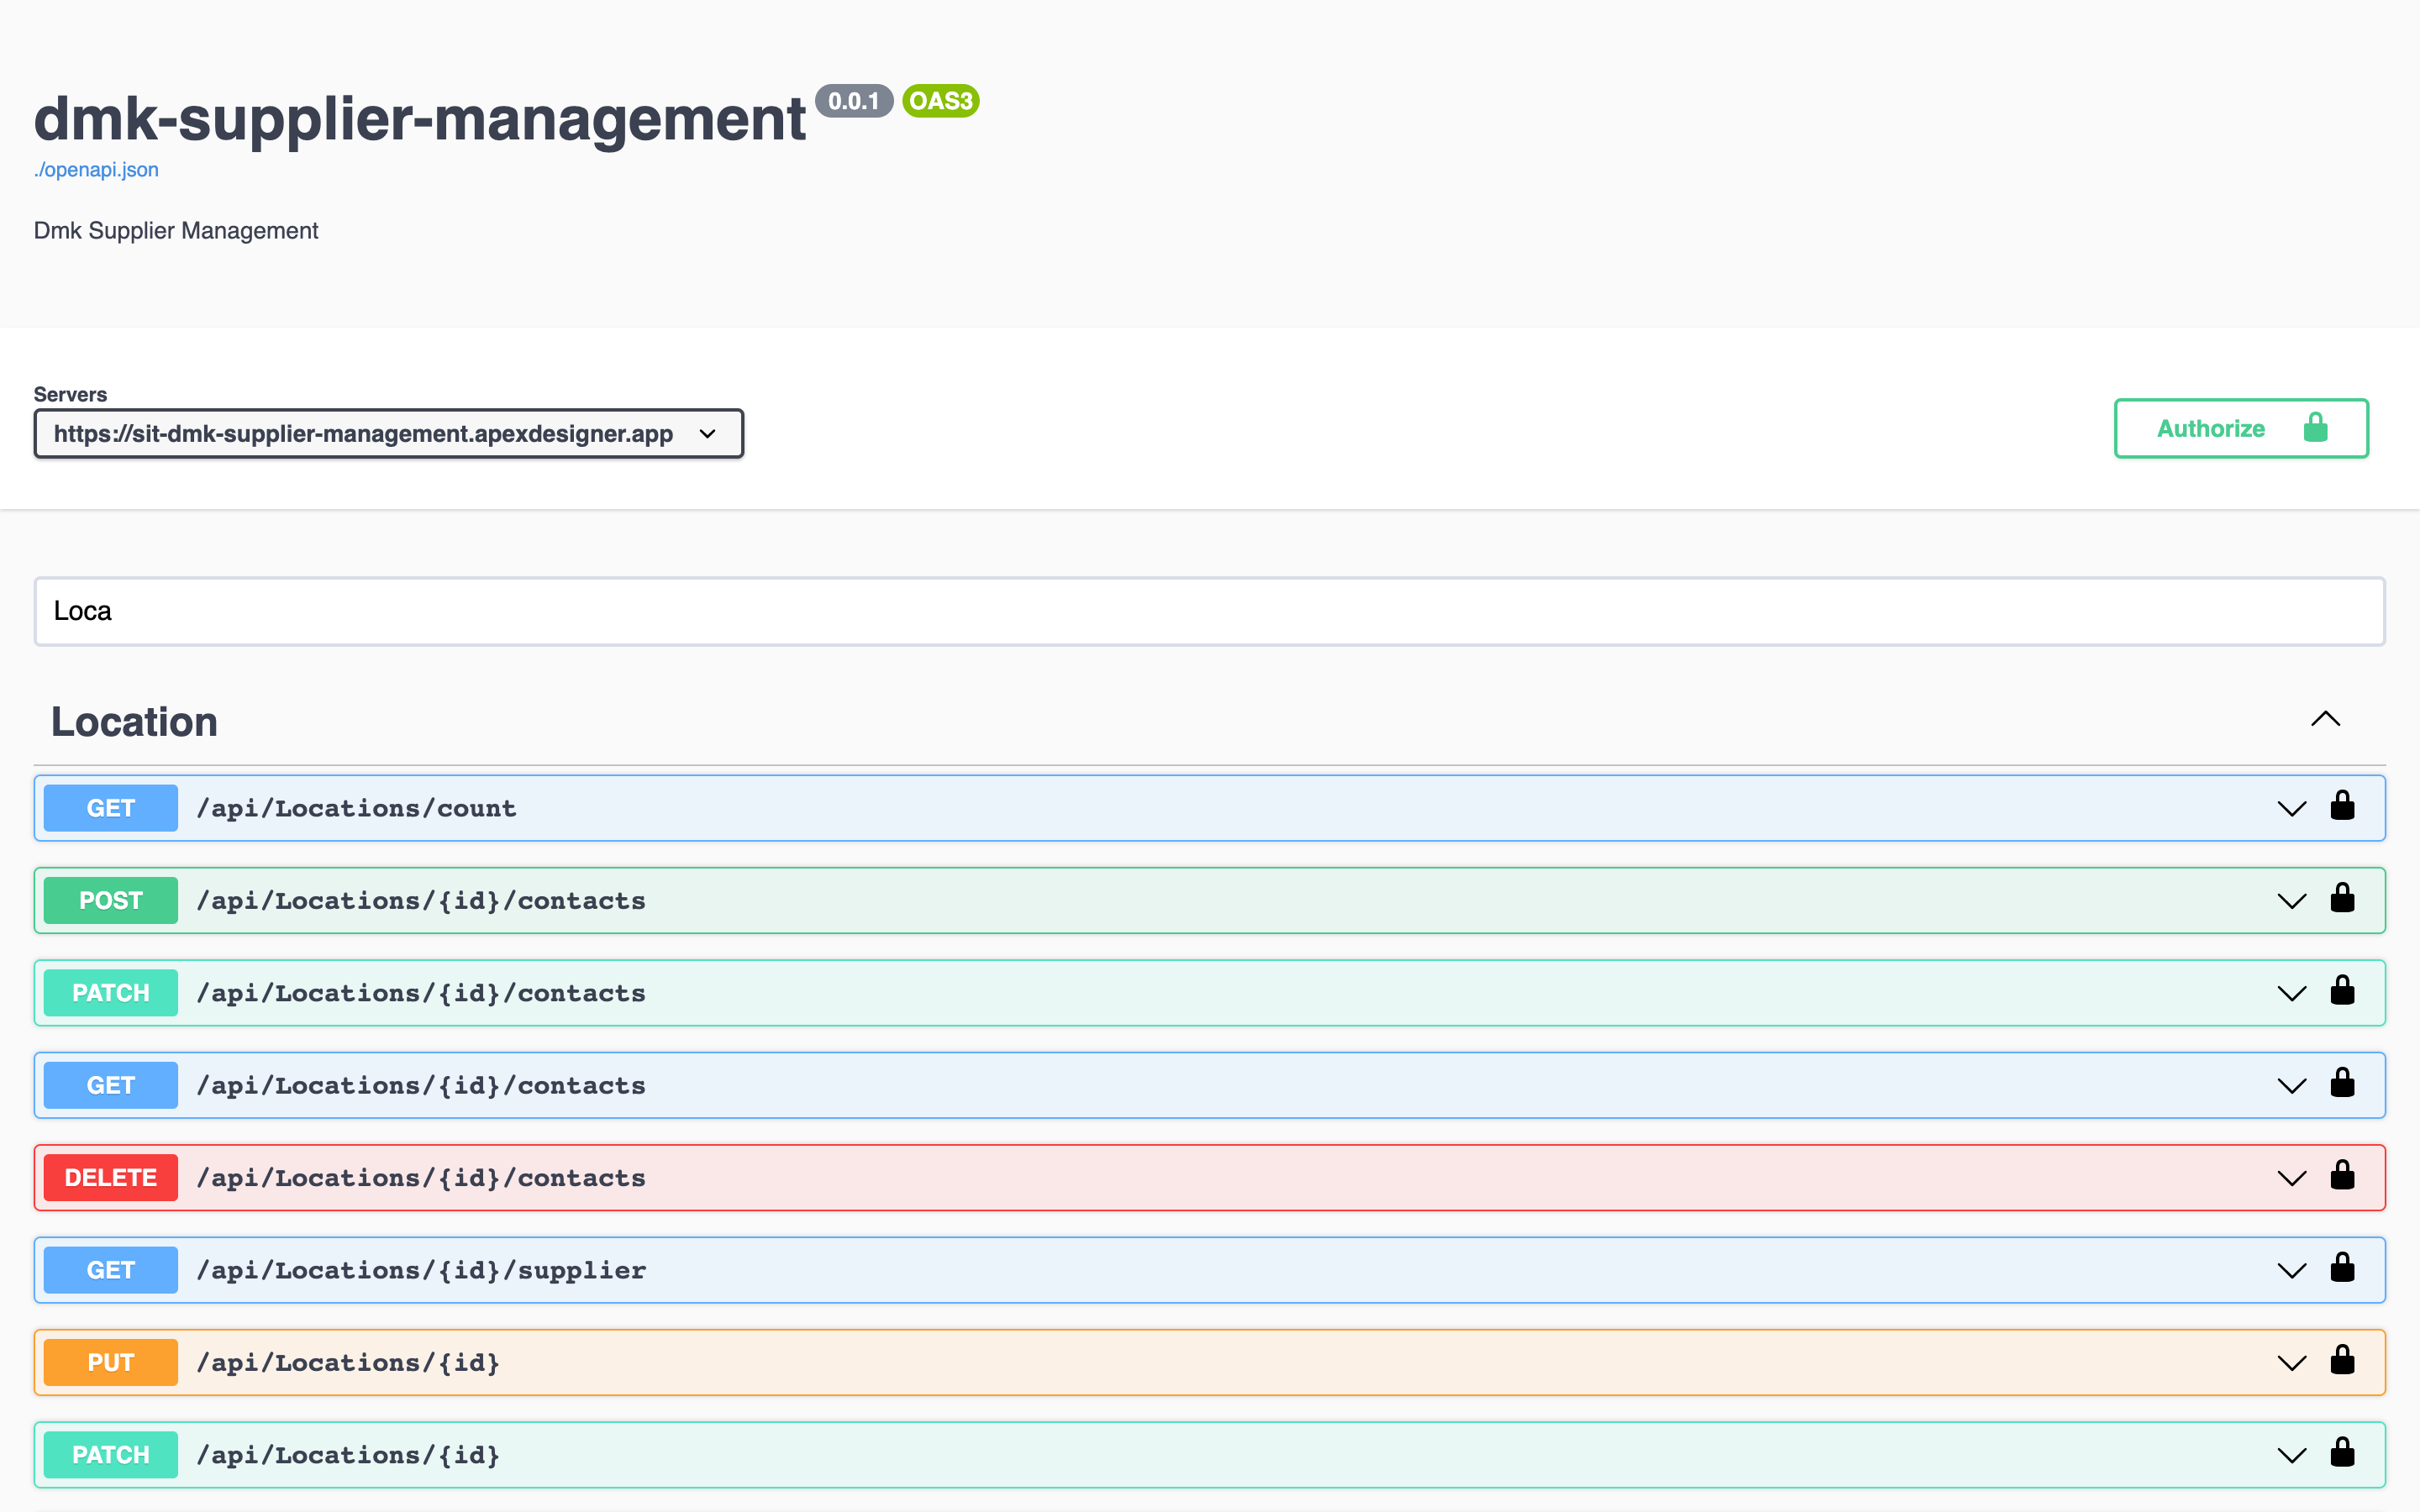
API Explorer opens:
The API Explorer provides an interactive way to explore and exercise your app's API.
Enter "Loca" in the "Filter by tag" field to show the APIs related to the Location business object:
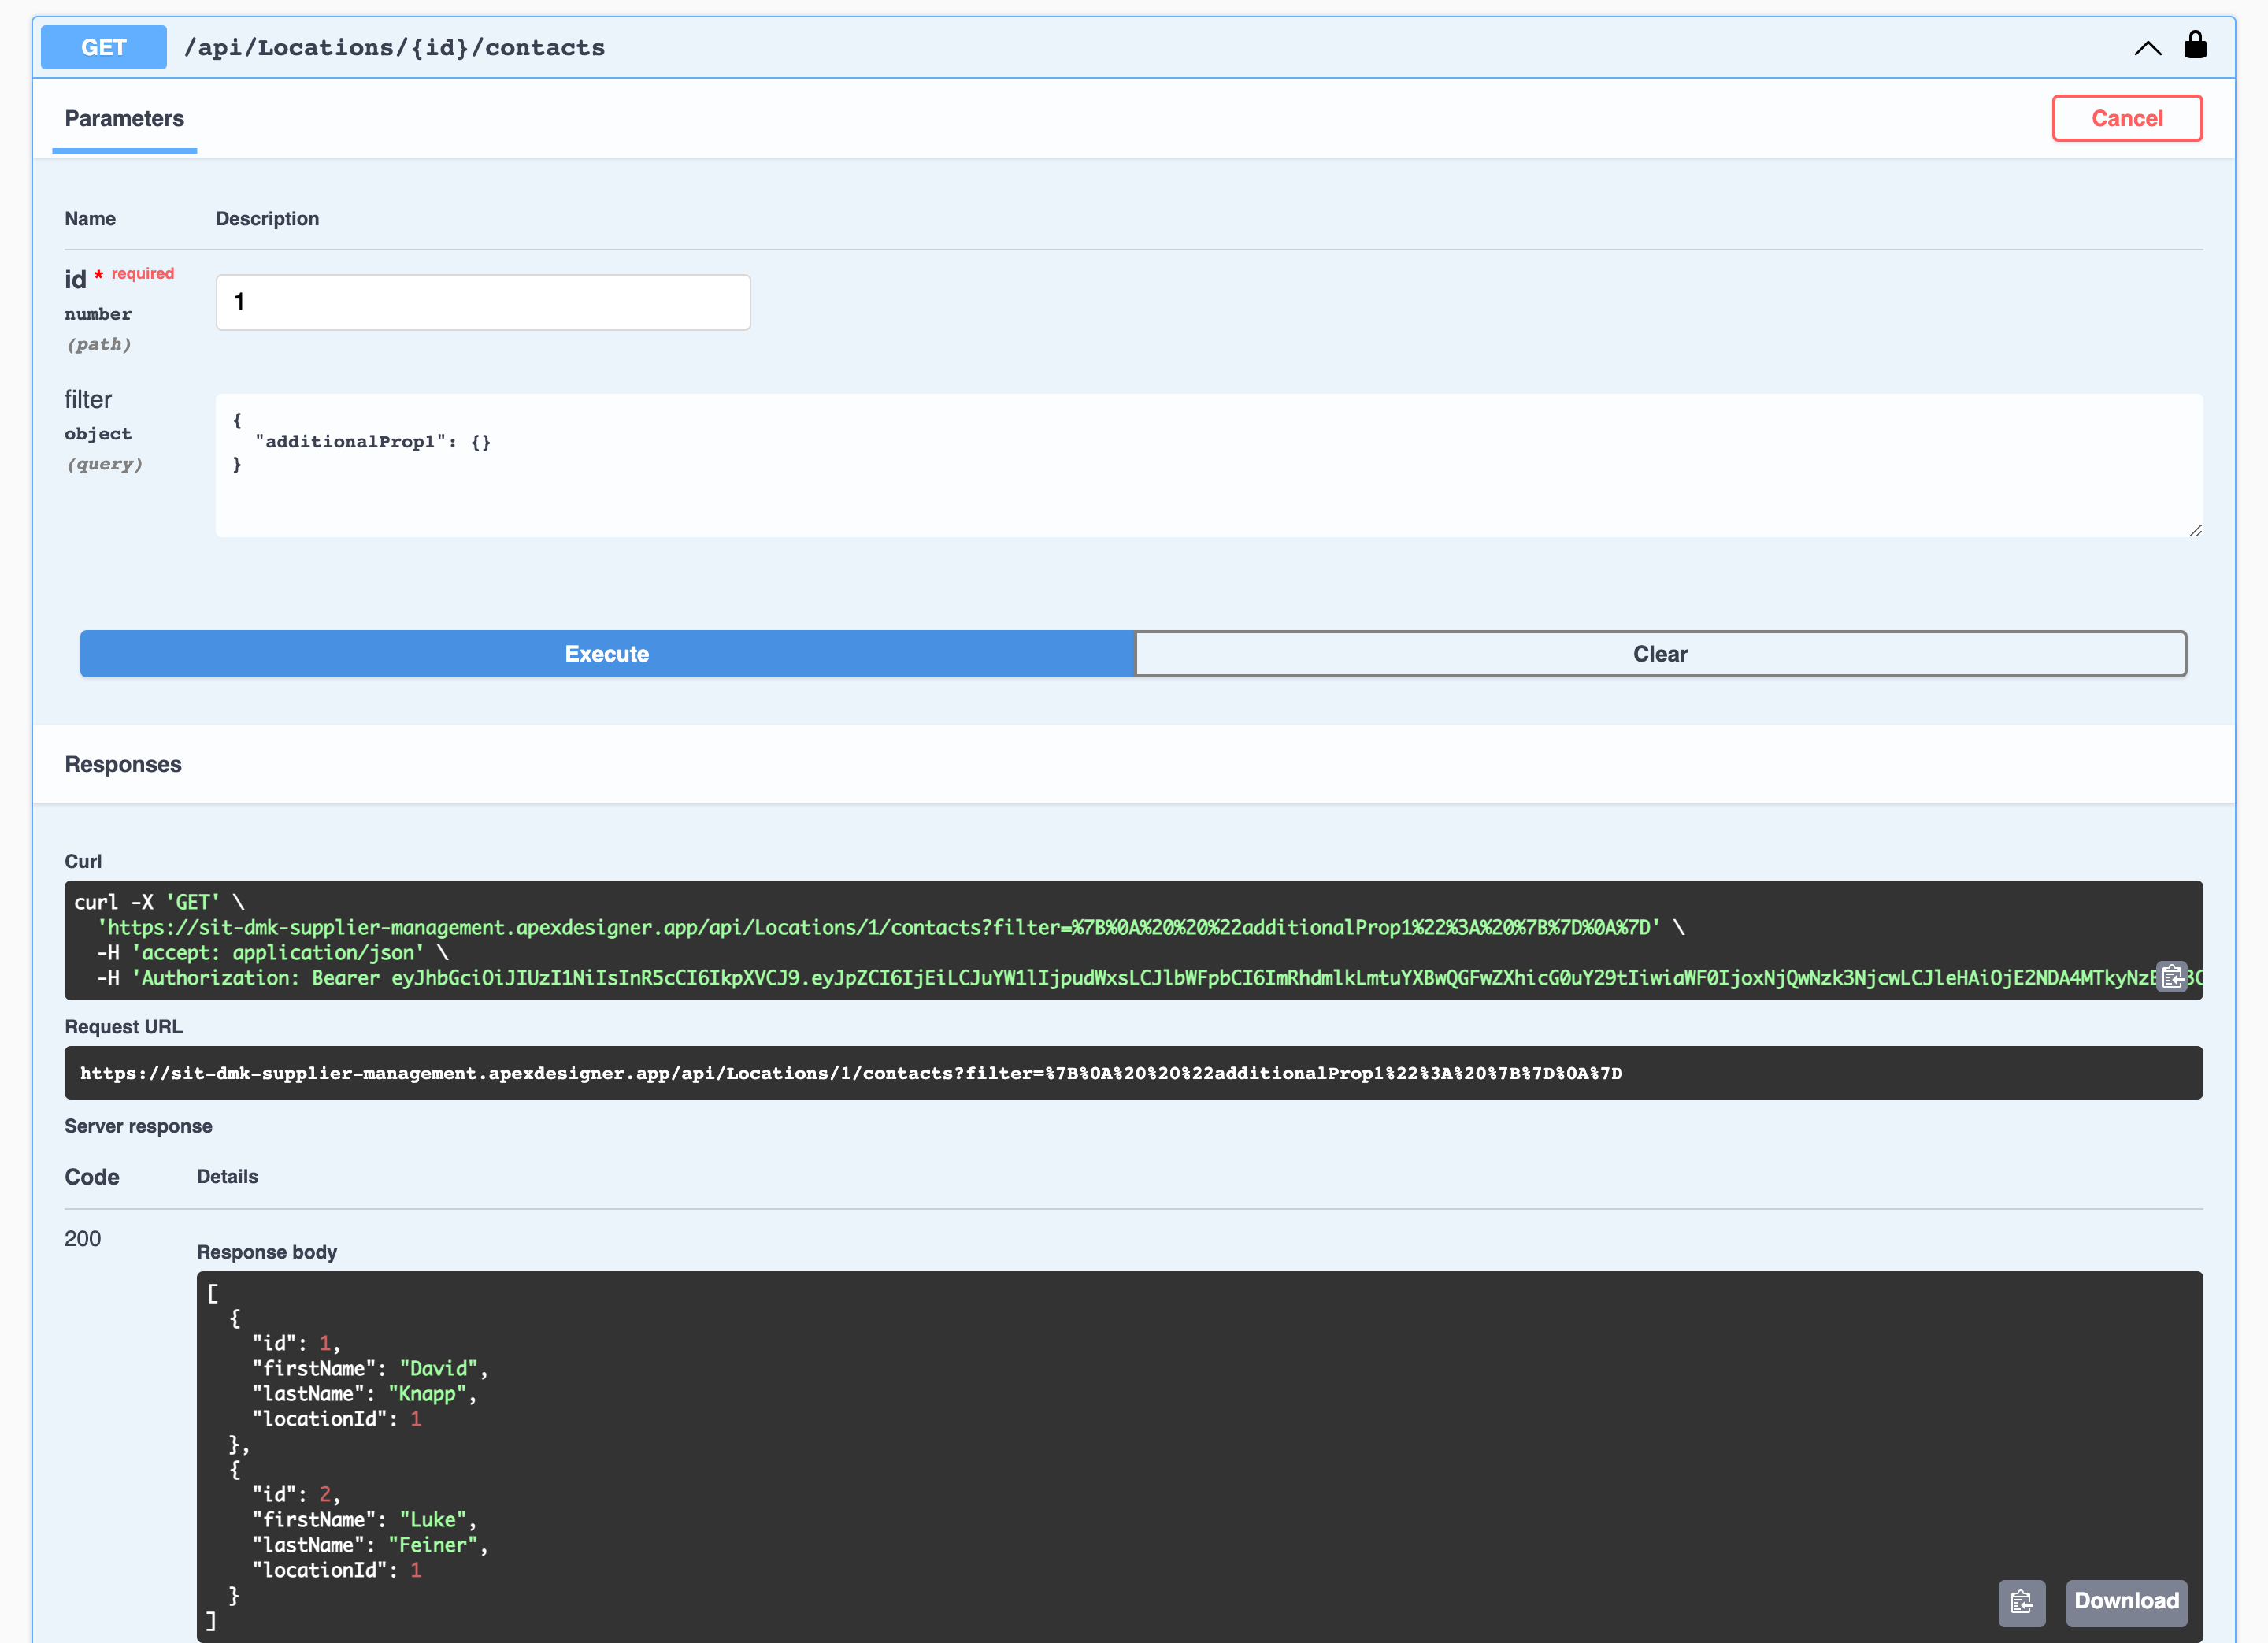
Expand the "Get /api/Locations/{id}/contacts", enter 1 for the id, and click Execute:
Summary
You have created a set of related business objects, created and managed data through dynamically generated user interfaces, and explored the API through API Explorer. The next lesson will cover customizing the user interfaces. Click the next topic link below to continue.