Create an app that manages information in a database
Written by David Knapp
Updated 4 years ago
2 min read
Create a Project
Click Projects on the ribbon apps
Click the Add Project floating action button
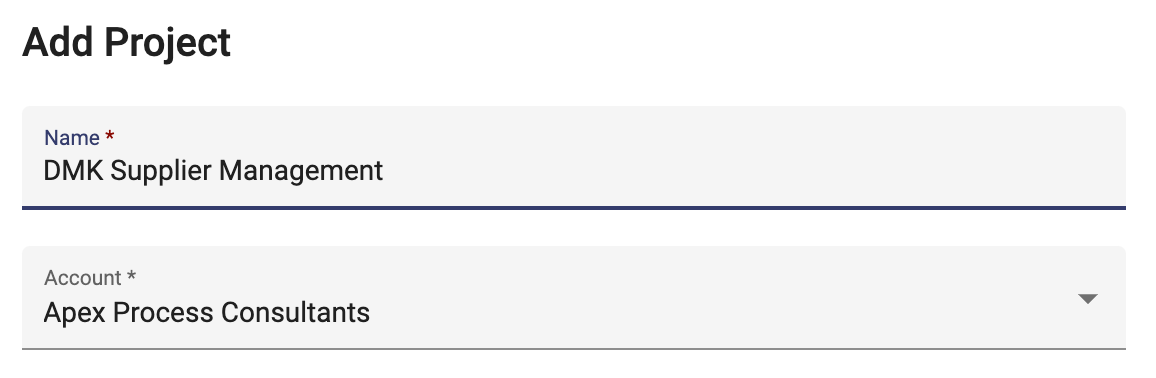
Enter the project name (it needs to be unique so try including your initials in the name):
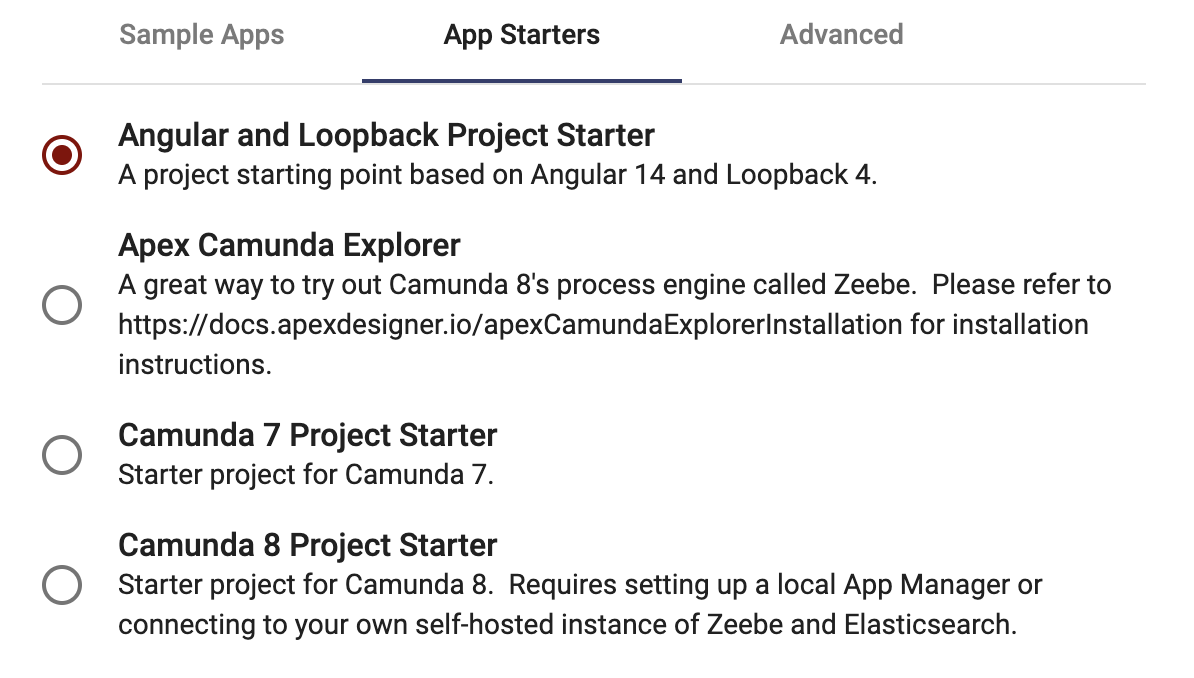
Click the App Starters tab and be sure that the Angular and Loopback Project Starter is selected:
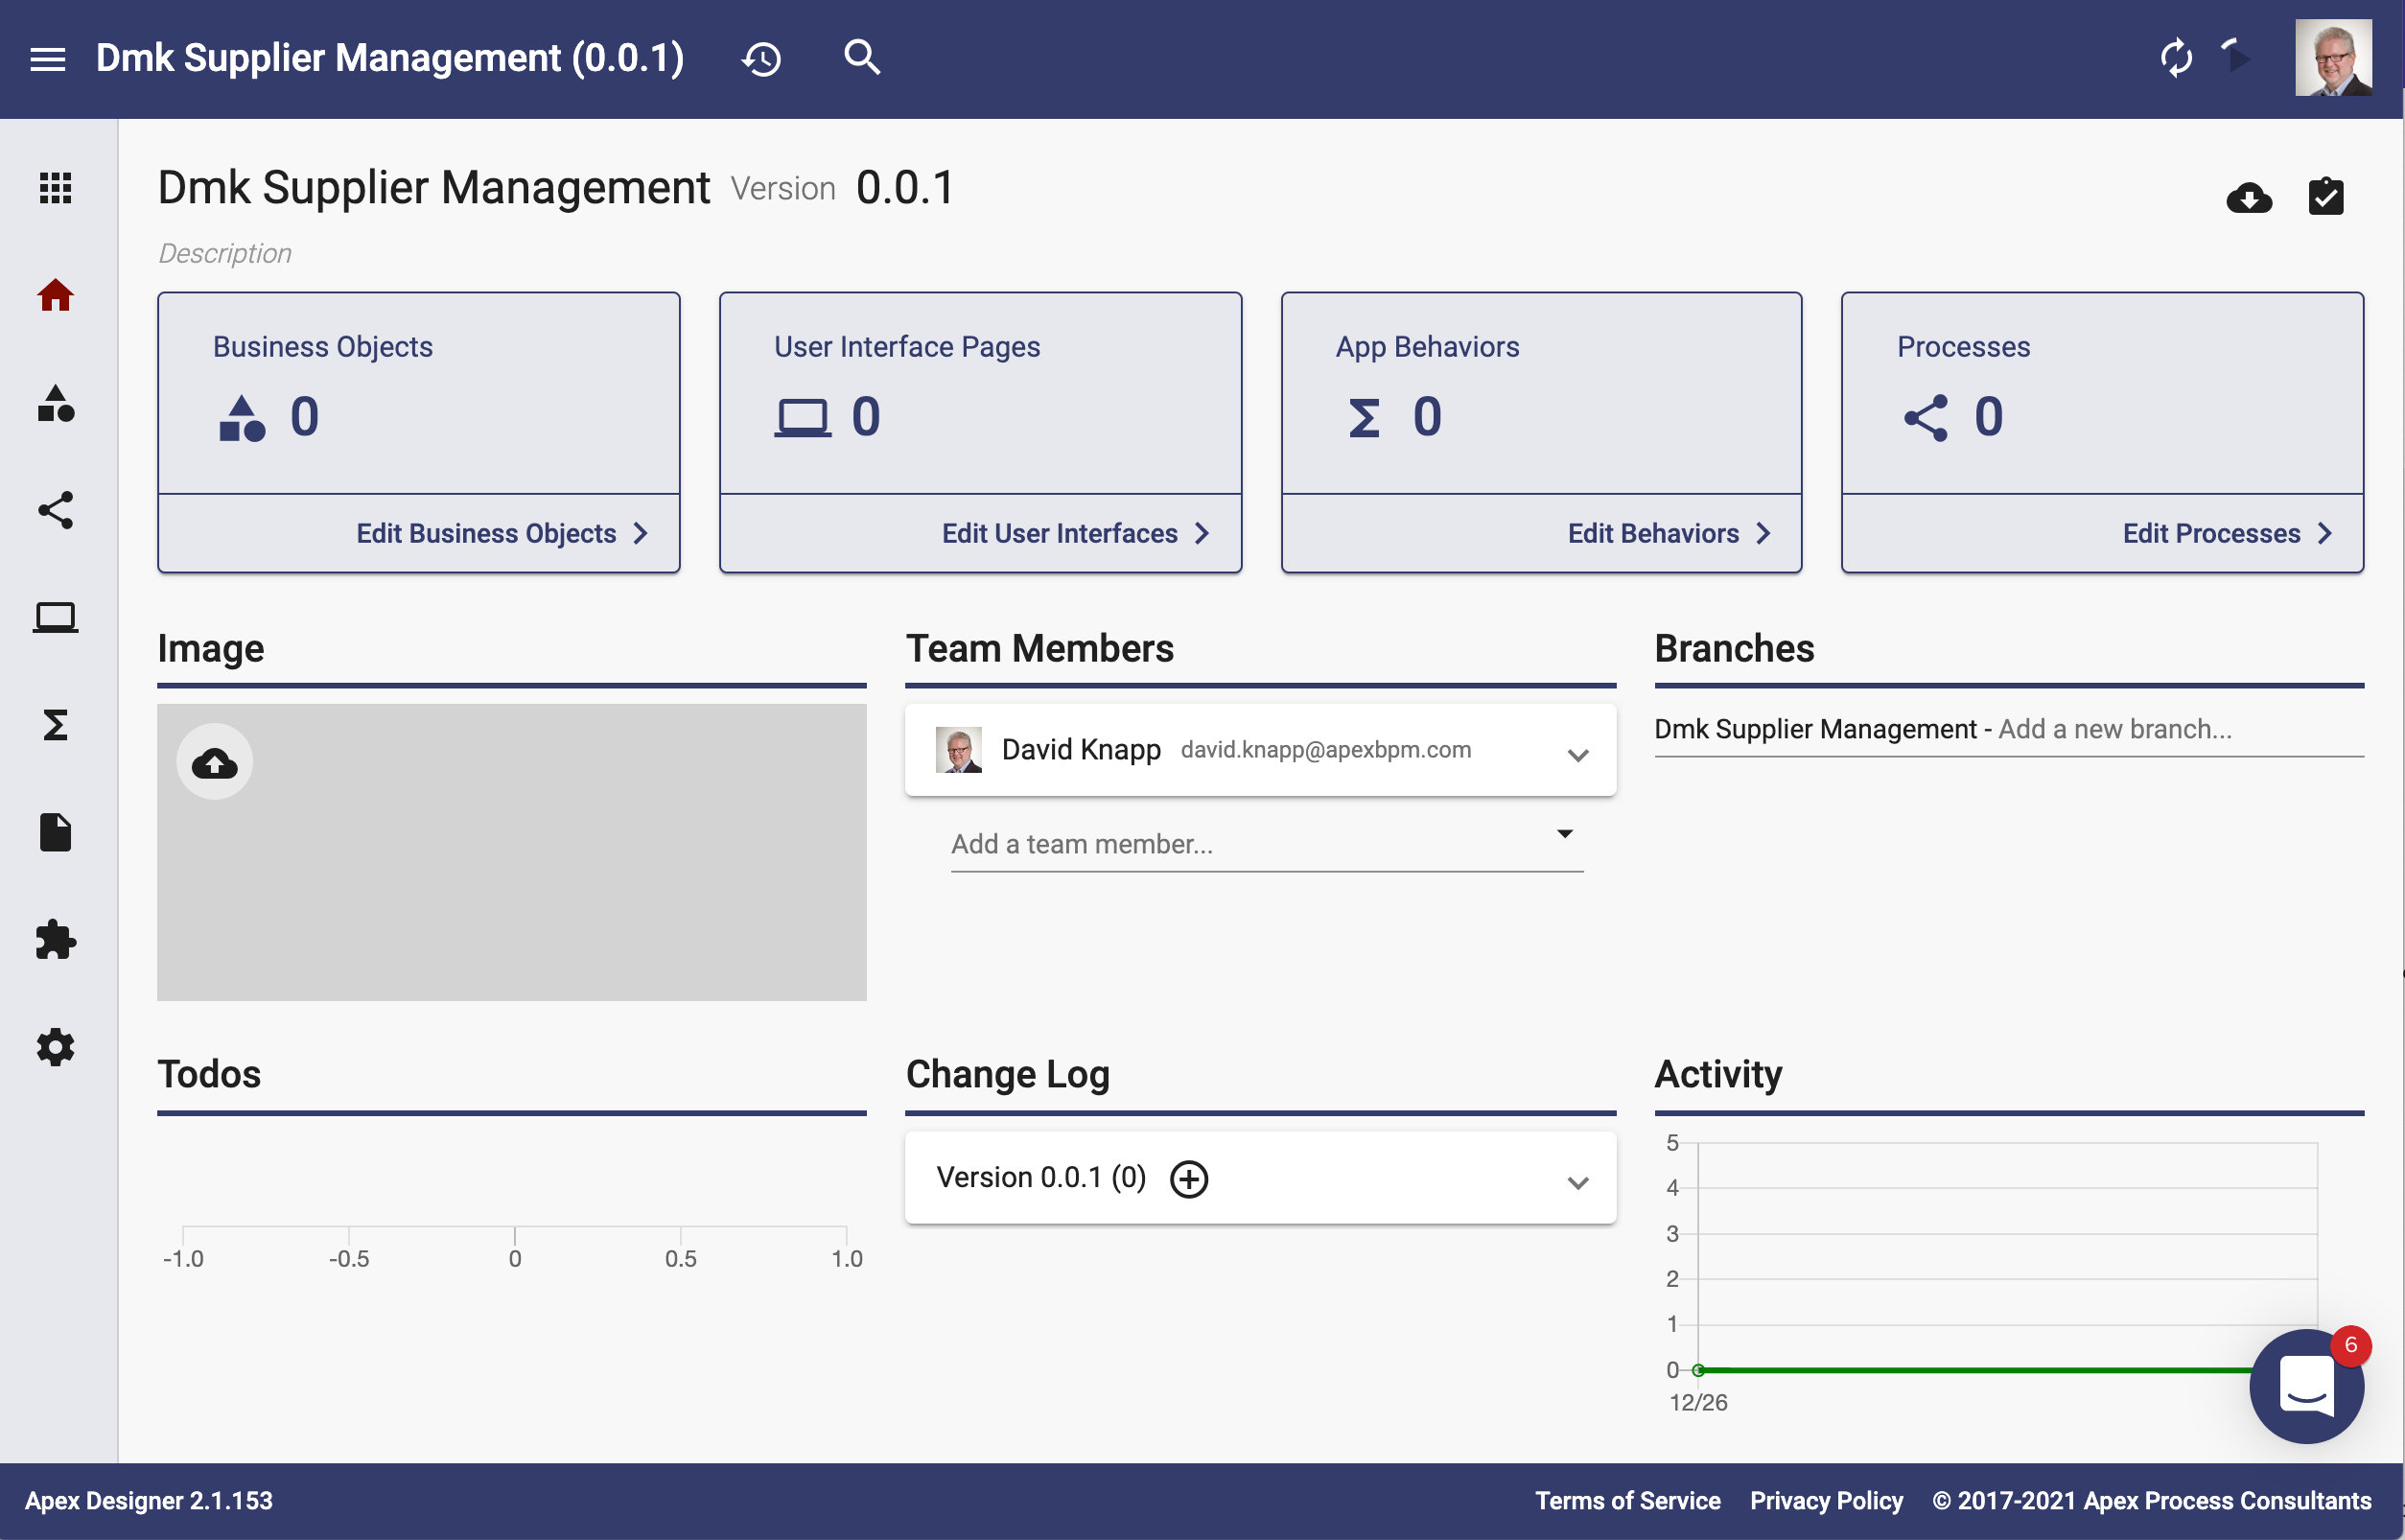
Click the Create Project button. Apex Designer creates your project and takes you to its home page:
Note: if you want to see what default libraries are included in a base project you can click on the extension icon to see them. You can read about each of them in the Libraries set of pages.
Create a Business Object
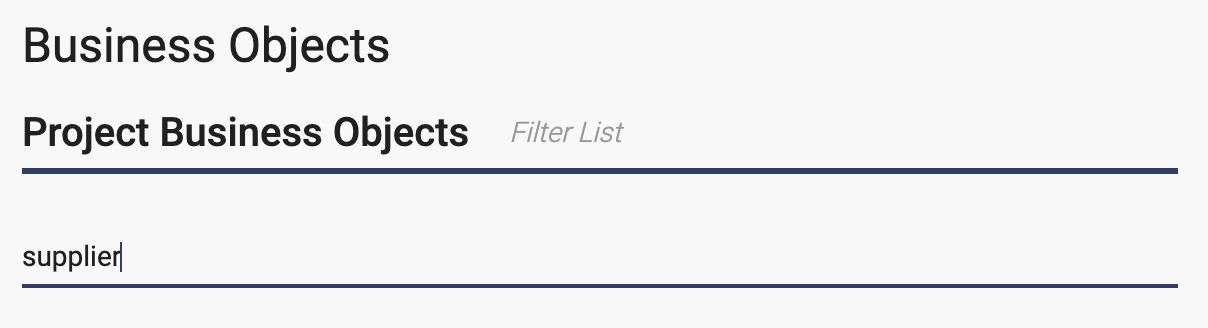
Click Business Objects on the ribbon category
Enter "supplier" in the "Add a business object.." field
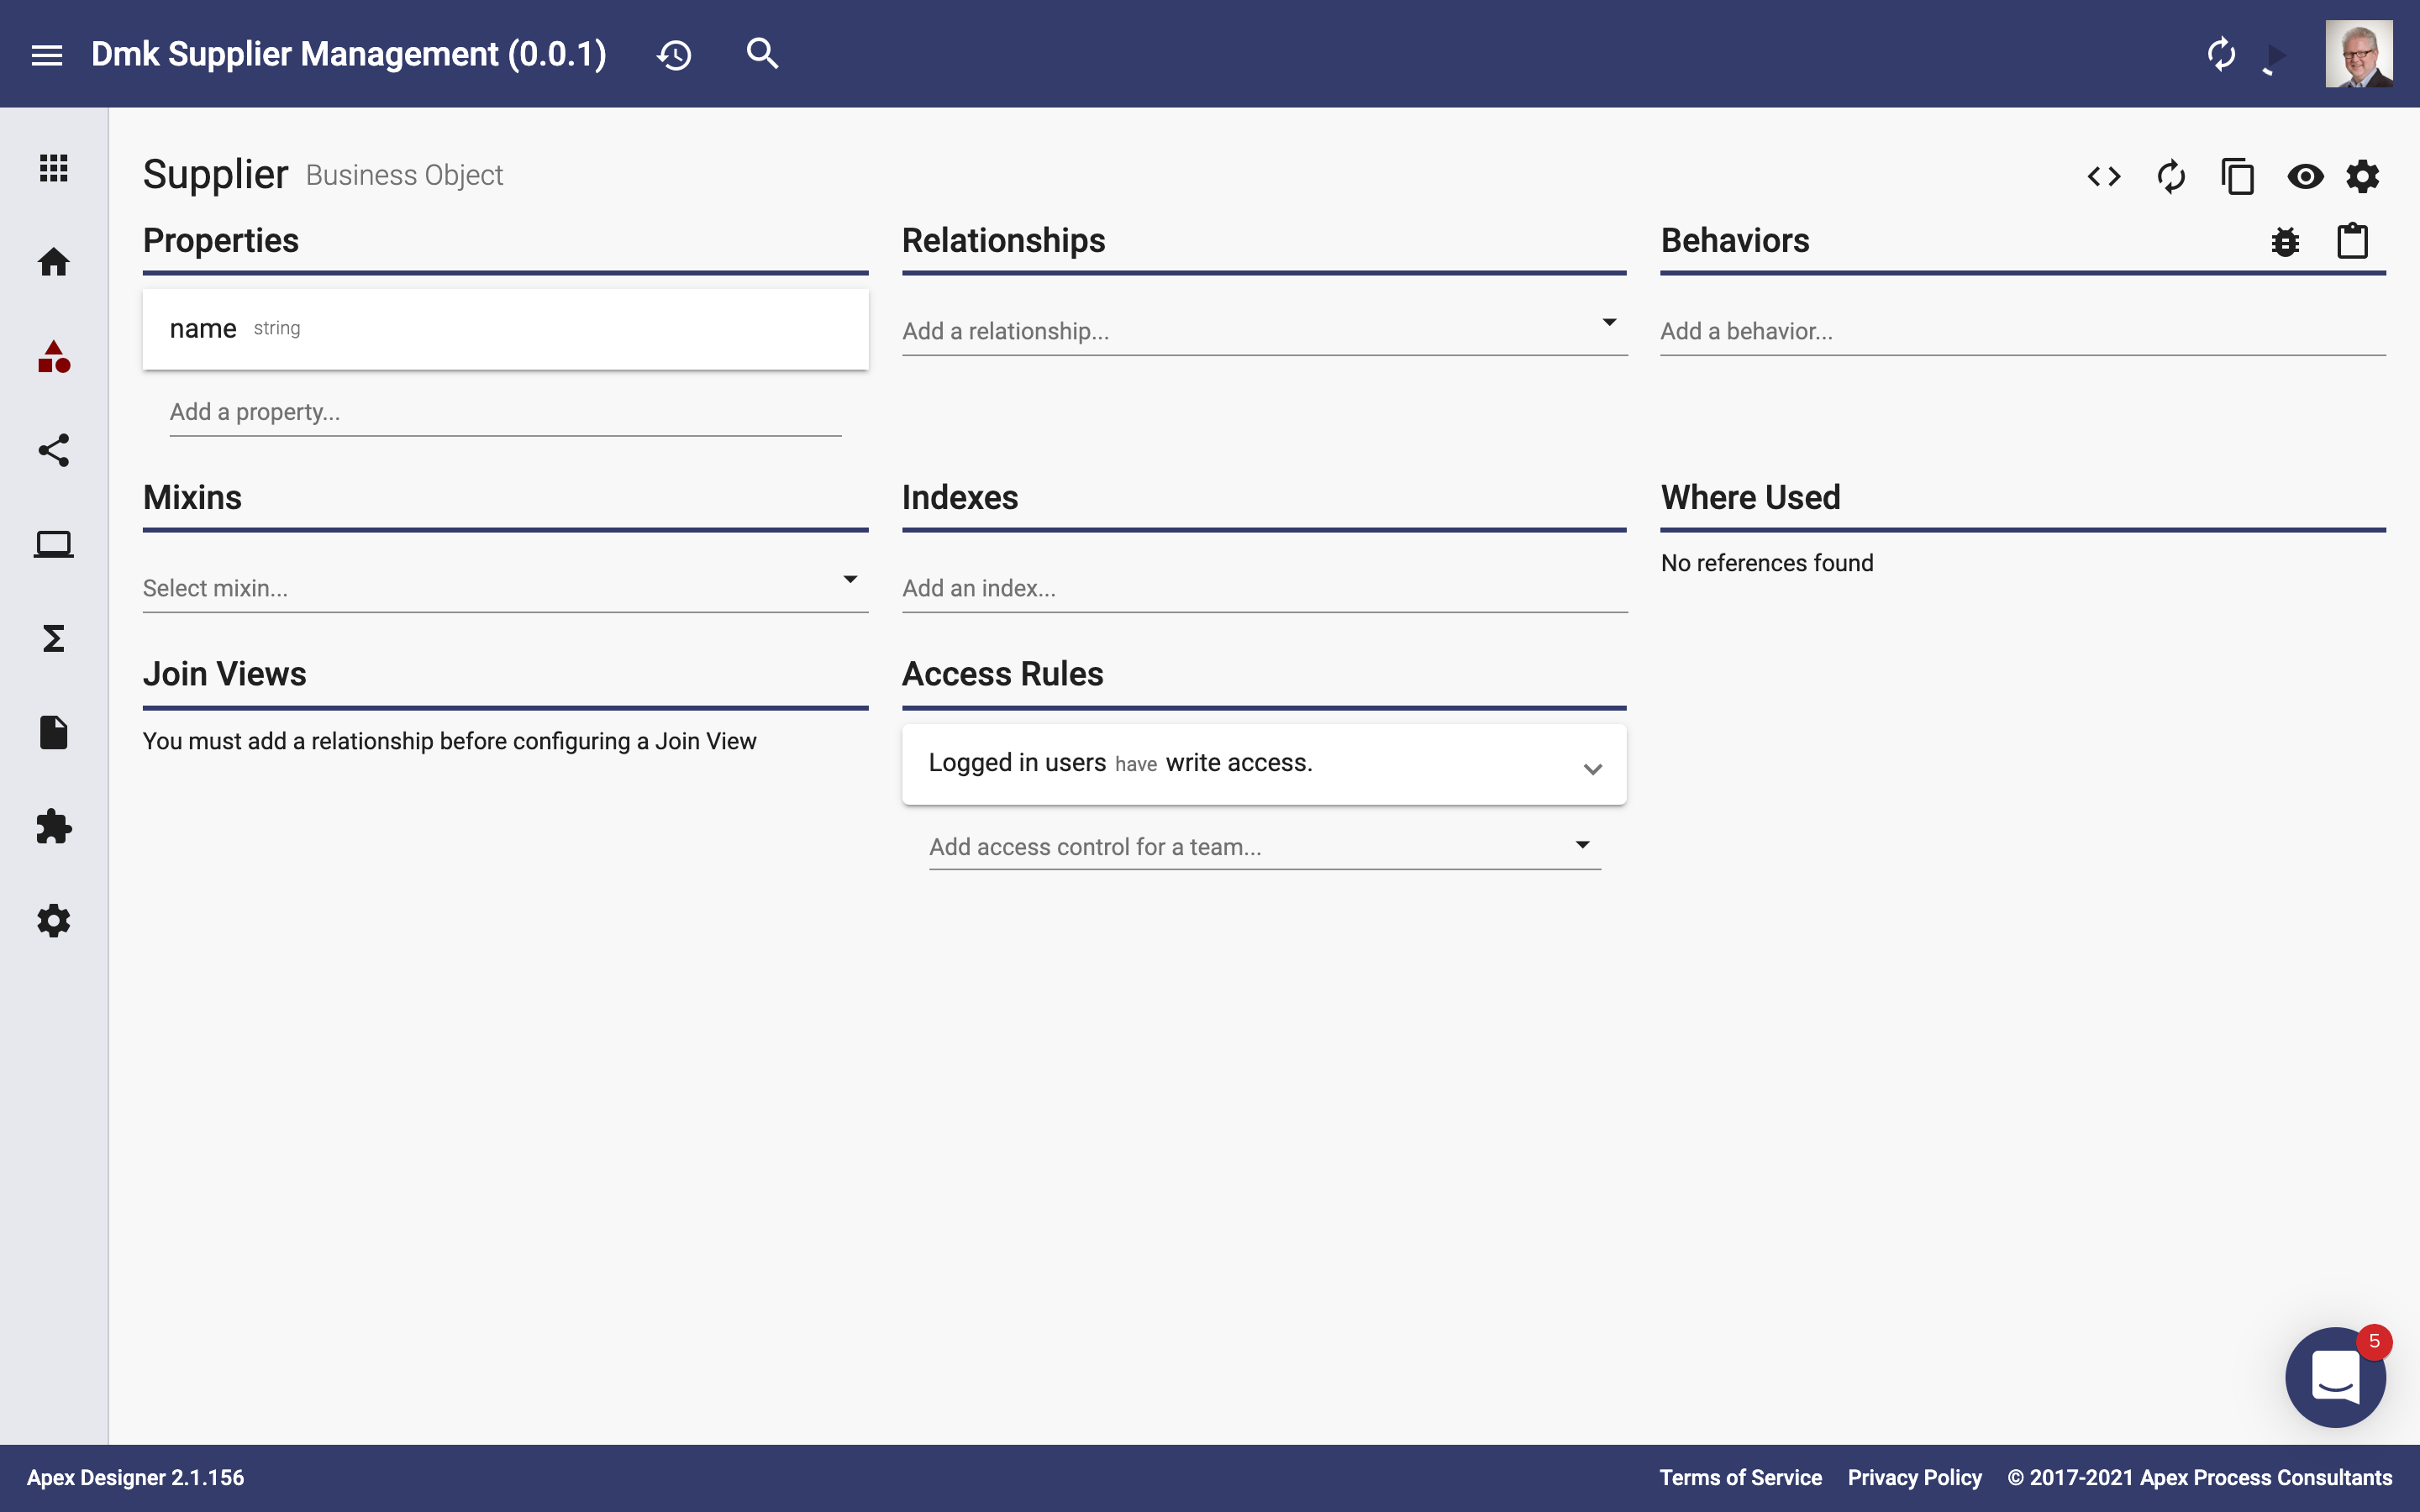
Press enter to create the business object. The business object page is displayed:
Notice that Apex Designer capitalized the business object name. You can change that in the business object settings.
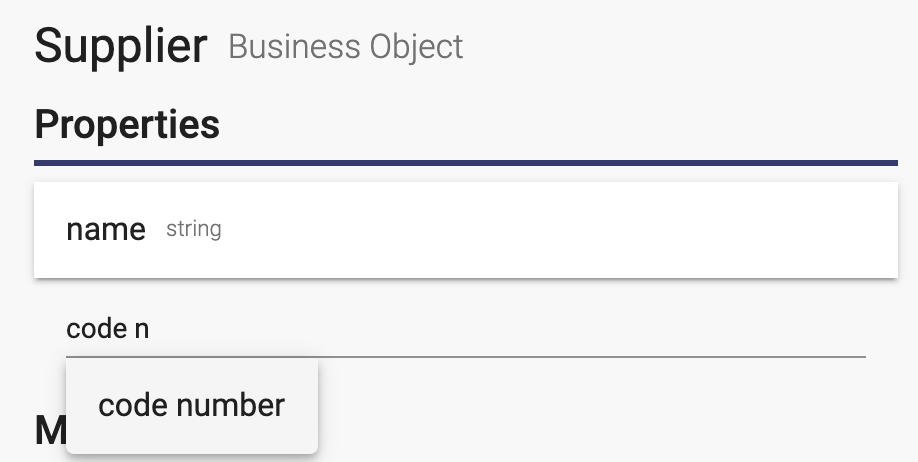
Enter "code n" in the "Add a property..." field. Notice that the typeahead preselects "code number":
Press enter to add the property
Generate the App
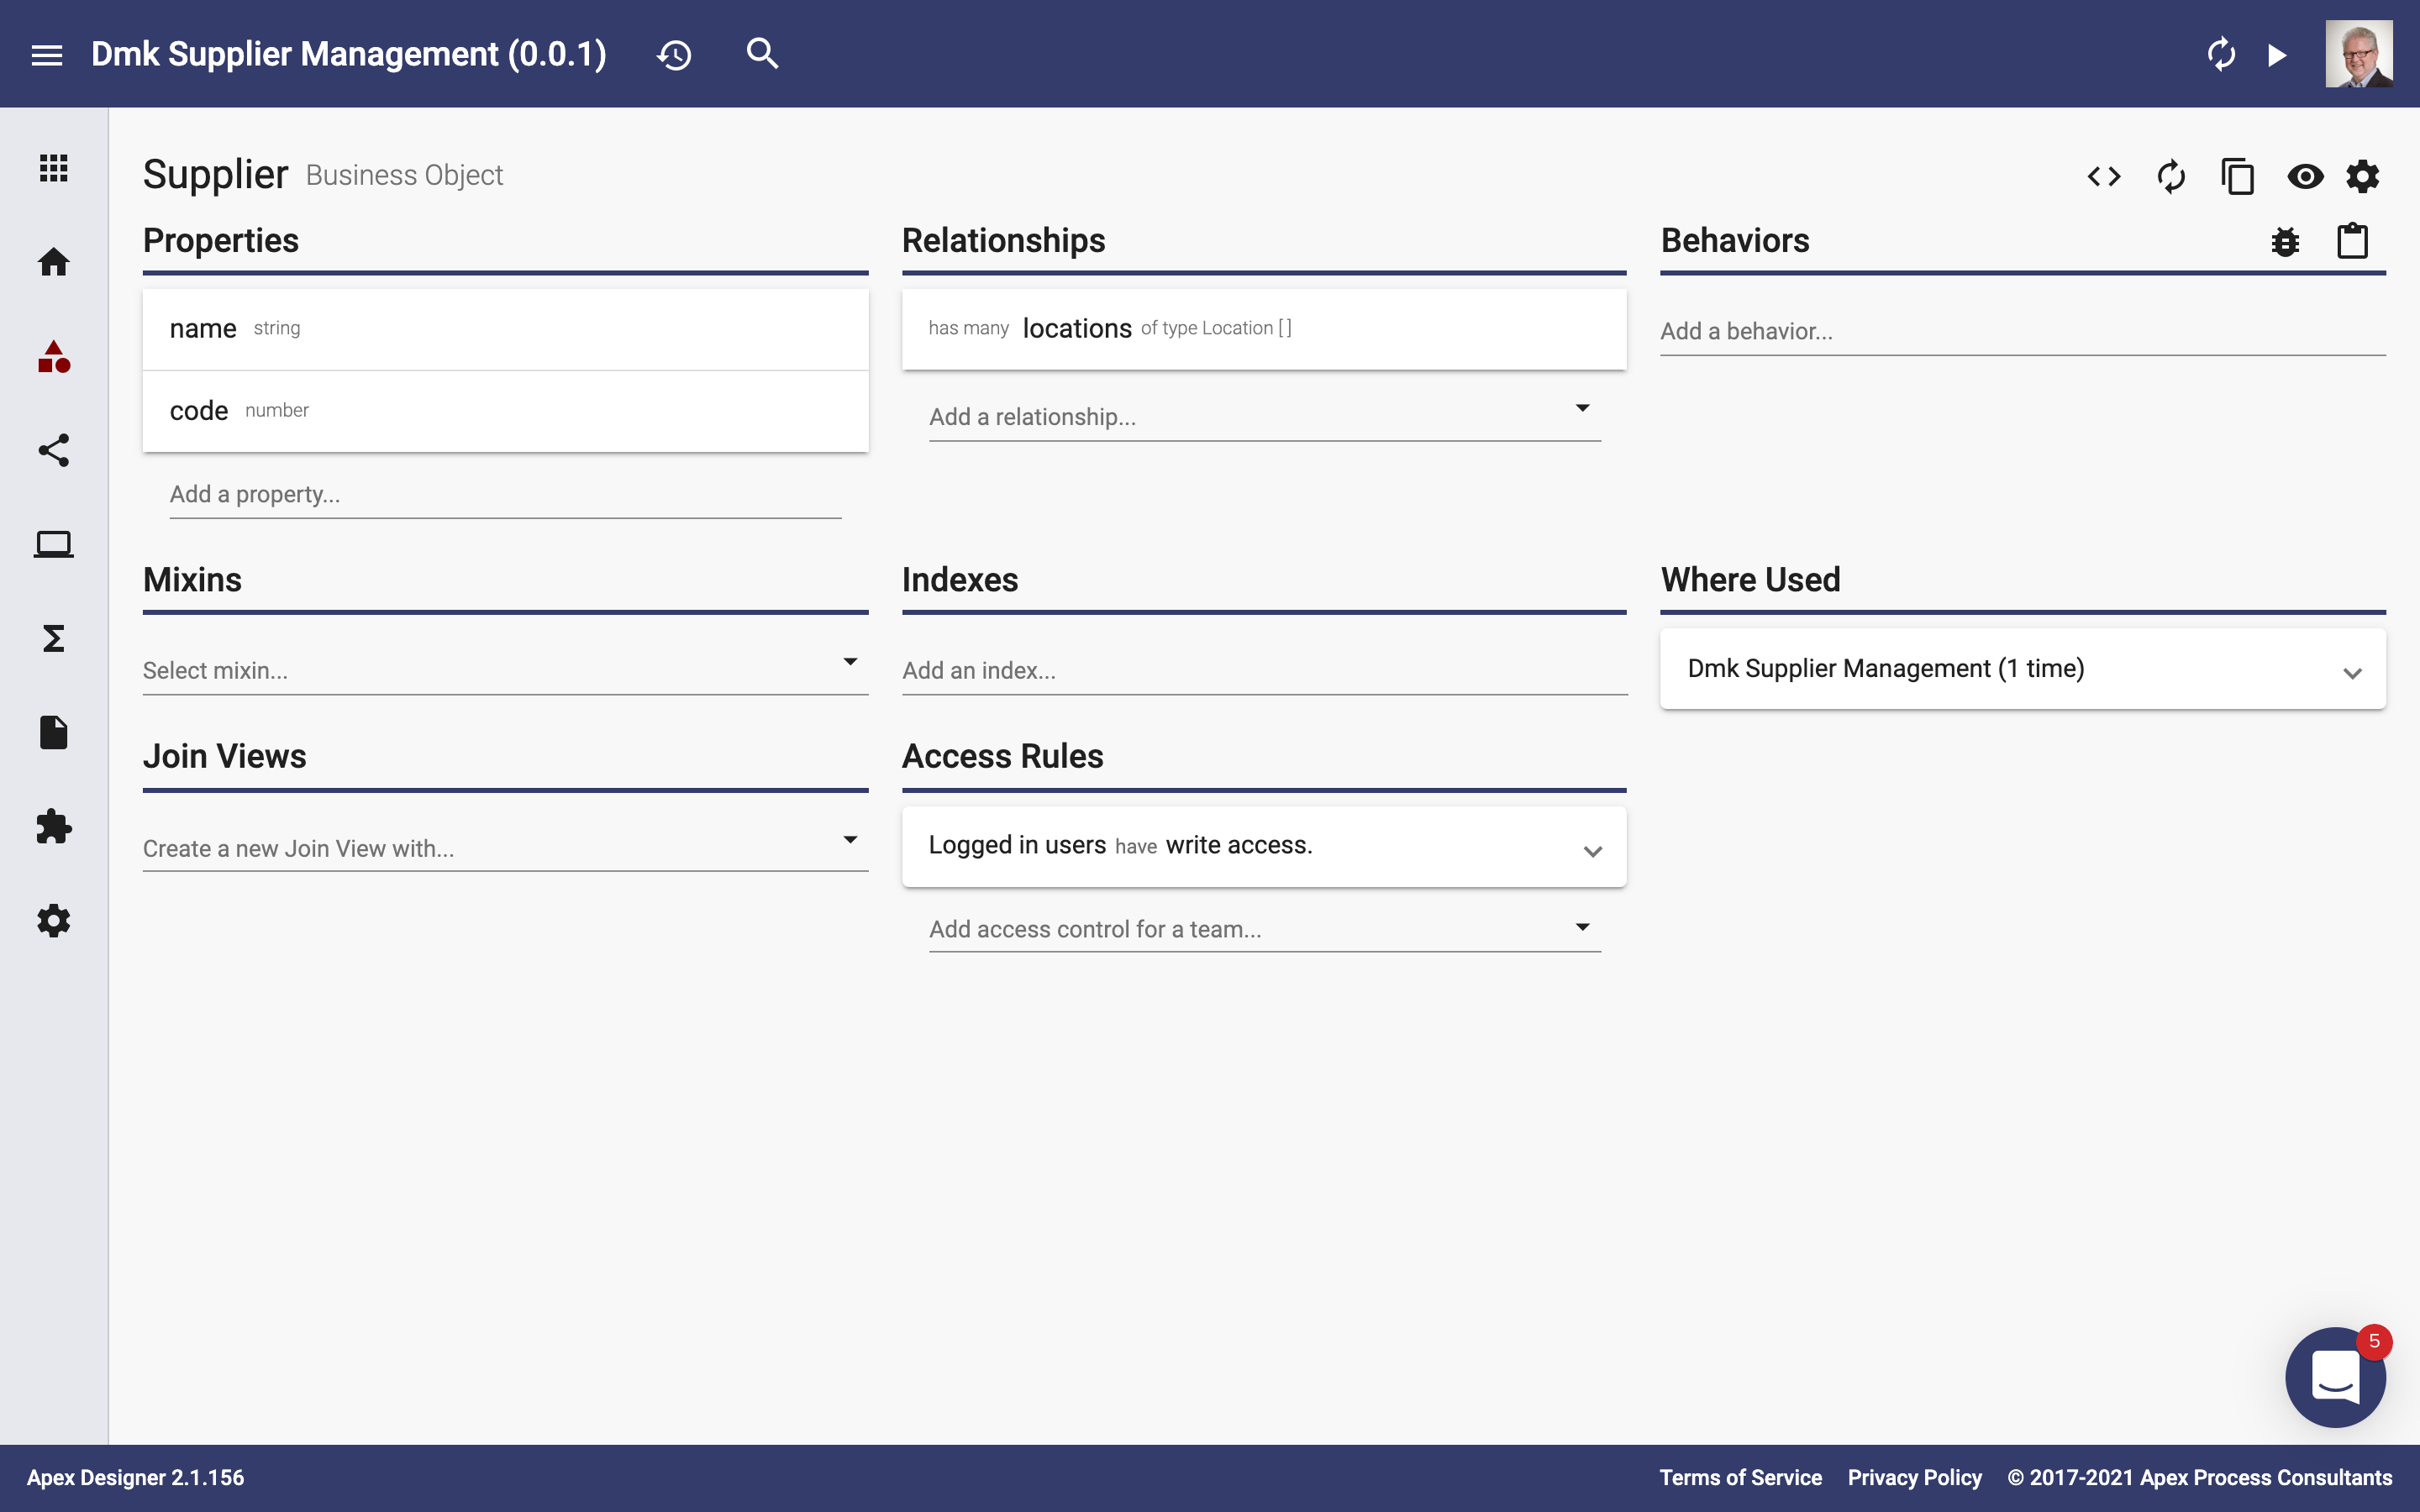
Click the "Generate App" icon button in the toolbar:
When generate is complete, the snackbar at the bottom of the screen shows the results:
Run the App
Once the build is complete, you should see the "Launch App" icon button in the toolbar. Click it:
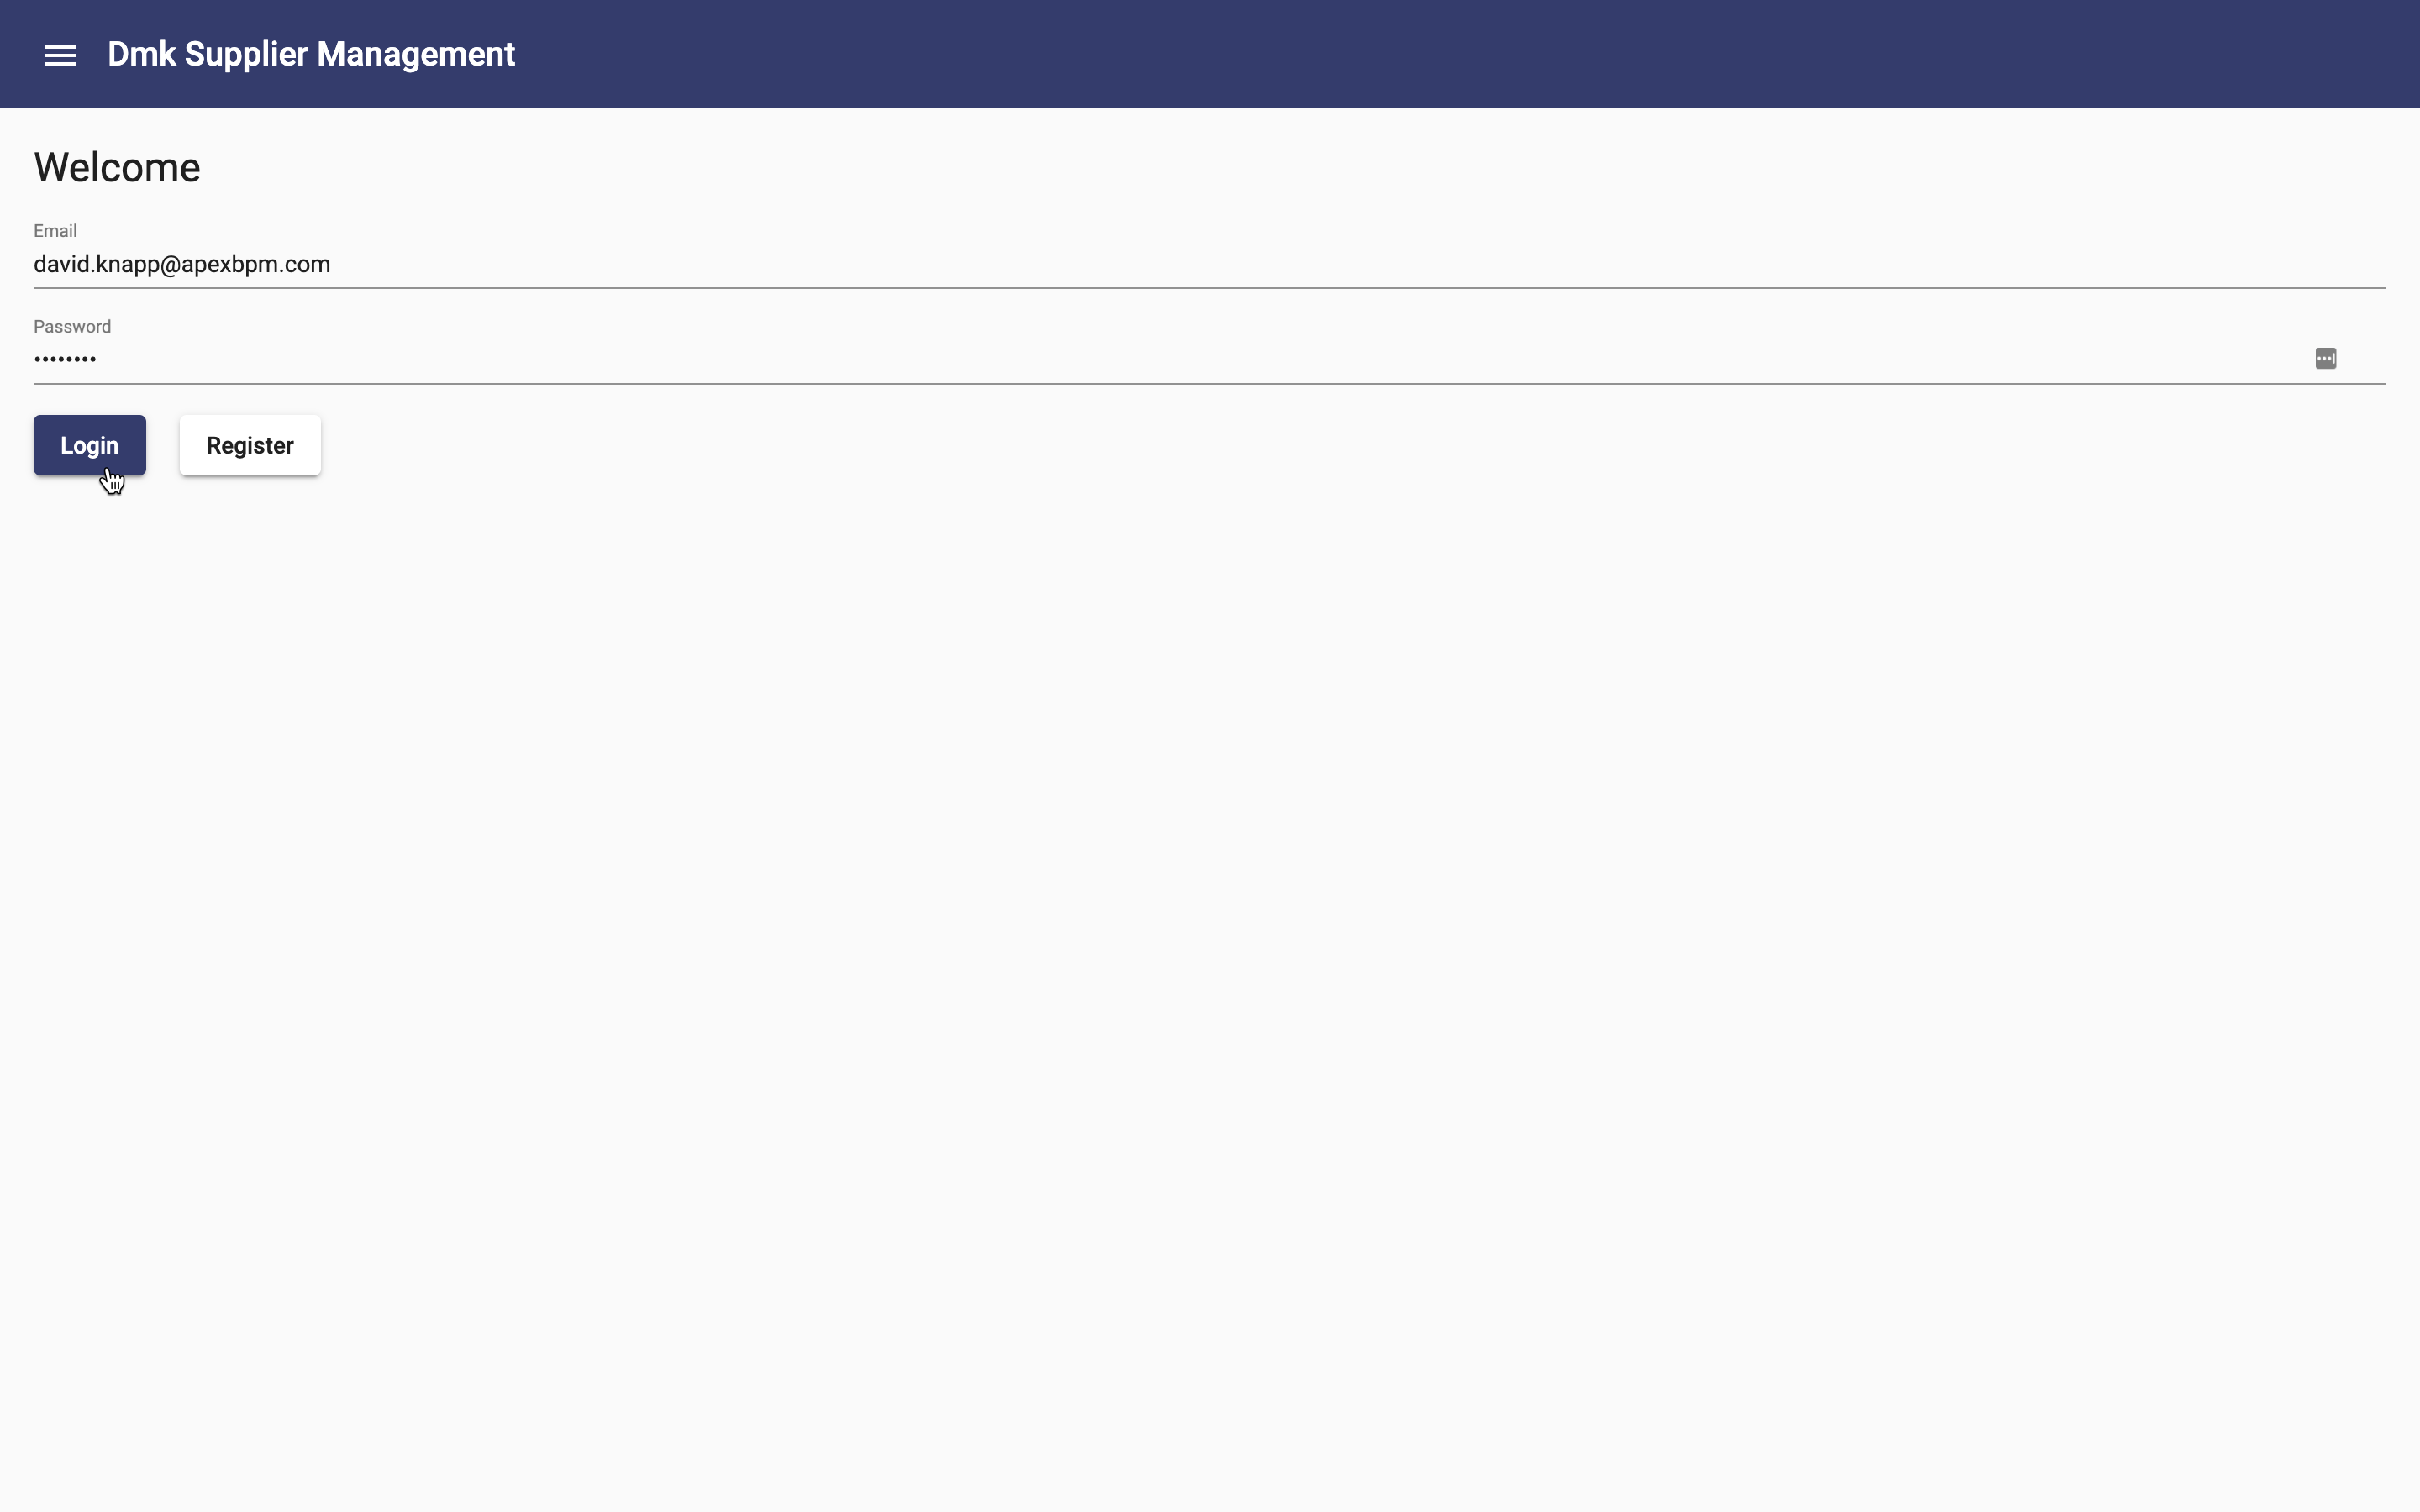
The app opens in a new browser tab and redirects to the welcome page. Fill in your email and the password "password" and click Login:
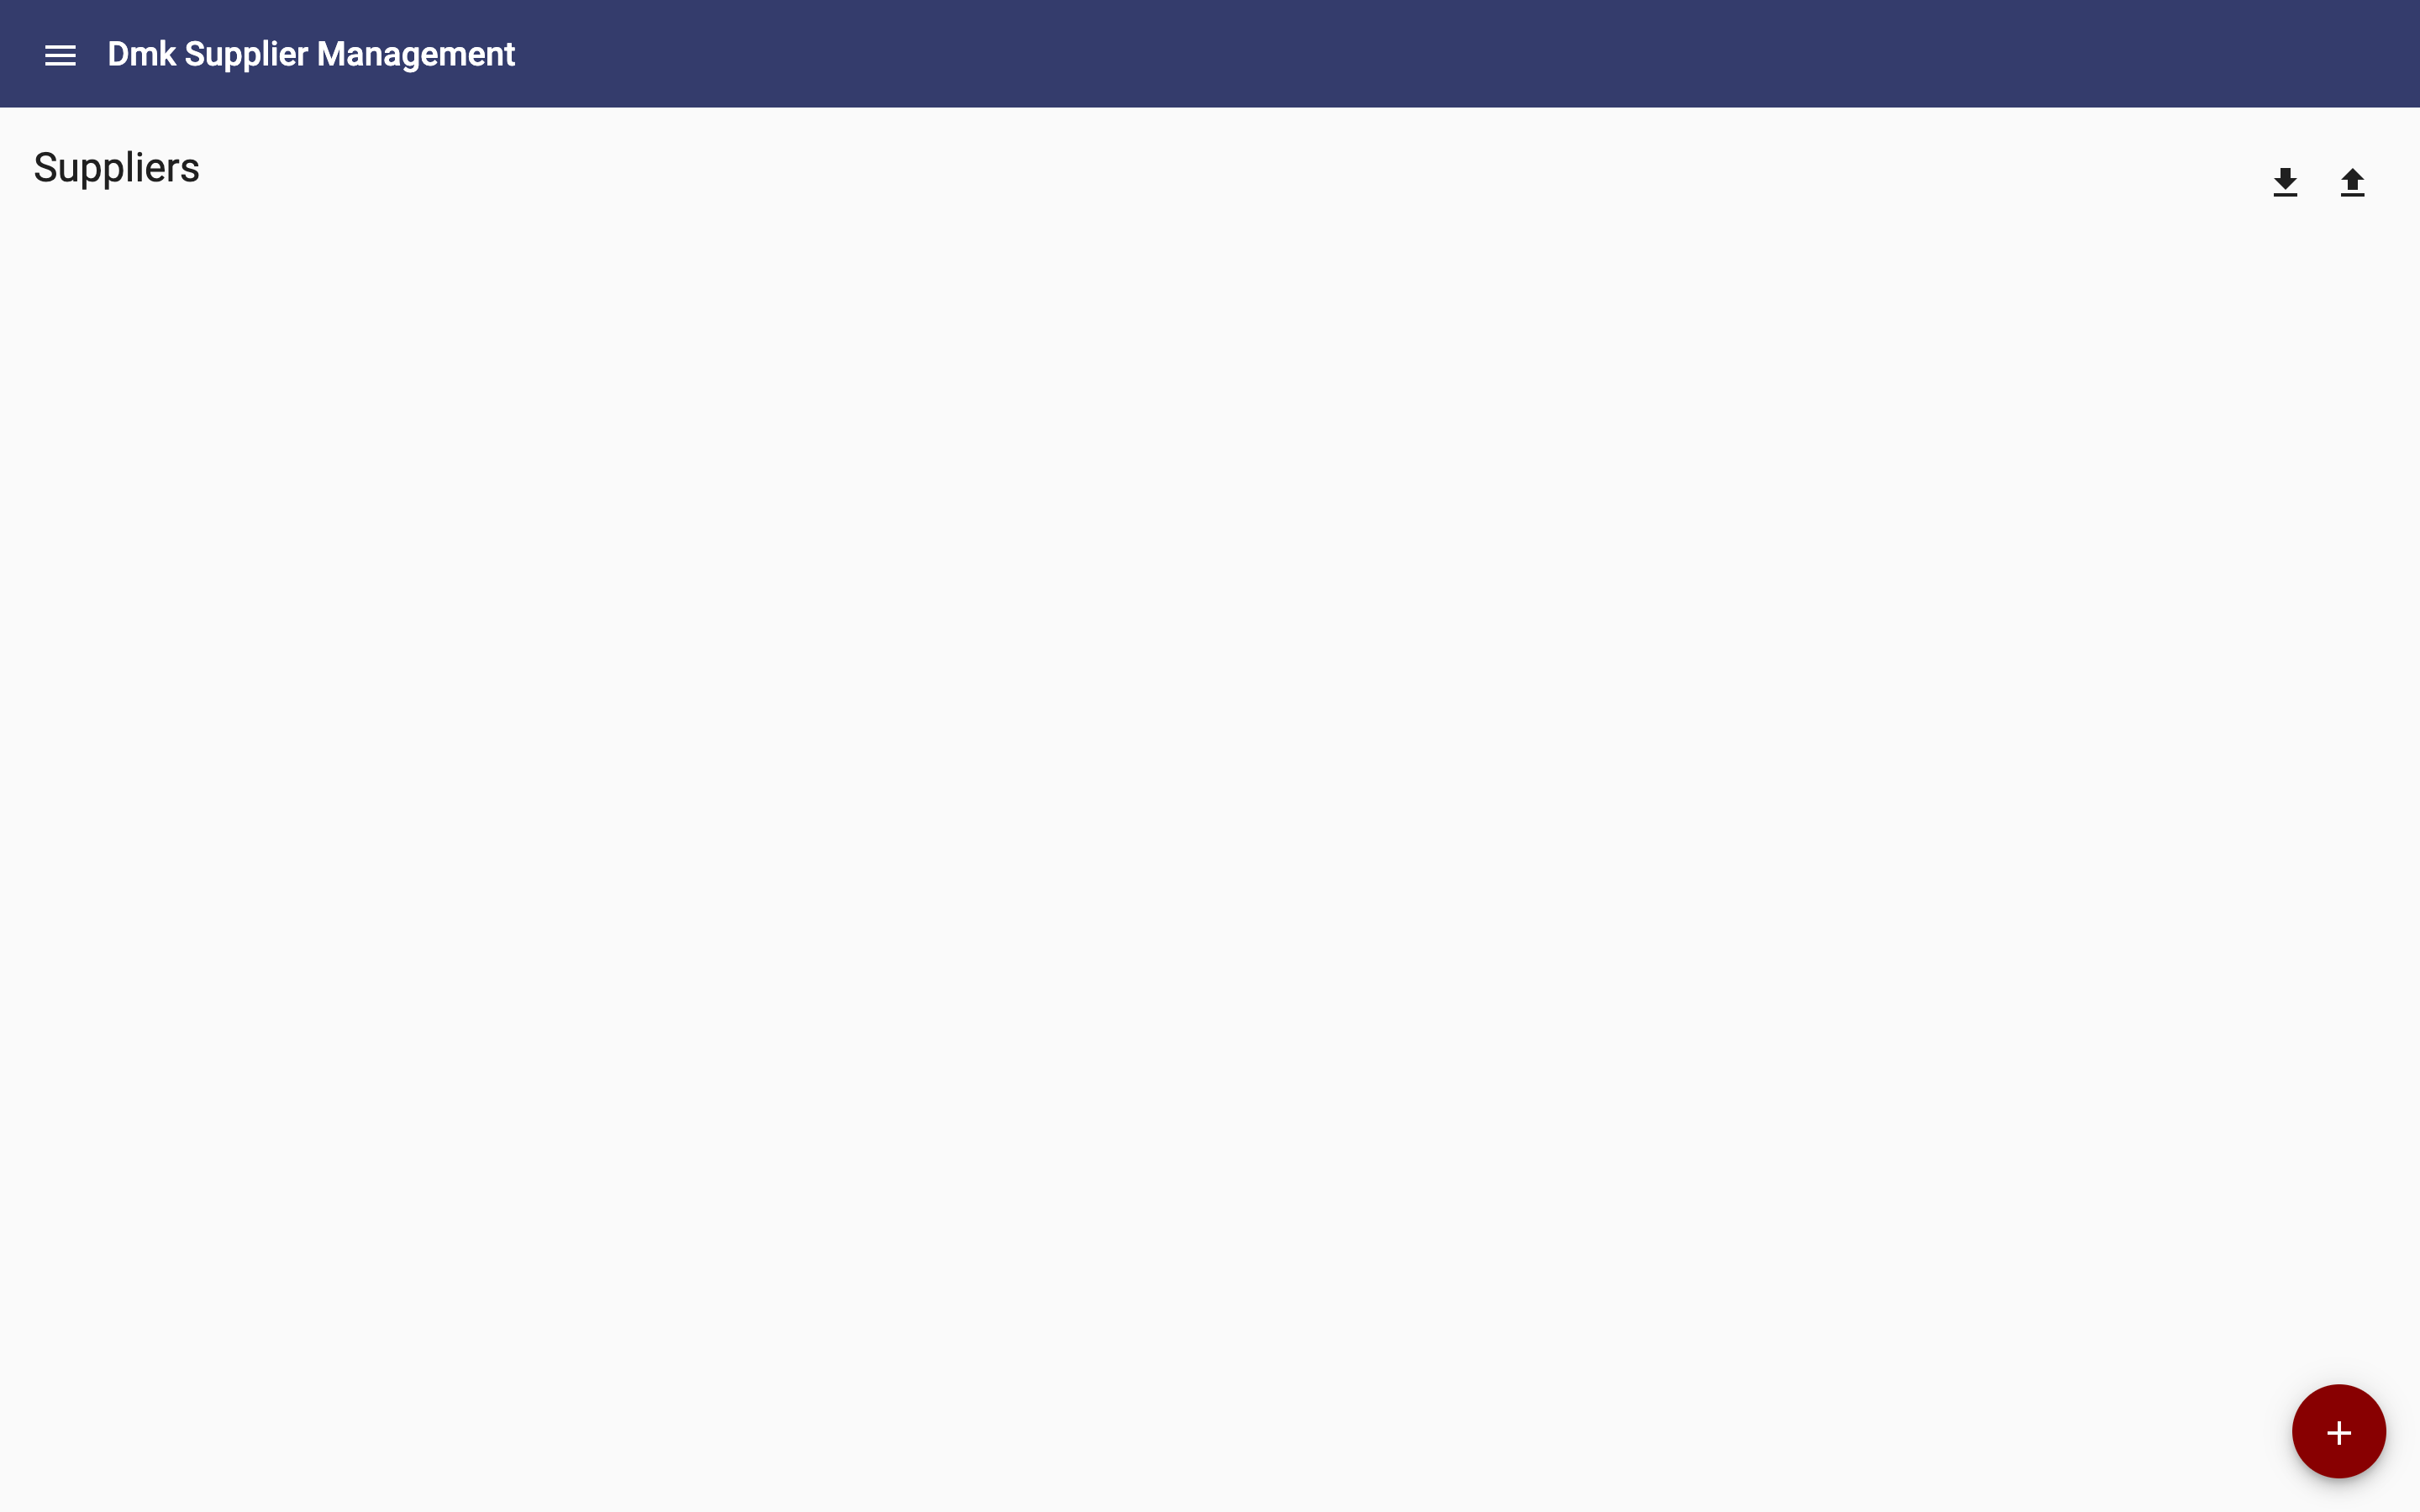
The app redirects to the Suppliers page:
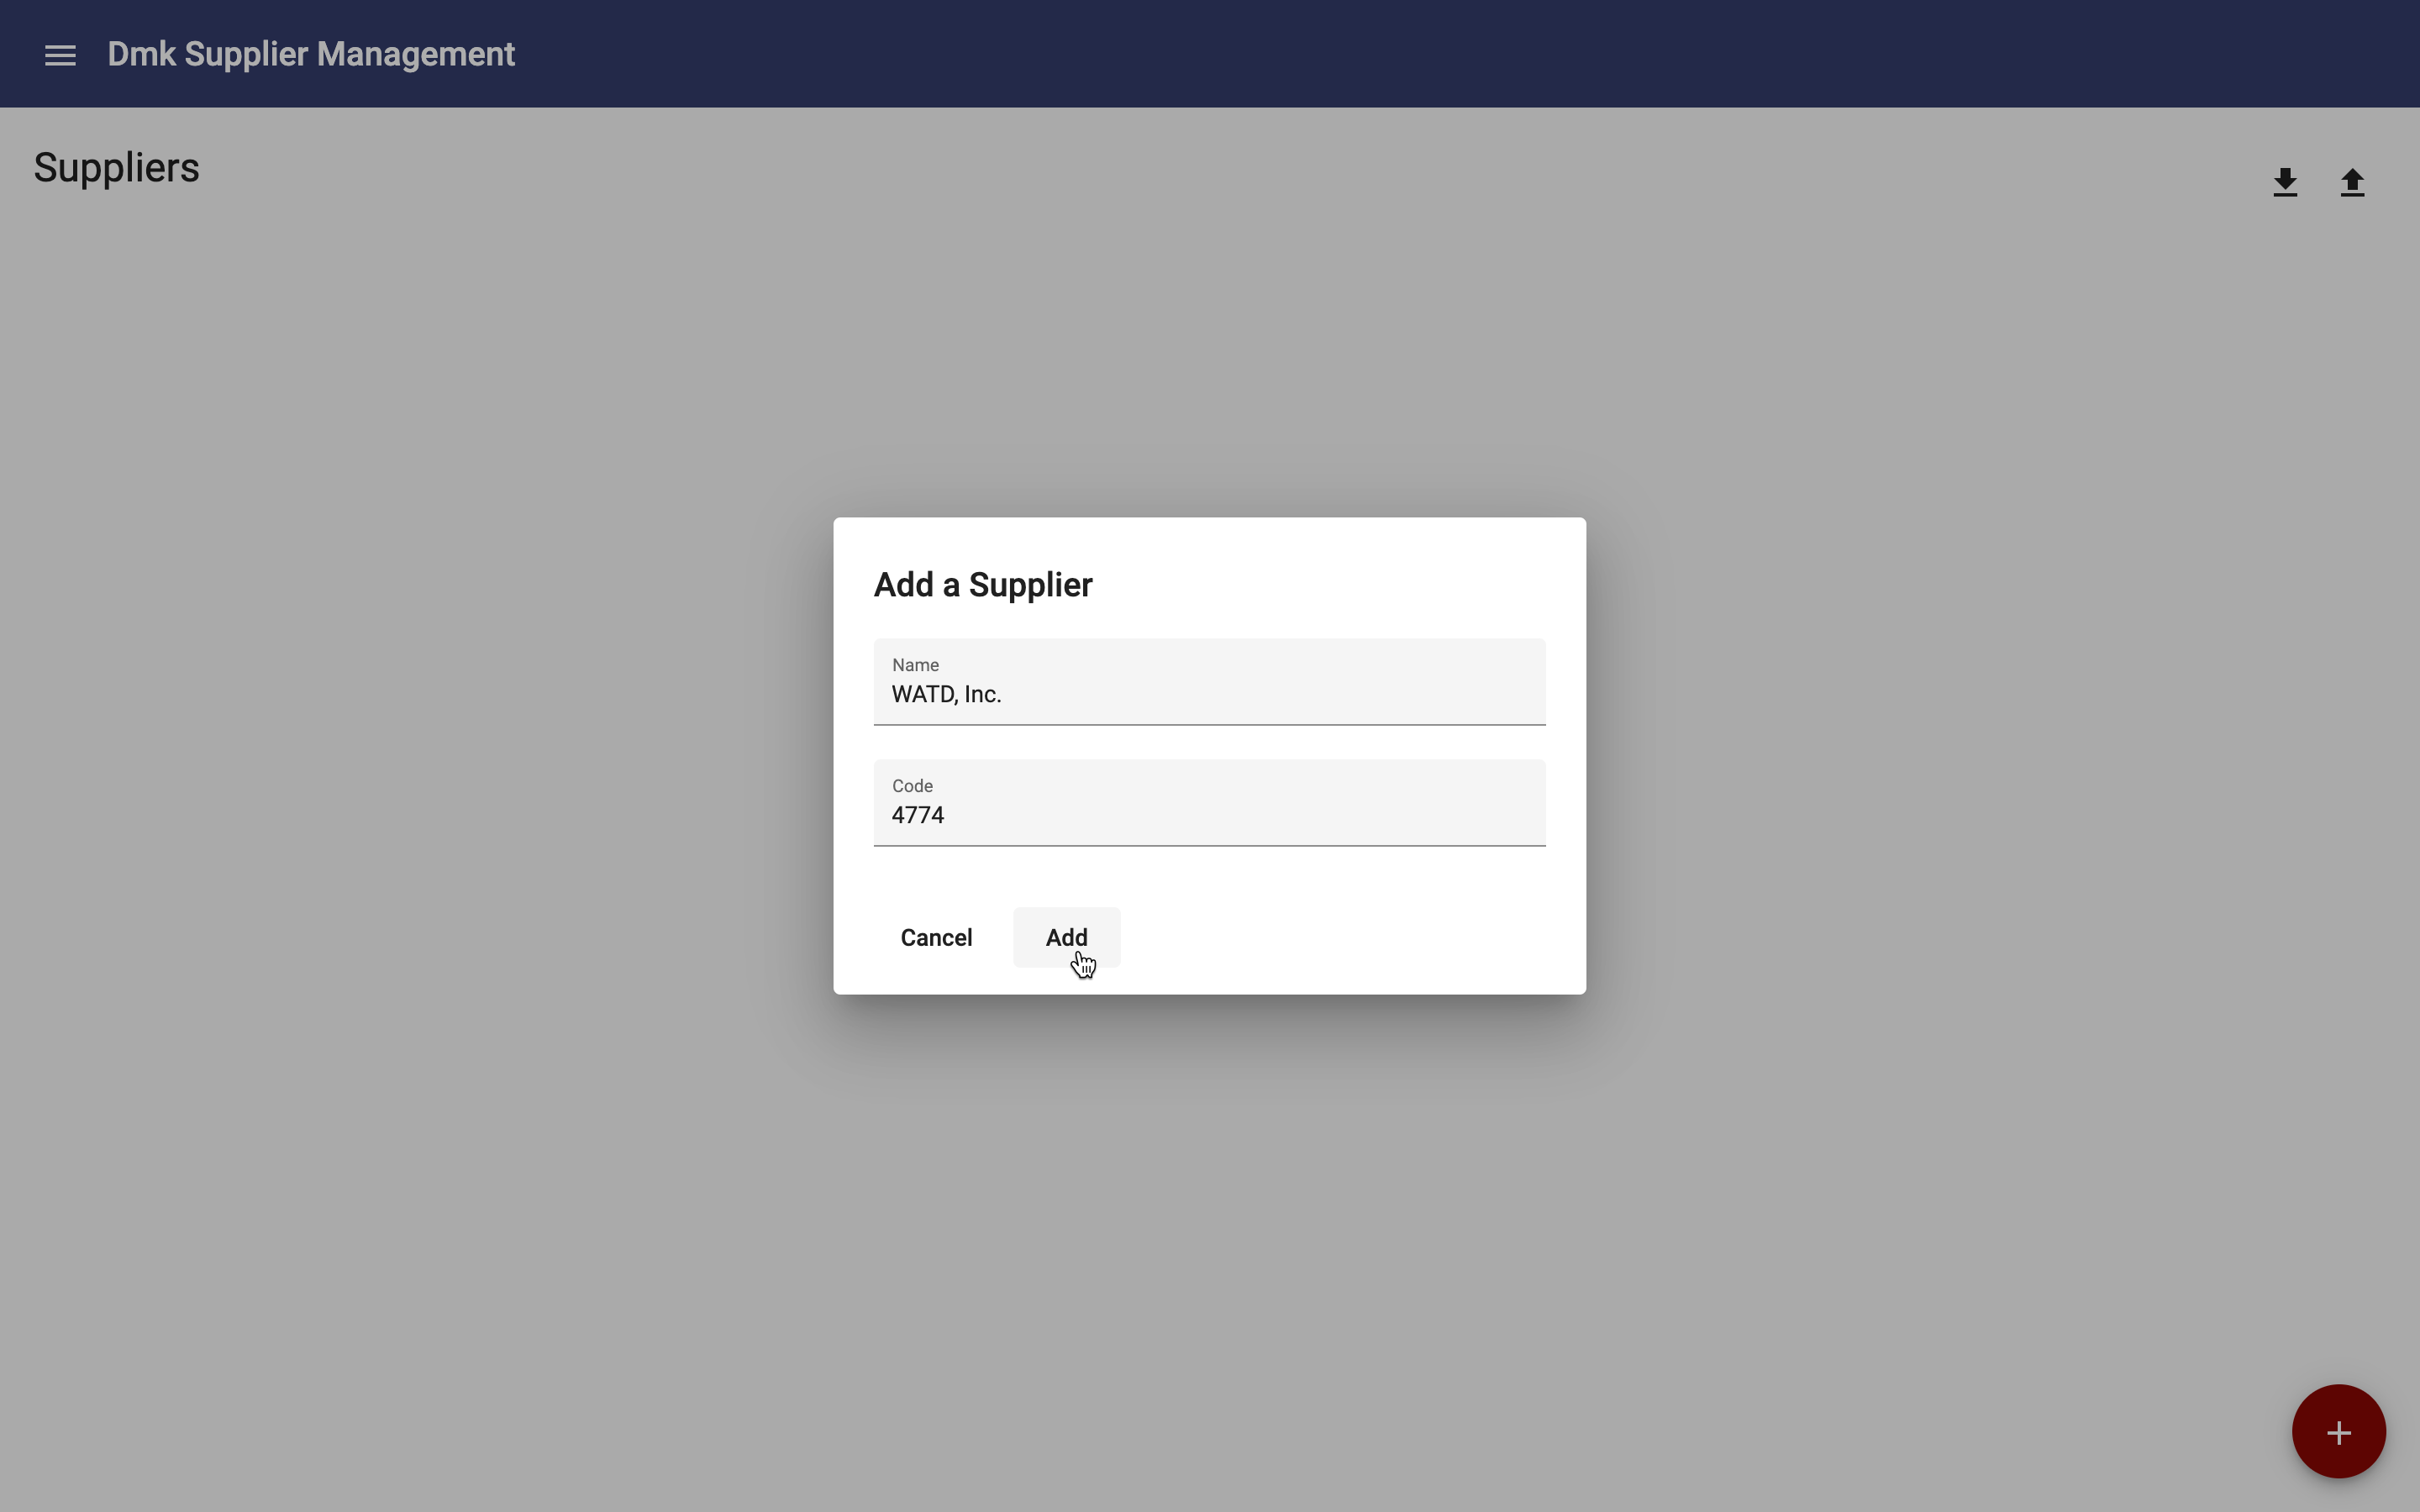
Click the "Add Supplier" floating action button to open the "Add a Supplier" dialog. Enter a name and code and click the "Add" button:
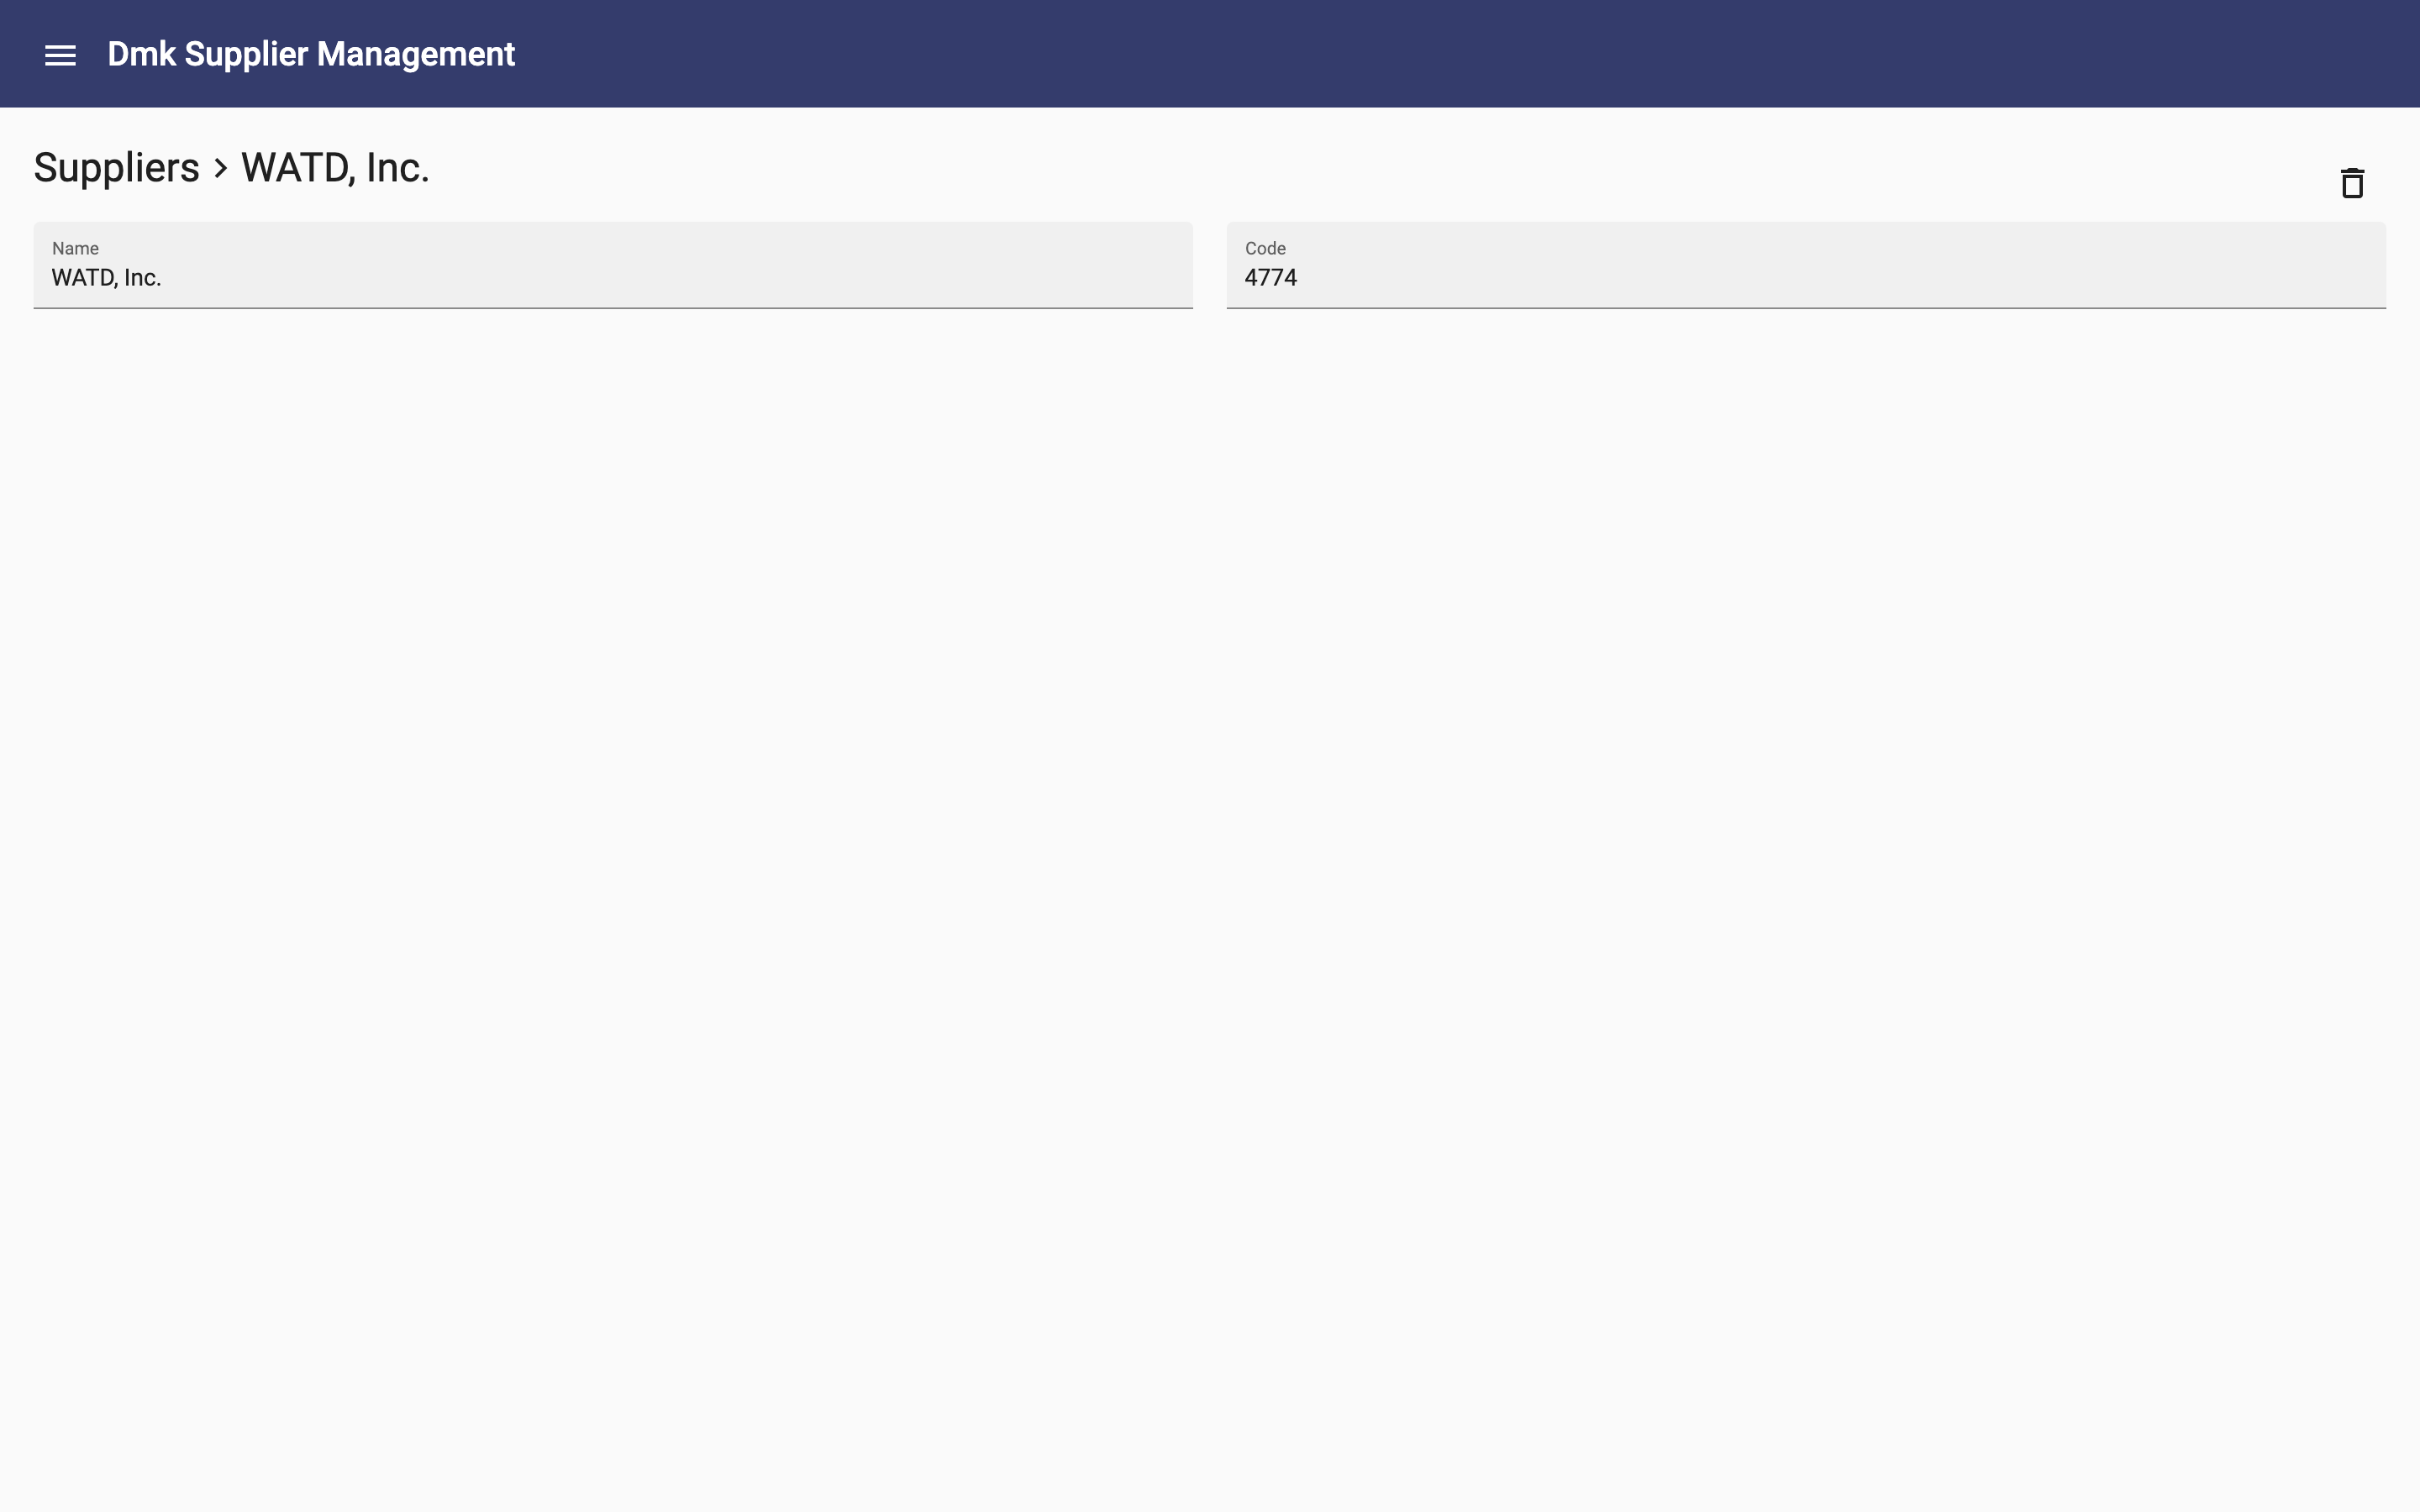
The app redirects to the Supplier page where you can edit the values, delete the supplier or navigate back to the Suppliers page:
Summary
Congratulations! You have built an app! Next, we will add more detail to the information model. Just click the "Next Topic" link below to continue with the next lesson.