This lesson continues development of the Supplier Management app that you created in the prior lessons. You will create a custom Suppliers page that presents the suppliers in a table and includes a search bar.
Create the Suppliers Page
Click User Interfaces on the ribbon laptop Notice that there are no Pages or Components in your project. Up to this point, your app has run entirely with Dynamic Pages which are generated on the fly based on the information model.
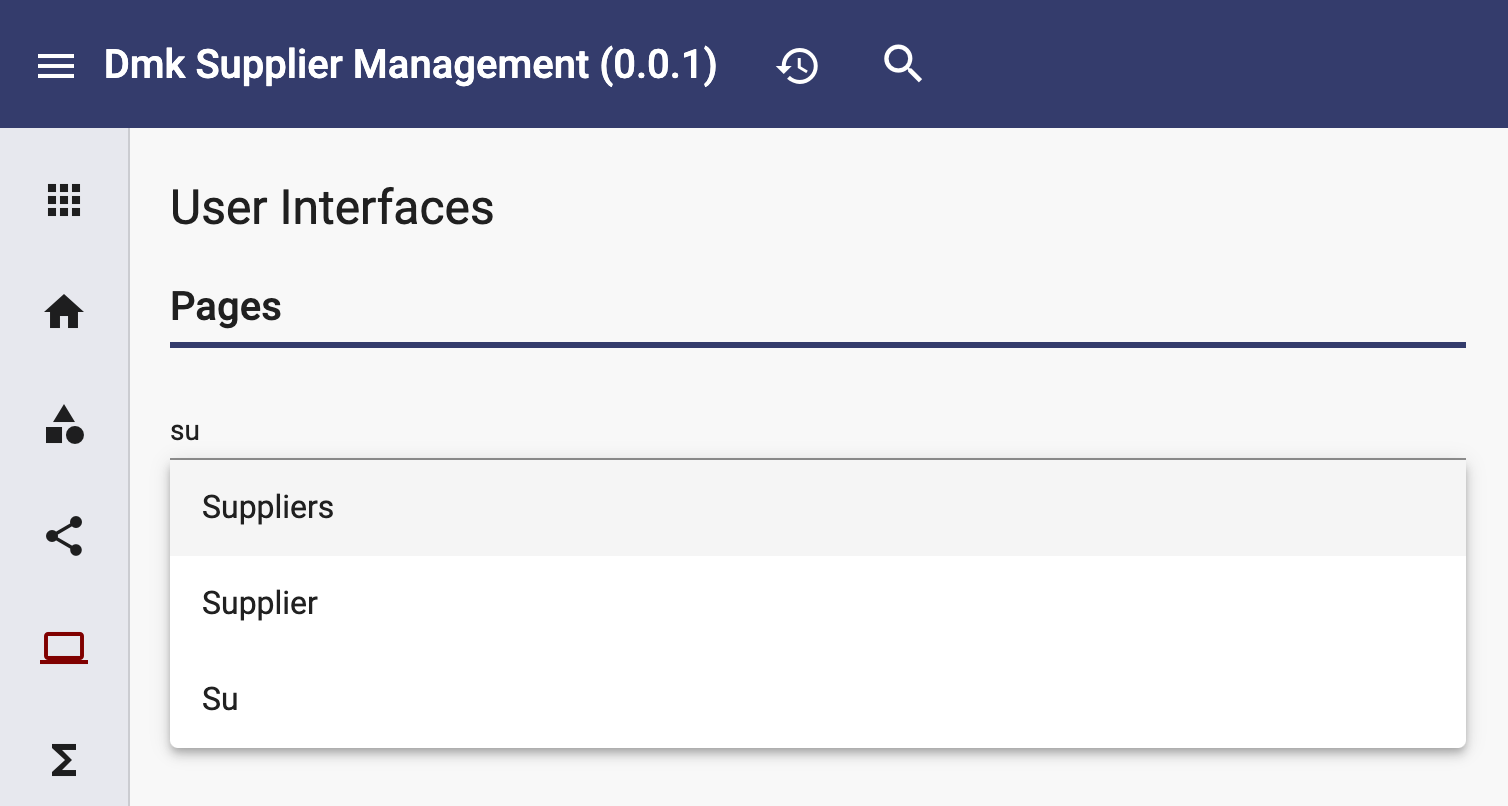
Type "su" in the "Add a page..." field:
Apex Designer presents three options in the autocomplete. "Suppliers" will create a page for displaying a list of Supplier business objects. "Supplier" will create a page for displaying a single Supplier business object. "Su" will create an empty page.
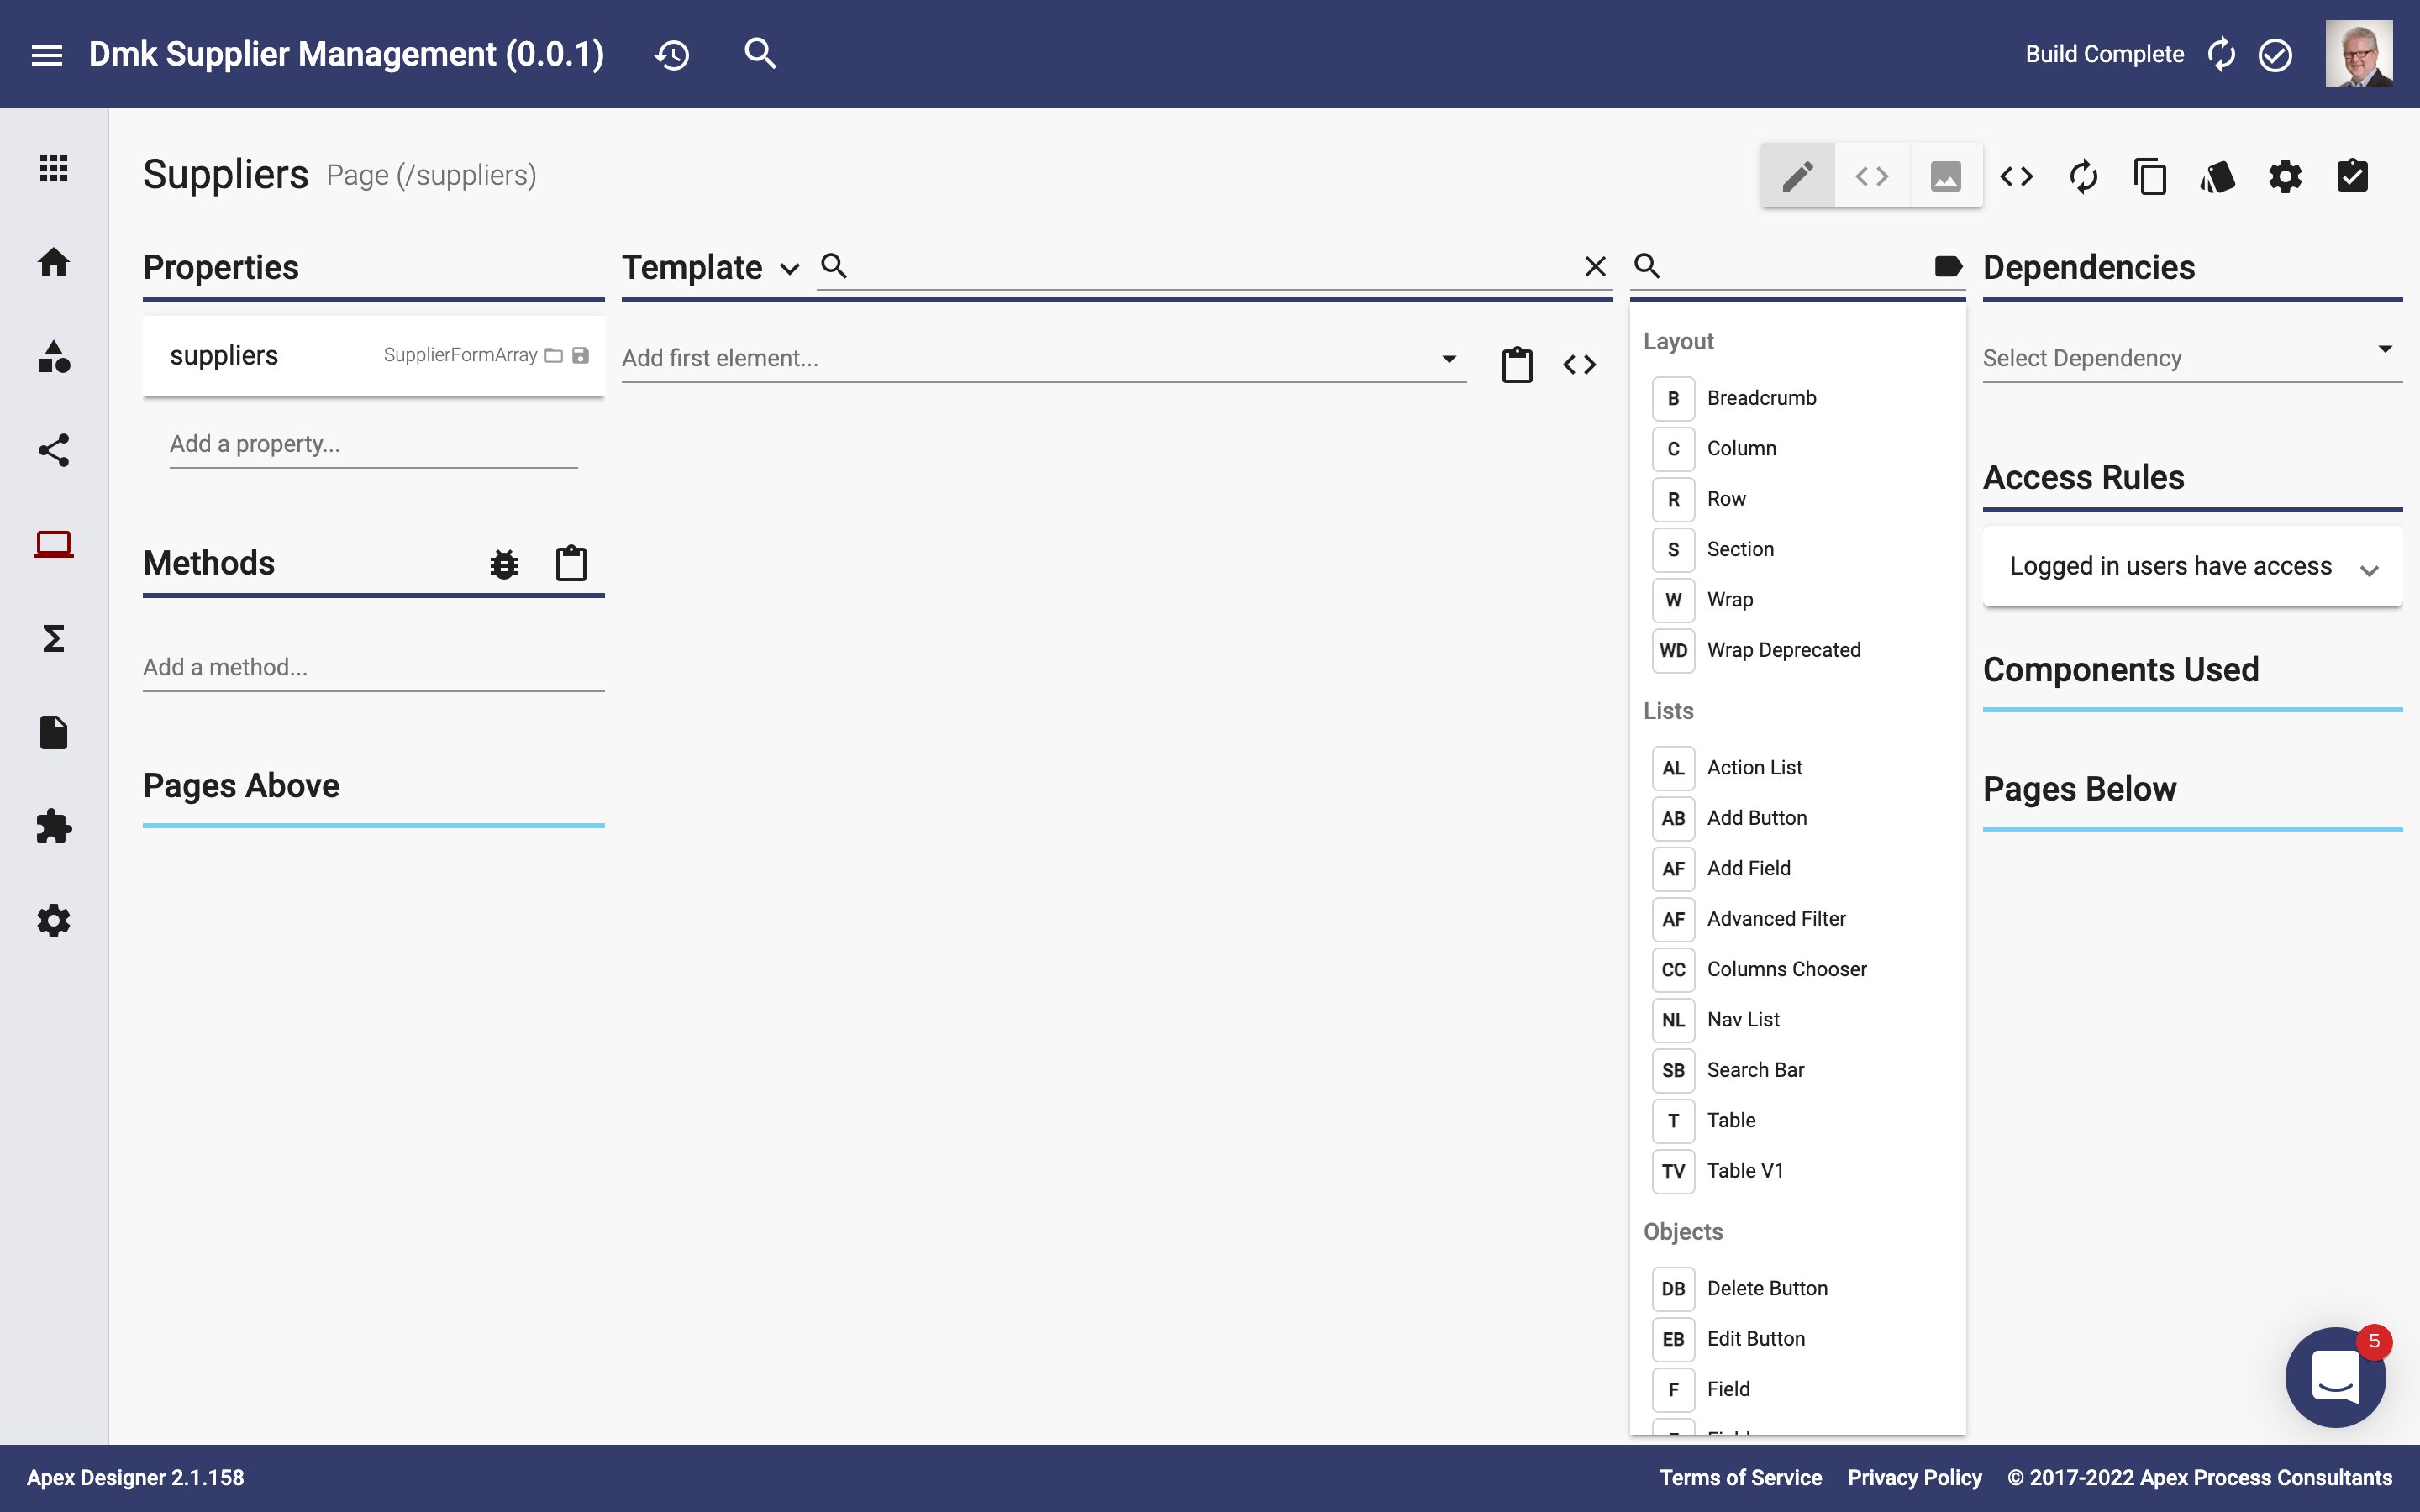
Press enter to create the Suppliers page:
Add Elements to the Page
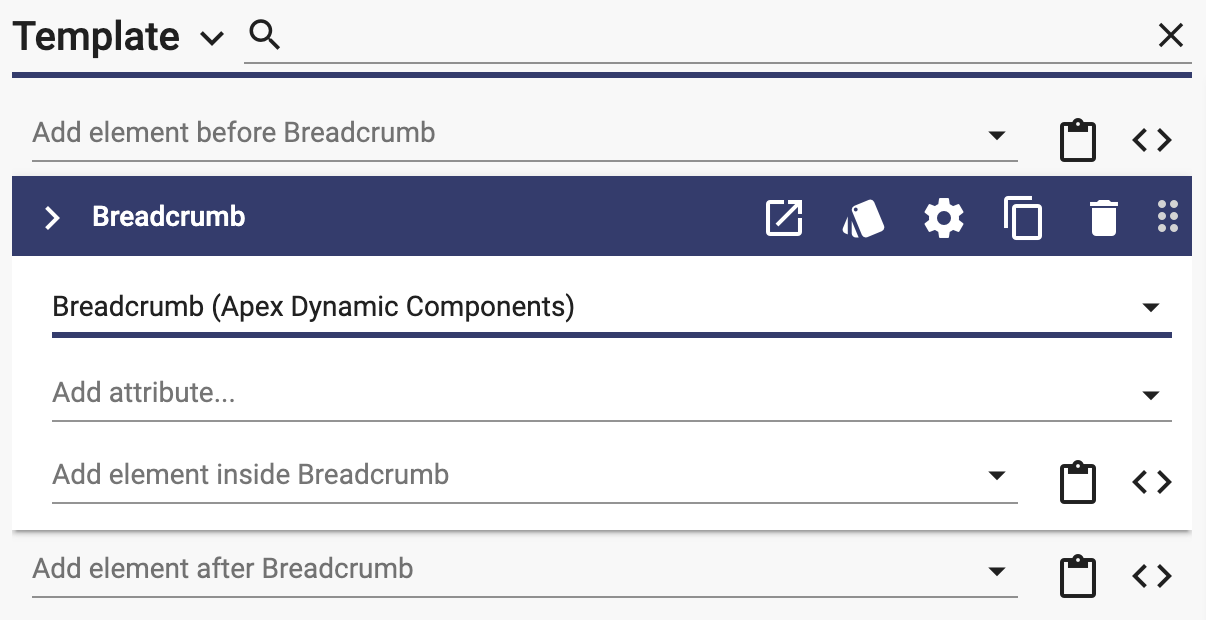
Add the first element using drag and drop. Drag Breadcrumb from the palette onto the Template:
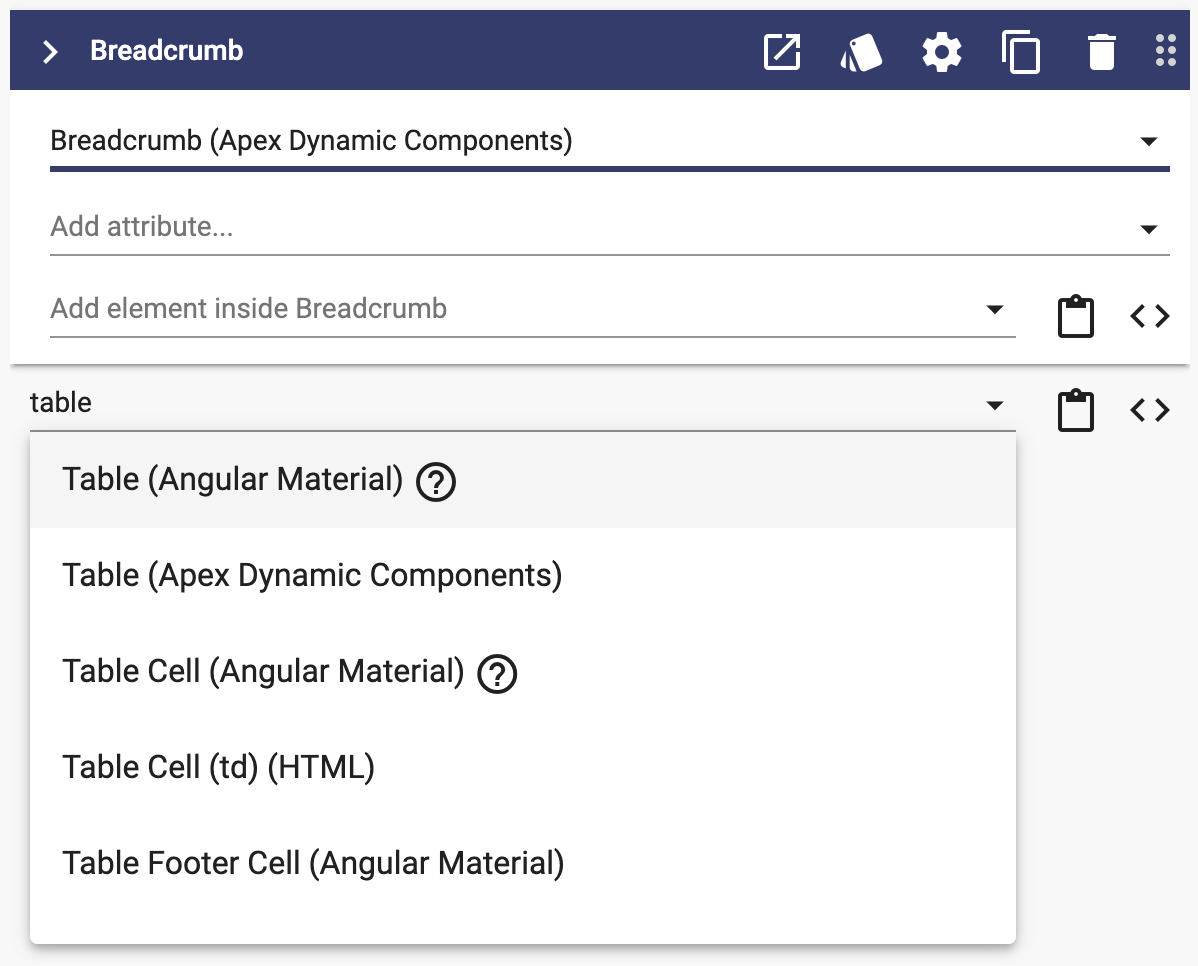
Add the second element with autocomplete. Enter "table" in the "Add element after Breadcrumb field:
Apex Designer shows components that match the string that you have entered. Click "Table (Apex Dynamic Components)" and the element is added to the template.
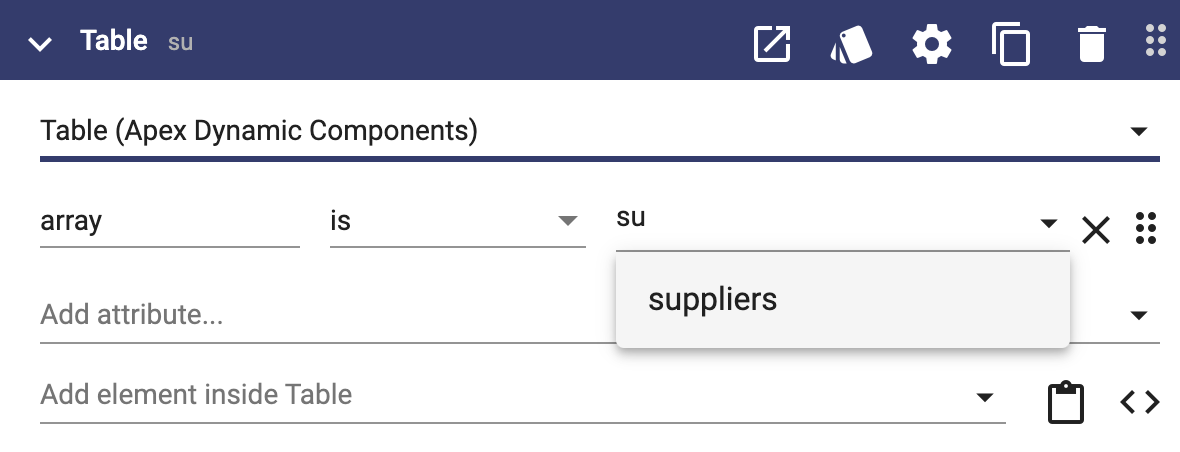
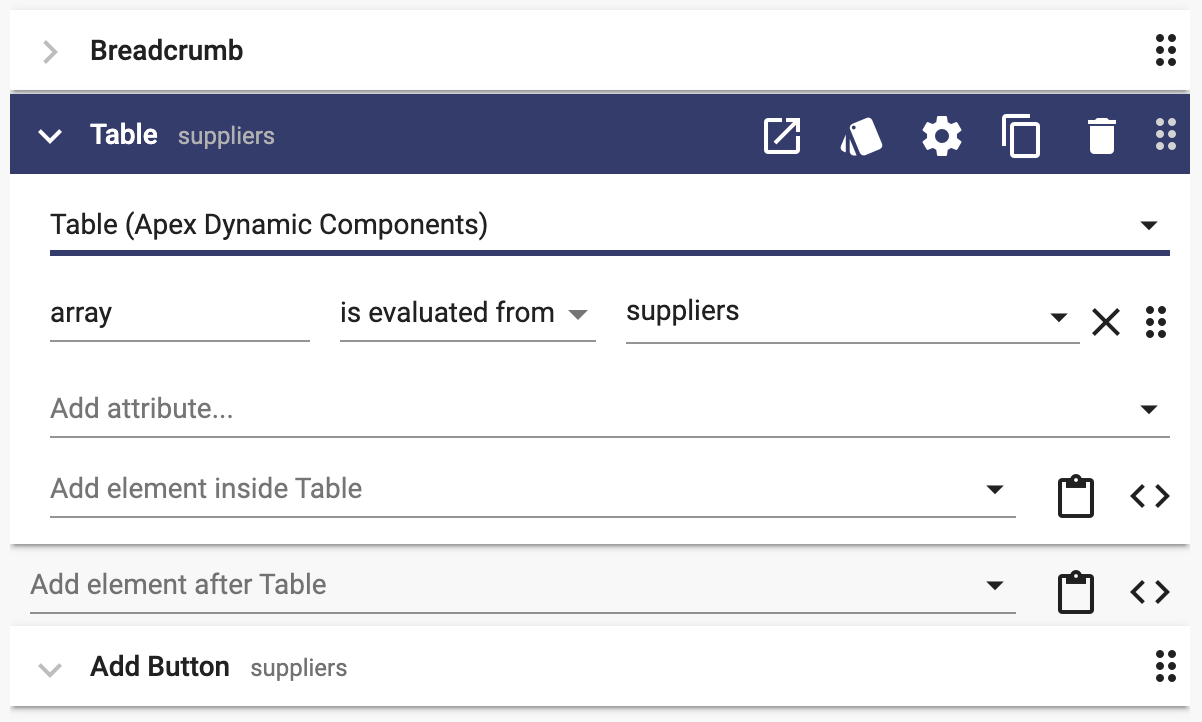
The Table component has an "array" input. Key "su":
Press enter to select "suppliers".
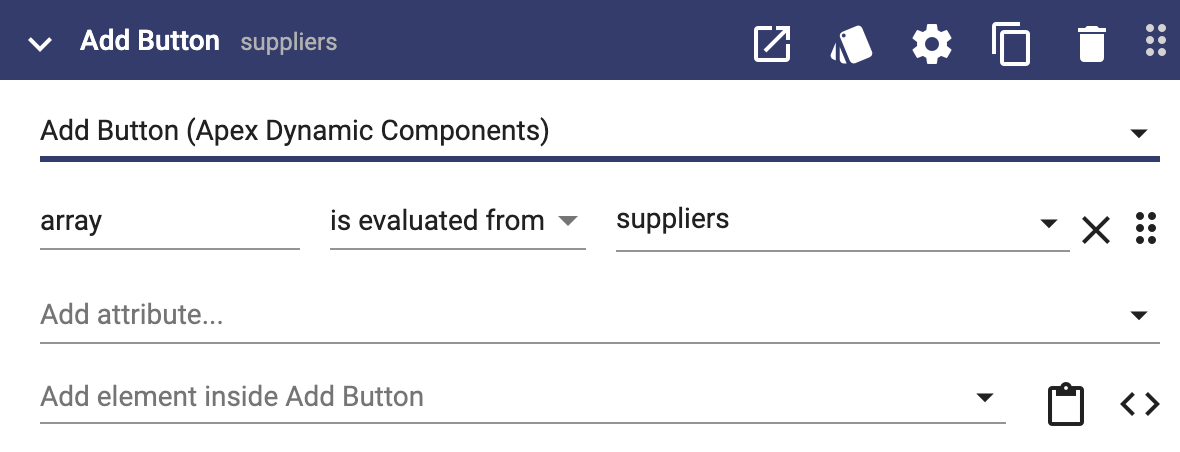
Add an "Add Button" after the table and set the array to suppliers:
Generate the Page and Try it Out
Click the Generate icon button at the top of the page:
The Generate App icon button in the toolbar generates the whole app. The Generate icon button at the top of the page generates just this user interface and is faster on large apps.
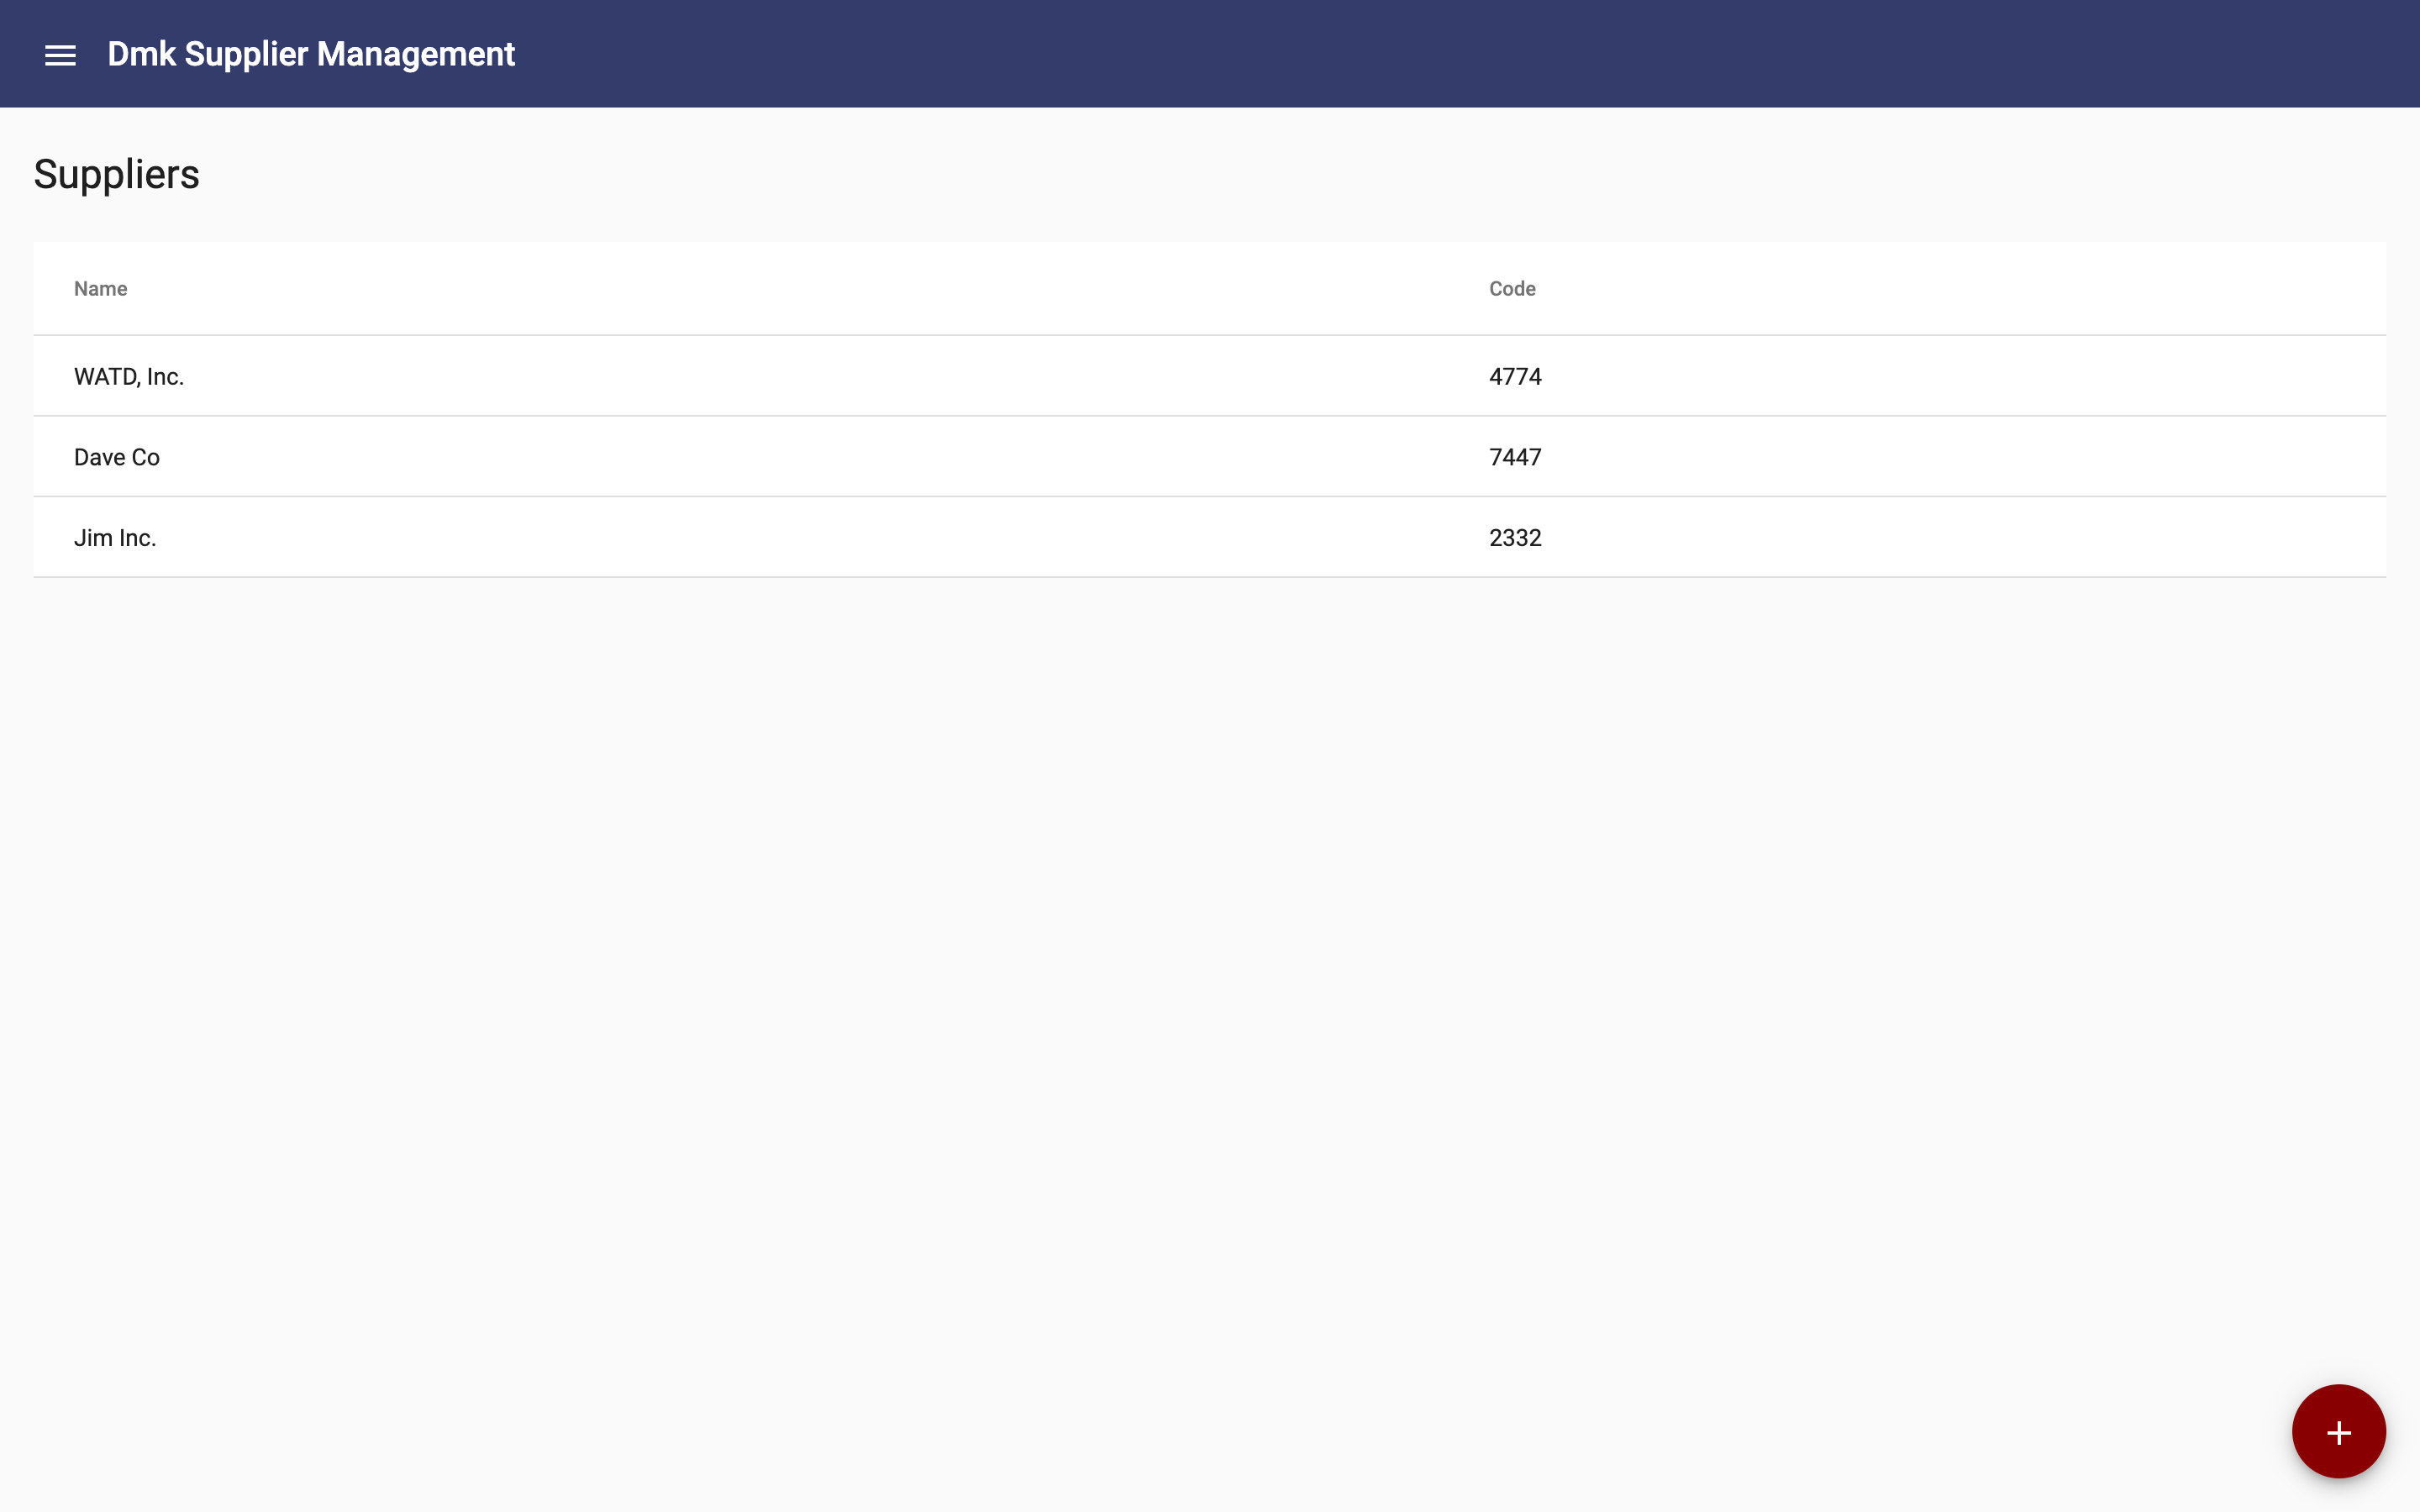
When the build is complete, launch your app to see the new Suppliers page:
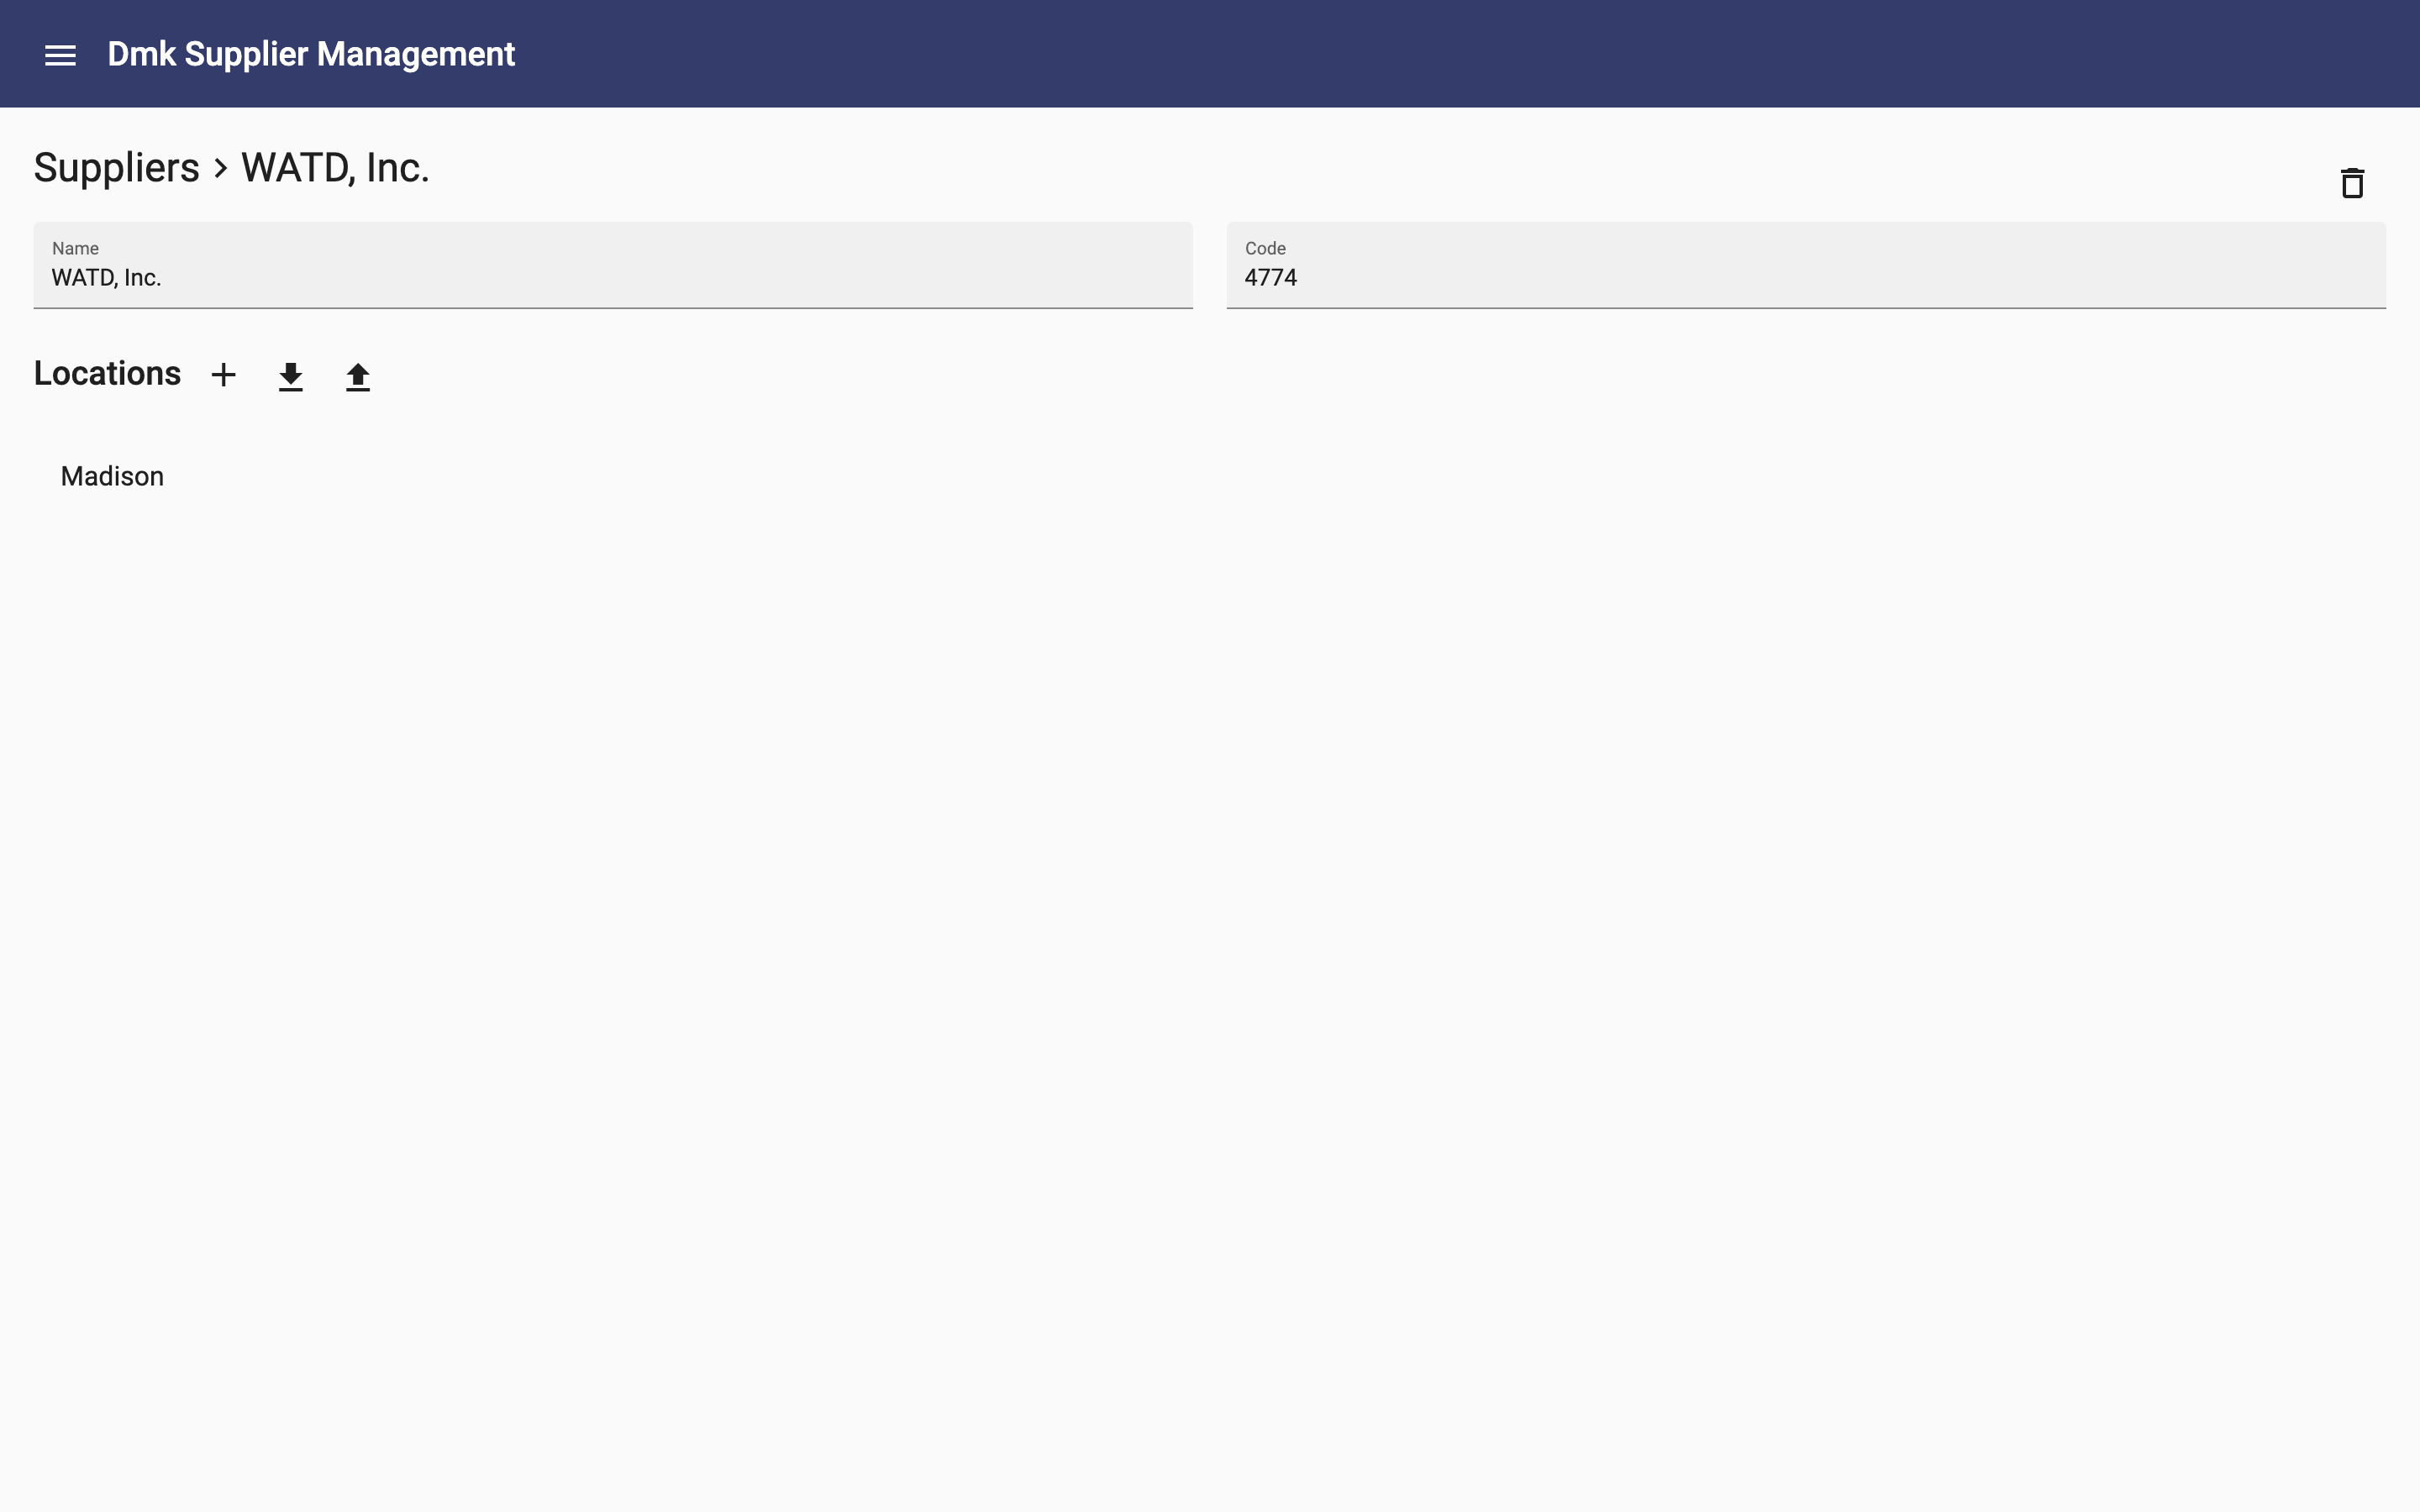
Click the supplier name or code to navigate to the Supplier dynamic page:
Click "Suppliers" in the breadcrumb to navigate back to your custom page.
Create a few more suppliers using the add button:
Change the Column Order and Sort Order
Click the blue header bar on Breadcrumb and Add Button to hide their details so that we can focus on the table:
By default, the Table dynamic component presents the columns in the order of the properties on the Supplier business object. You can override that by adding an attribute.
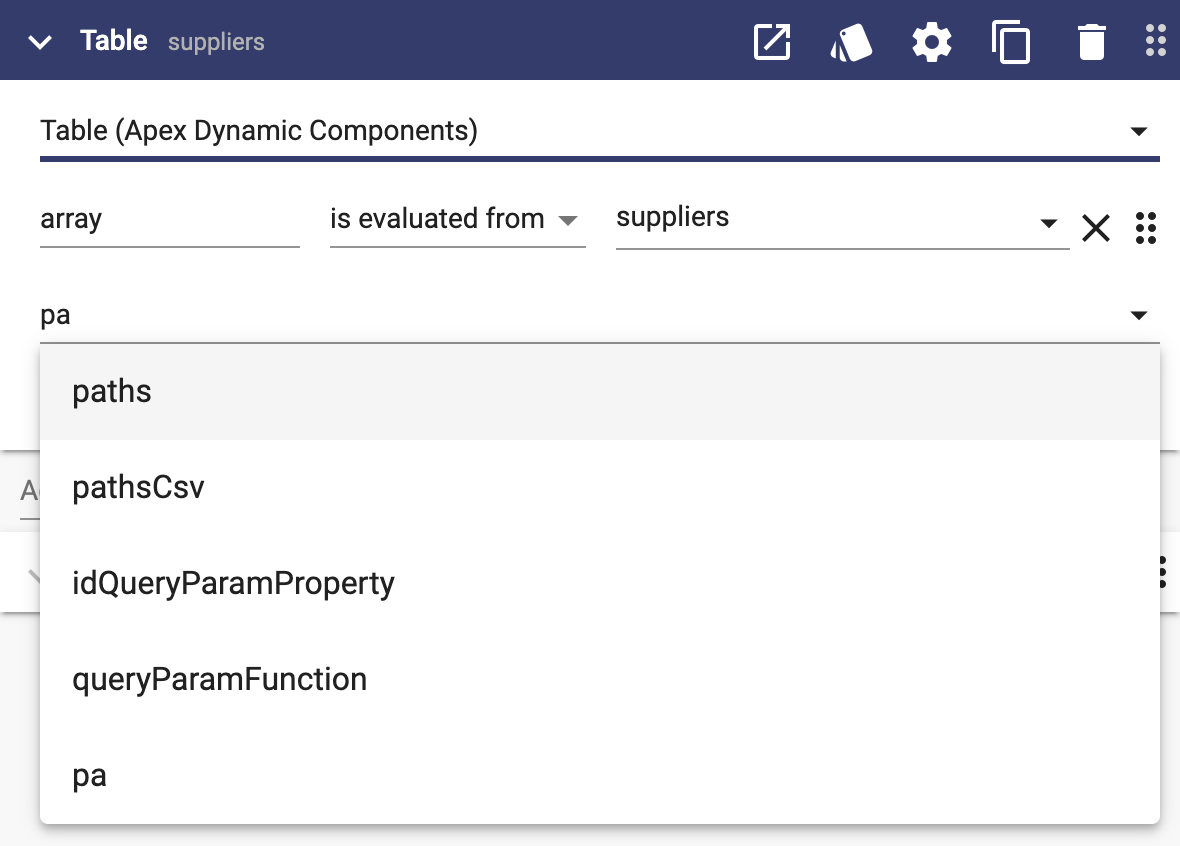
Type "pa" in the "Add attribute field of Table:
Select "pathsCsv" to add the attribute.
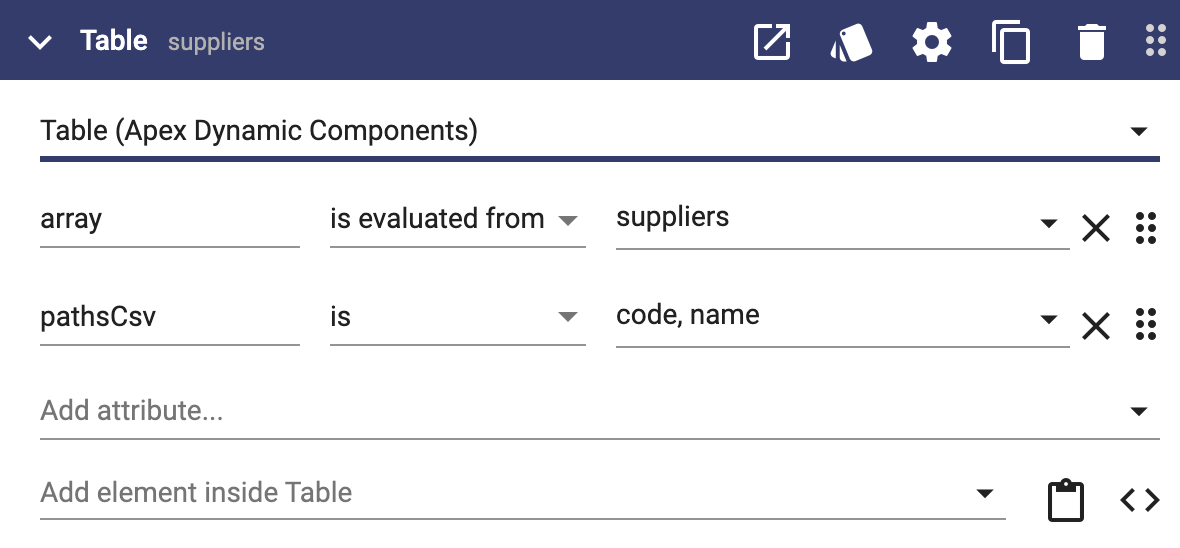
Enter "code, name" in the pathsCsv attribute:
Click the Generate icon button and see that the column order is reversed:
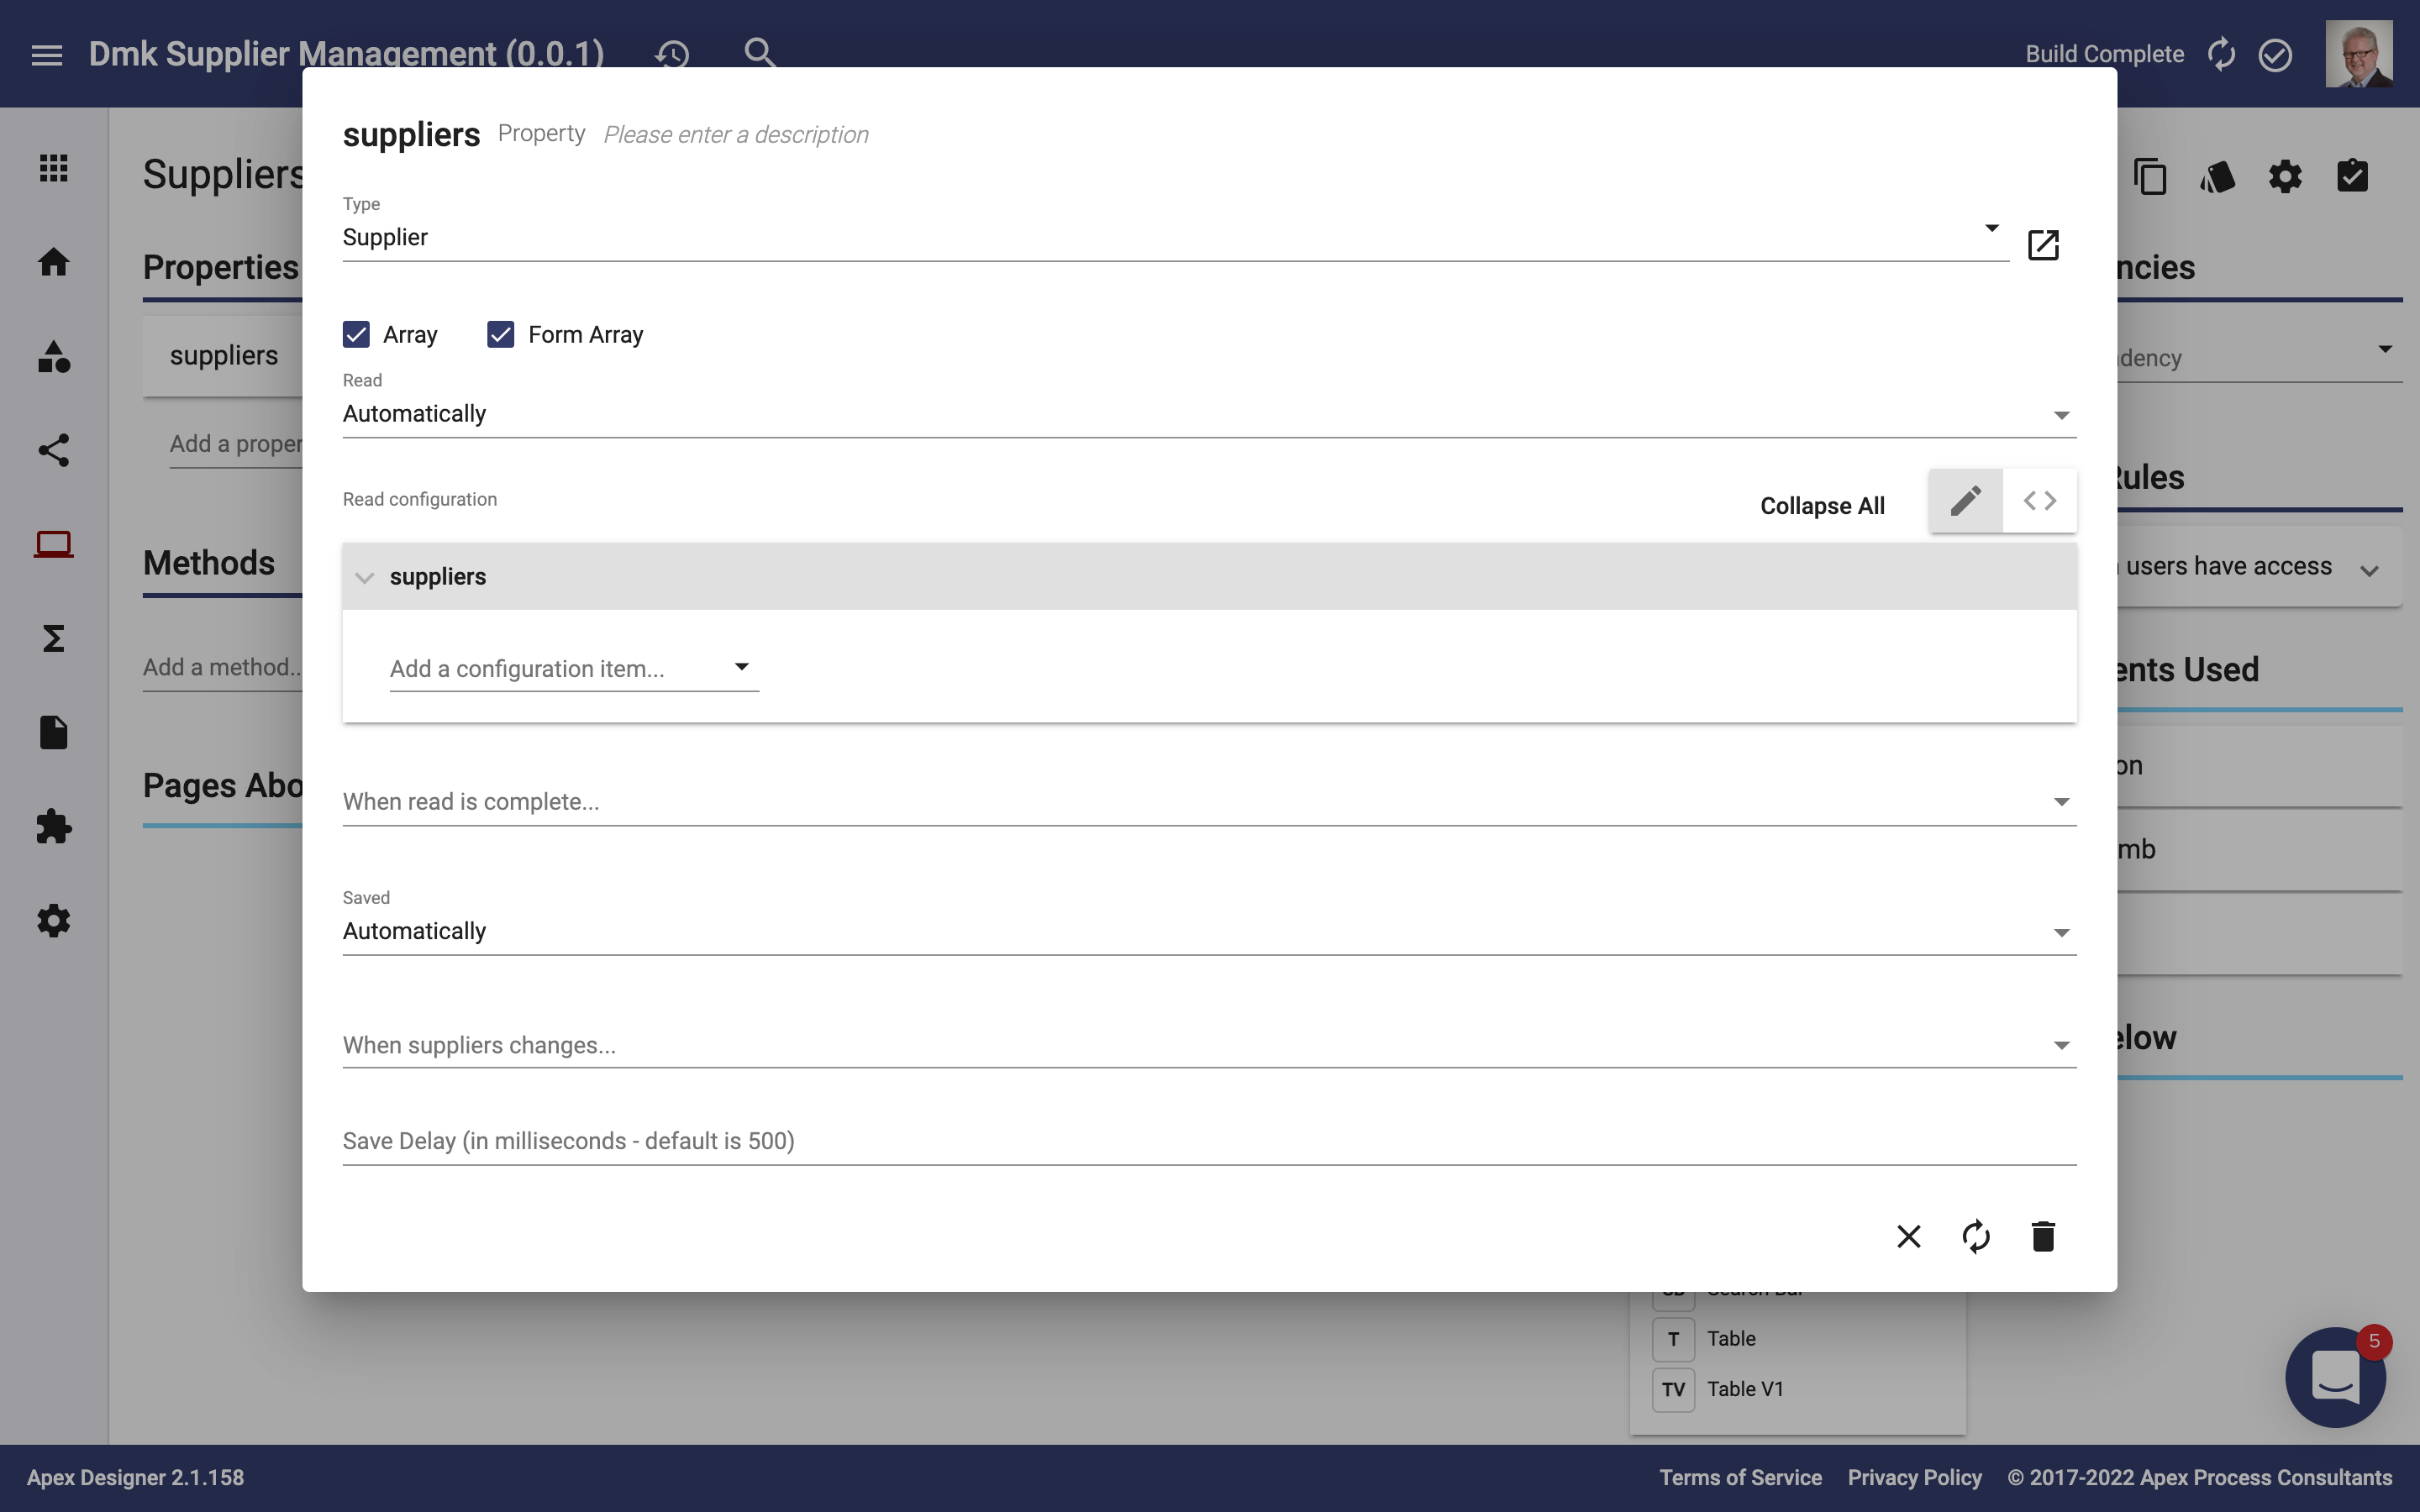
Click the "suppliers" property on the top left to open the suppliers property dialog:
The property is an array of Supplier objects. It is set to Read Automatically on page load and Save Automatically when an item is added.
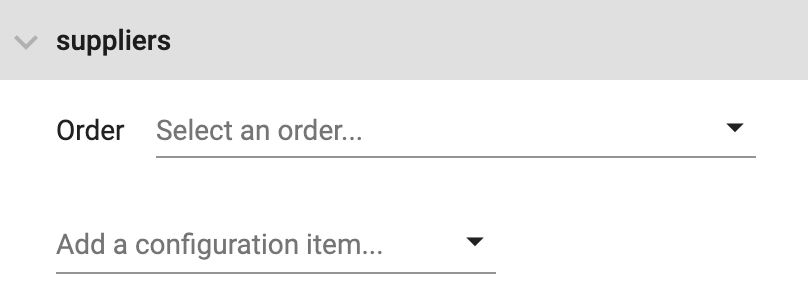
Key "o" in the "Add a configuration item..." field and press enter to add Order:
Click the "Select an order..." field and click "code".
Generate the page and see that the suppliers are ordered by code:
Add a Search Bar
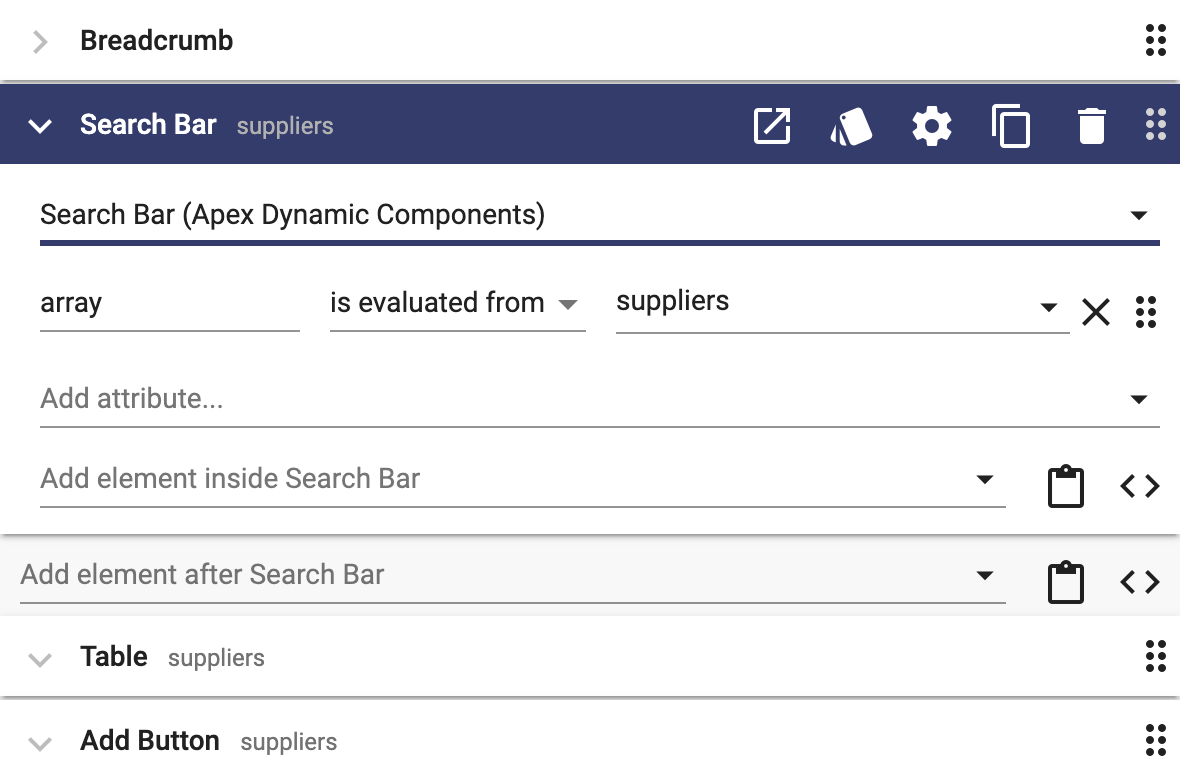
Add a Search Bar after the Breadcrumb:
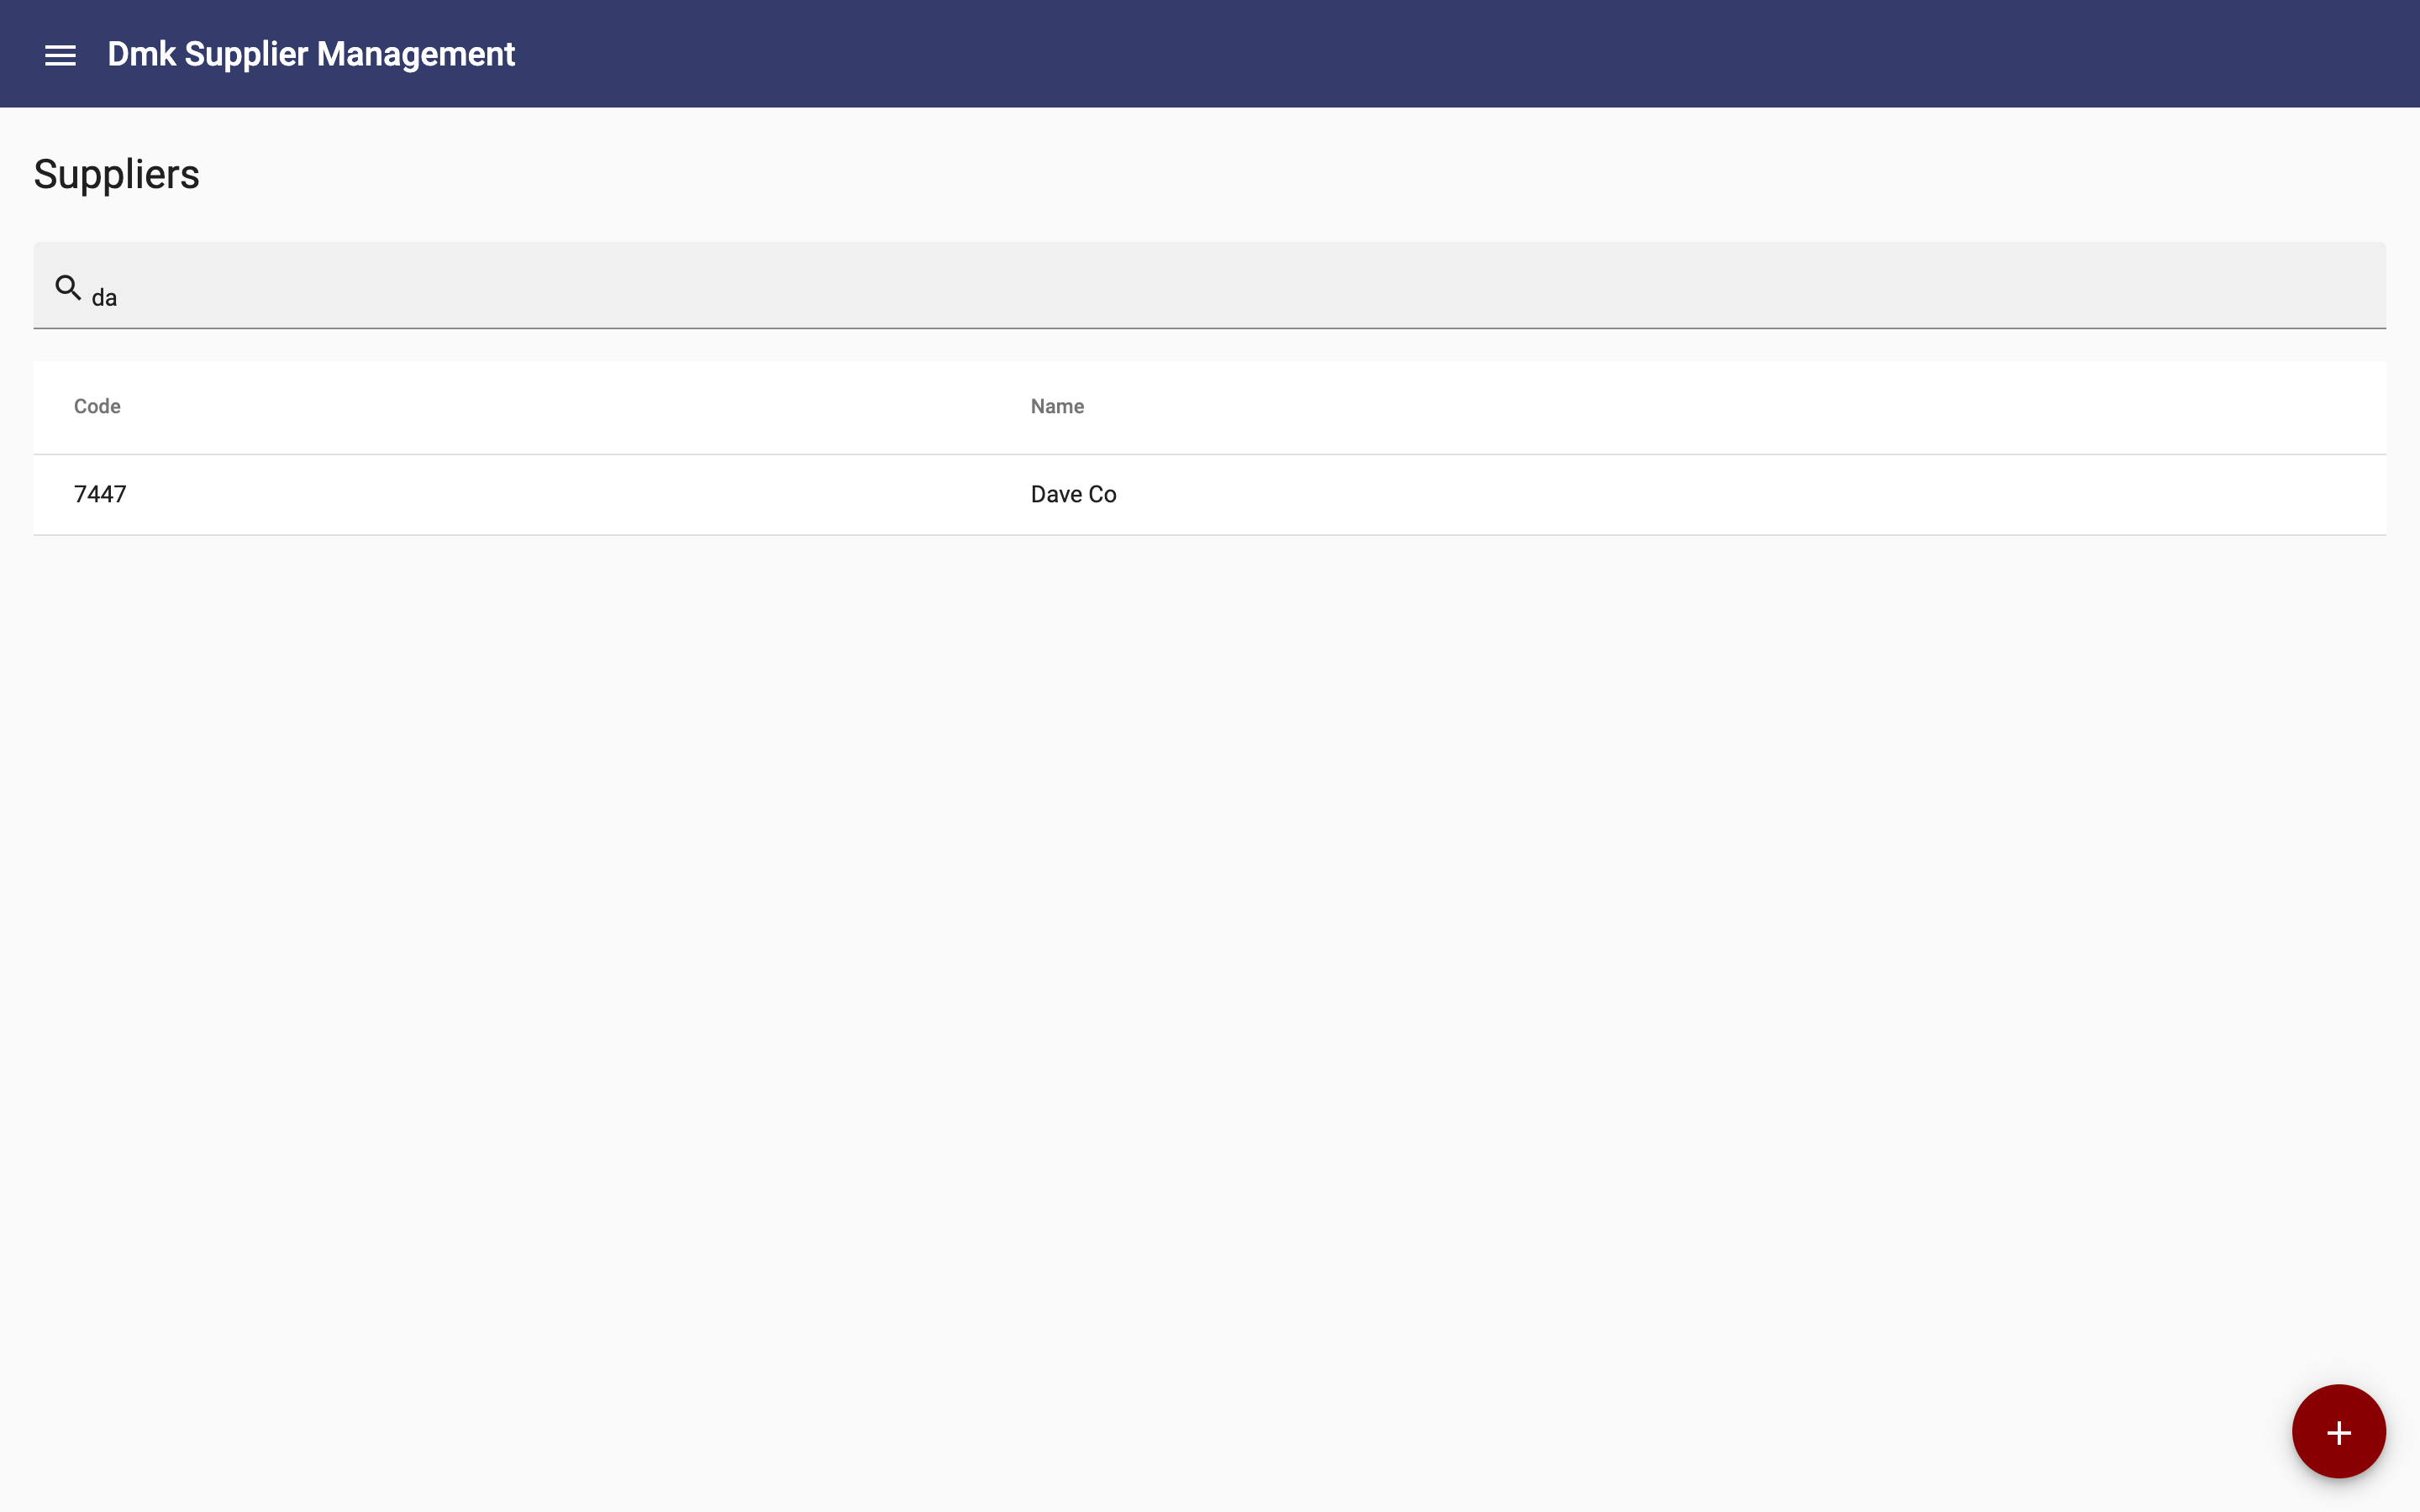
Generate the page and try it out:
Summary
You created a custom Suppliers page that works alongside the dynamically generated pages. You added elements to the template and mapped inputs to the elements. You changed the configuration of elements using attributes, and you changed the sort order of data retrieved from the server. Click the Next Topic link below to start the next lesson.