Apex Designer generates files for your project and keeps them updated when you generate any design component (user interface, business object etc) or the entire project. You can access all those generated files by clicking on the sidenav:
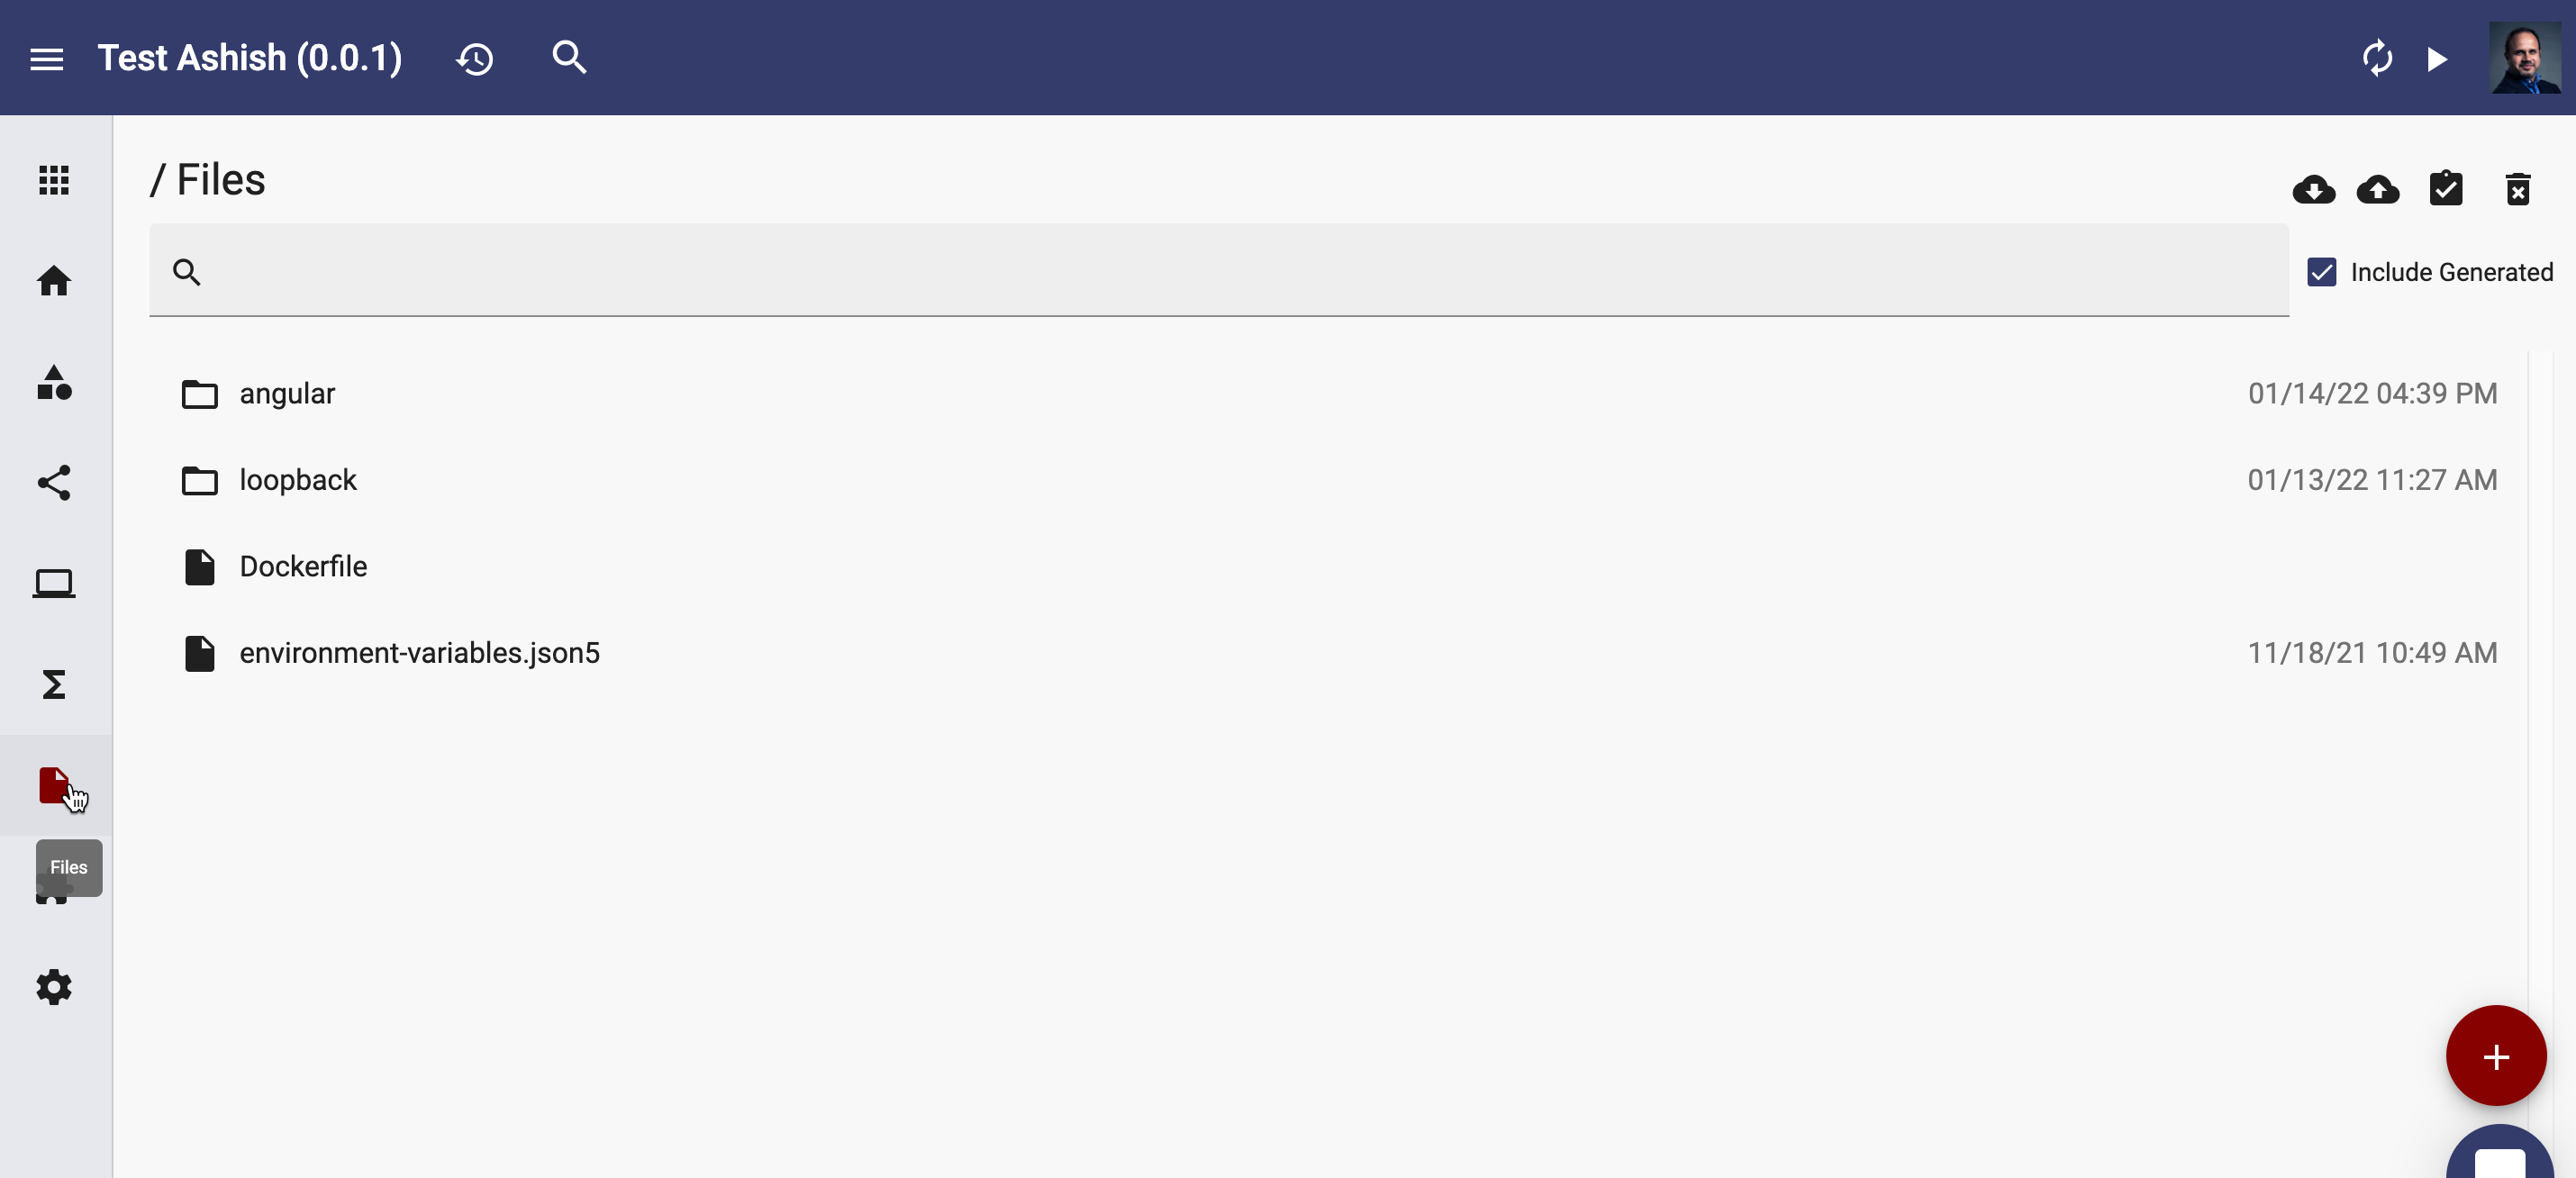
You can drill down any folder by clicking
Edit File
If you need to manually edit any of the generated file, you can click on the file. This will open the file in a read only mode:
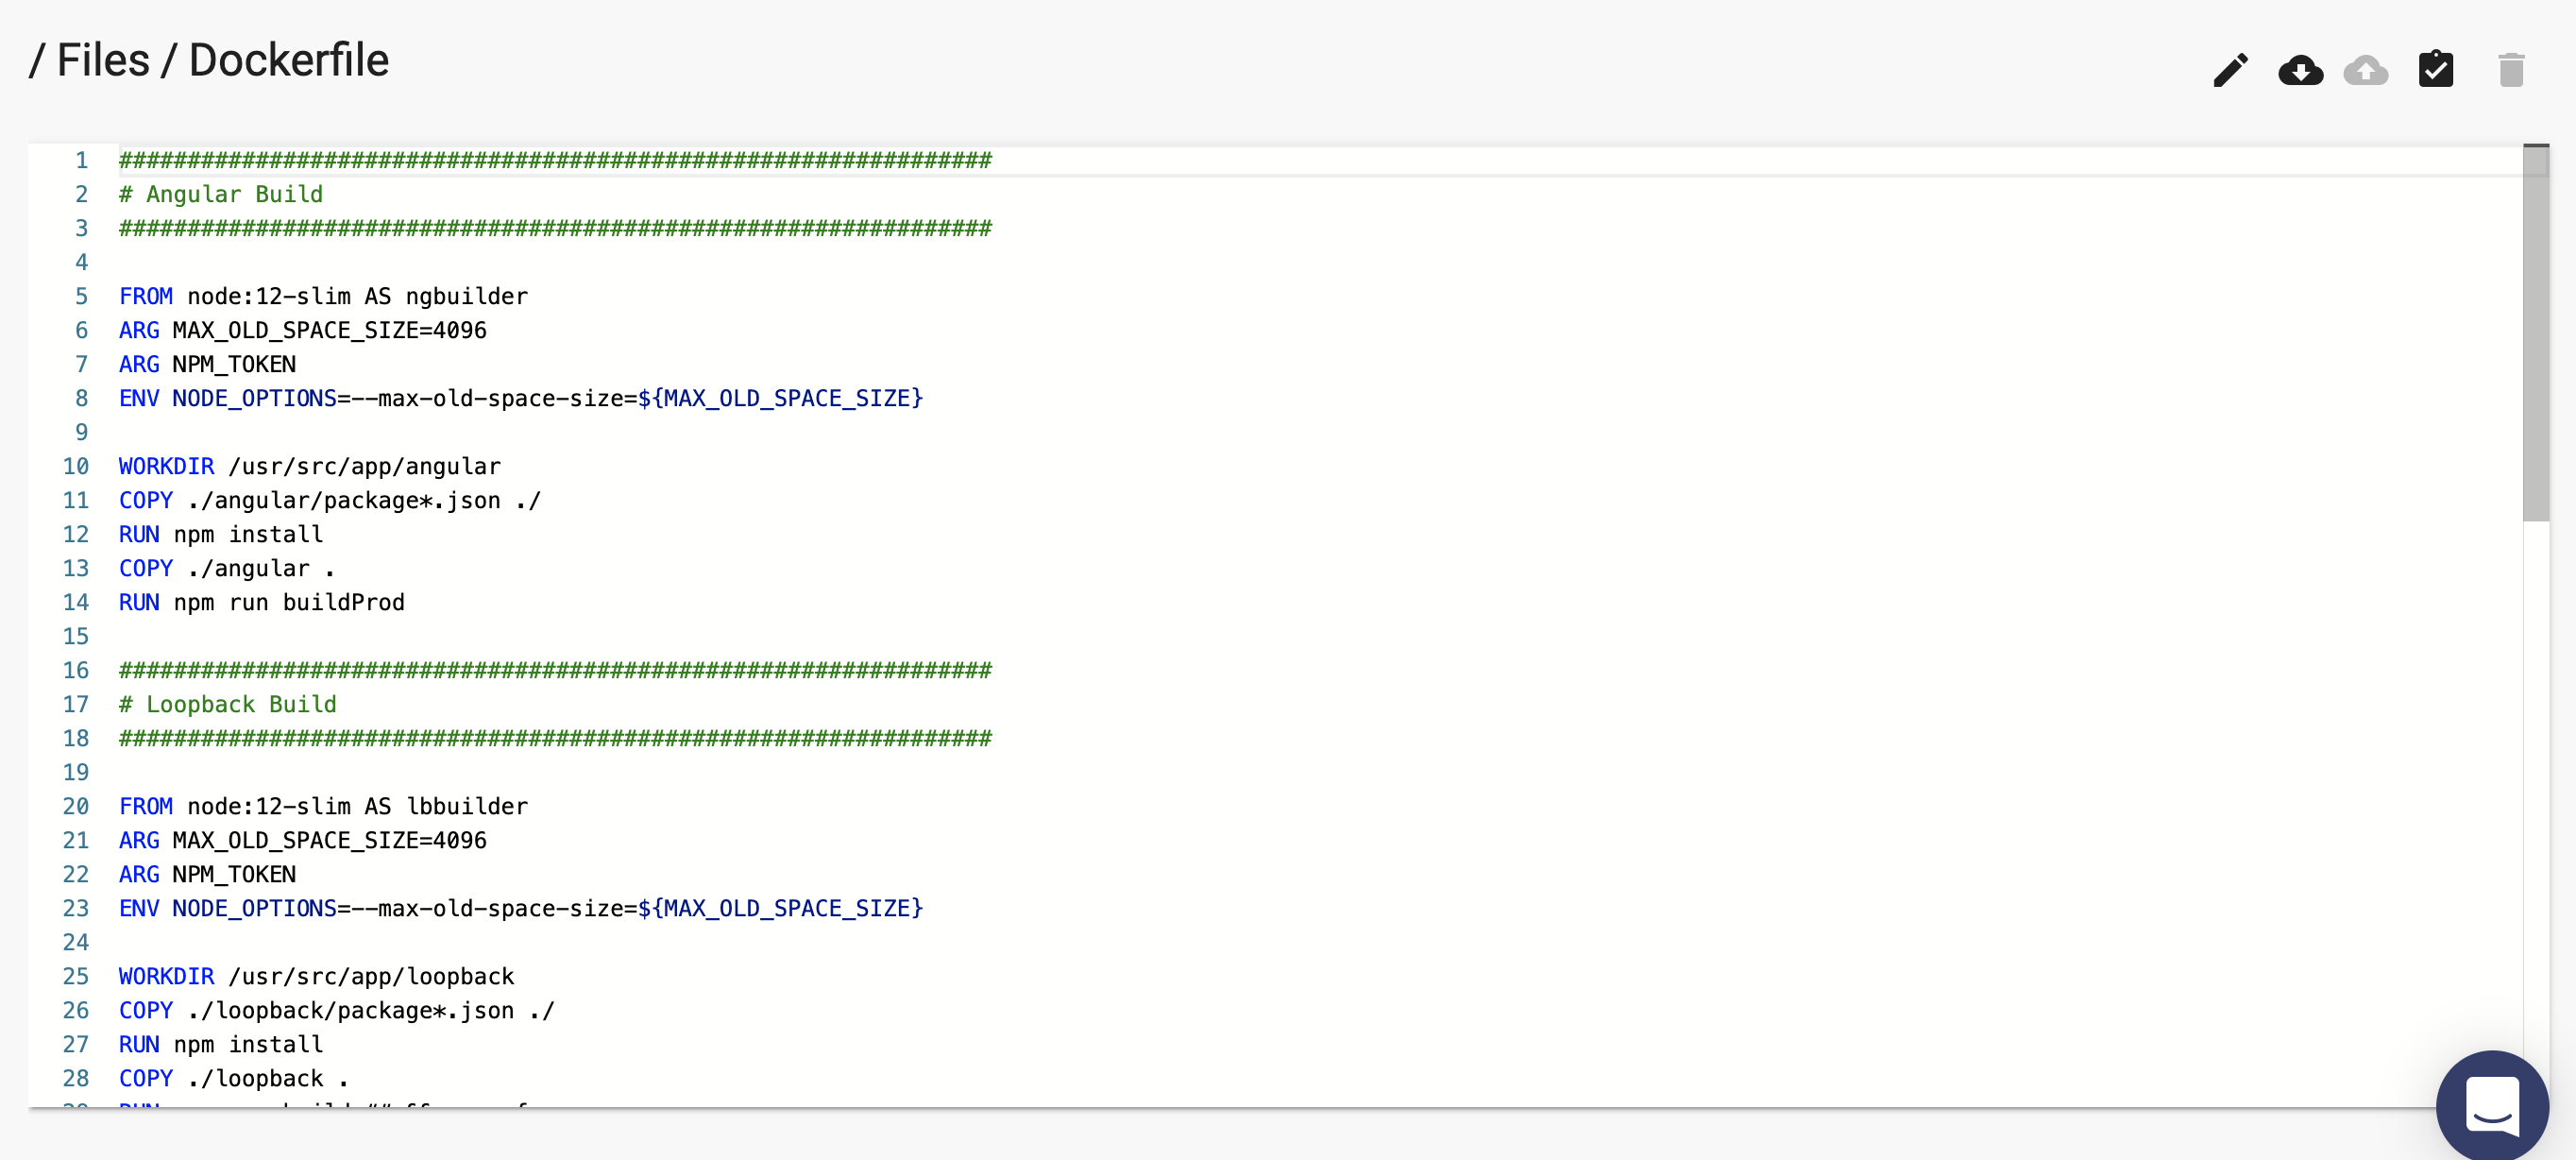
To start editing, click on
You can now make necessary changes to your file. After editing the file, you can generate the project by clicking
Please note that if the file you edited was generated, say, for a user interface, any future changes to that user interface will not be captured by the edited file. At that point, you have 2 choices - either manually update the edited file with new changes or delete the edited file for Apex Designer to generate it again with new changes. YOu can tell which files are edited within your project by the white lines on the page.
To see only the edited files, uncheck the checkbox "Include Generated":

Upload
You can upload a file by clicking
If you upload a zip file that contains a directory structure, upload will create folders to maintain that structure.
Download
You can download a file or a folder by clicking .
If the download is performed on a folder, Apex Designer saves the downloaded folders and files as a zip file.
Create
You can click on the add button to create a new file. You can optionally add a new path name to the file:
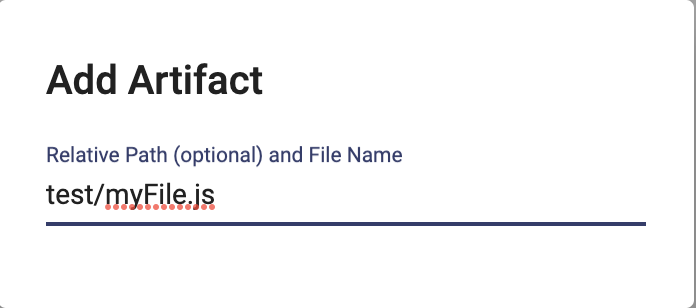
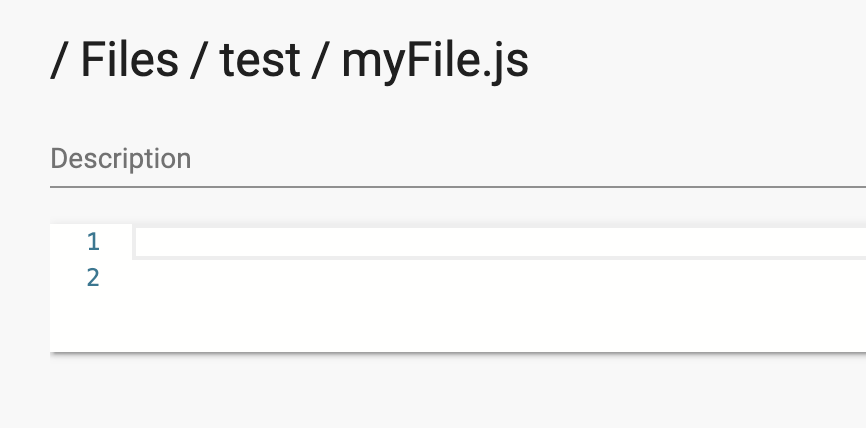
The new path name will create a new folder and put the new file under it:
Search
You can search for any file/folder by typing its name (or partial name) in the search bar at the top of the page:
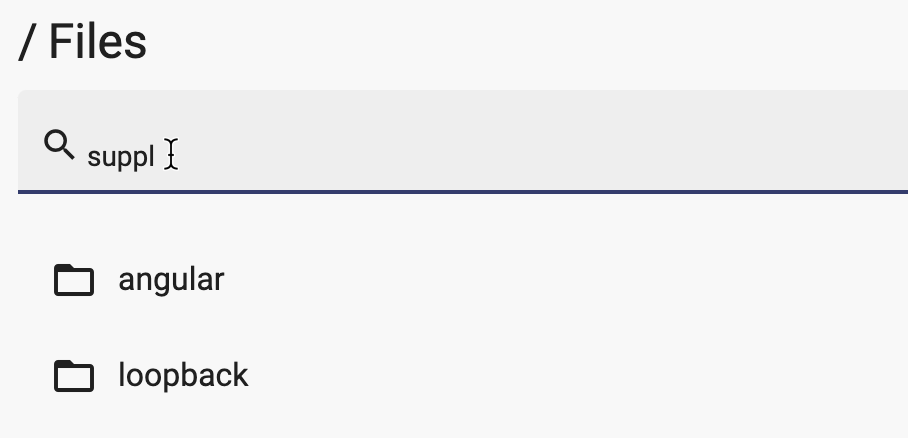
The search looks for a match not only in the current folder but in the nested folders as well.