

The two previous lessons focused mostly on user tasks and the user interfaces to allow people to interact with the process. In this lesson, you will add automation to your process by including a system activity.
The Onboard Supplier Process currently carries some information about our new supplier. The supplier representative gives some additional information in their step in the process, but they should not have the access rights to create the supplier record in our system. Therefore, we will take this action in a new system service.
Link Supplier to the Process Variable
- Navigate to the Onboard Supplier business object using the Business Objects button from the ribbon
- Select the Onboard Supplier business object.
- Add a relationship by typing part of the word "supplier", then scroll down to select "belongs to Supplier":
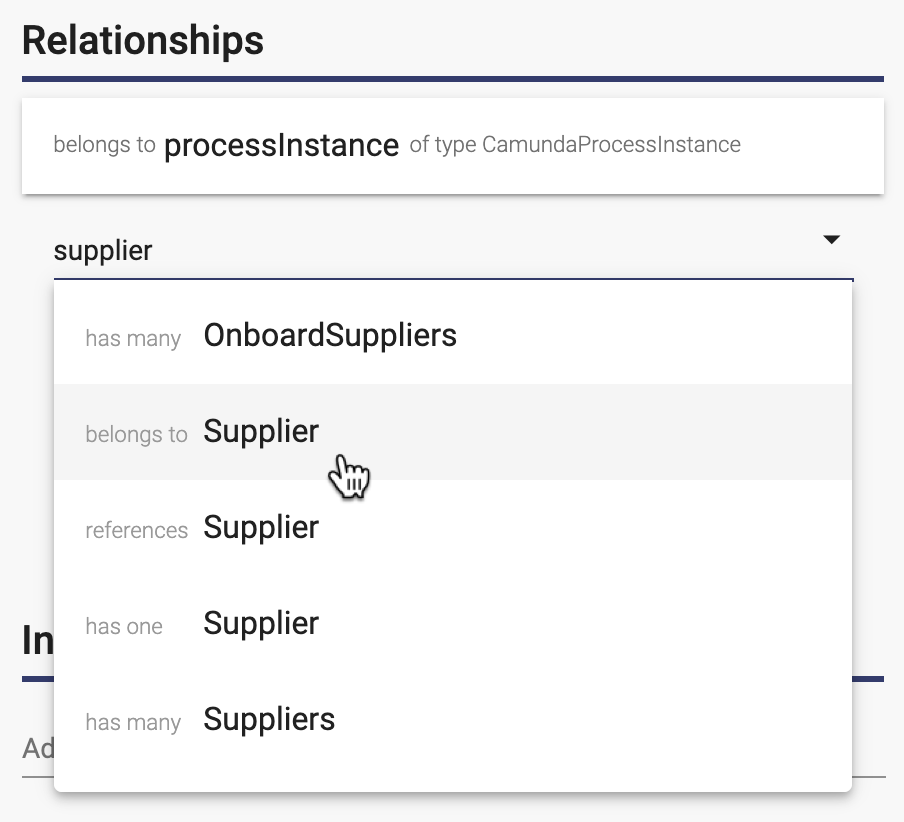
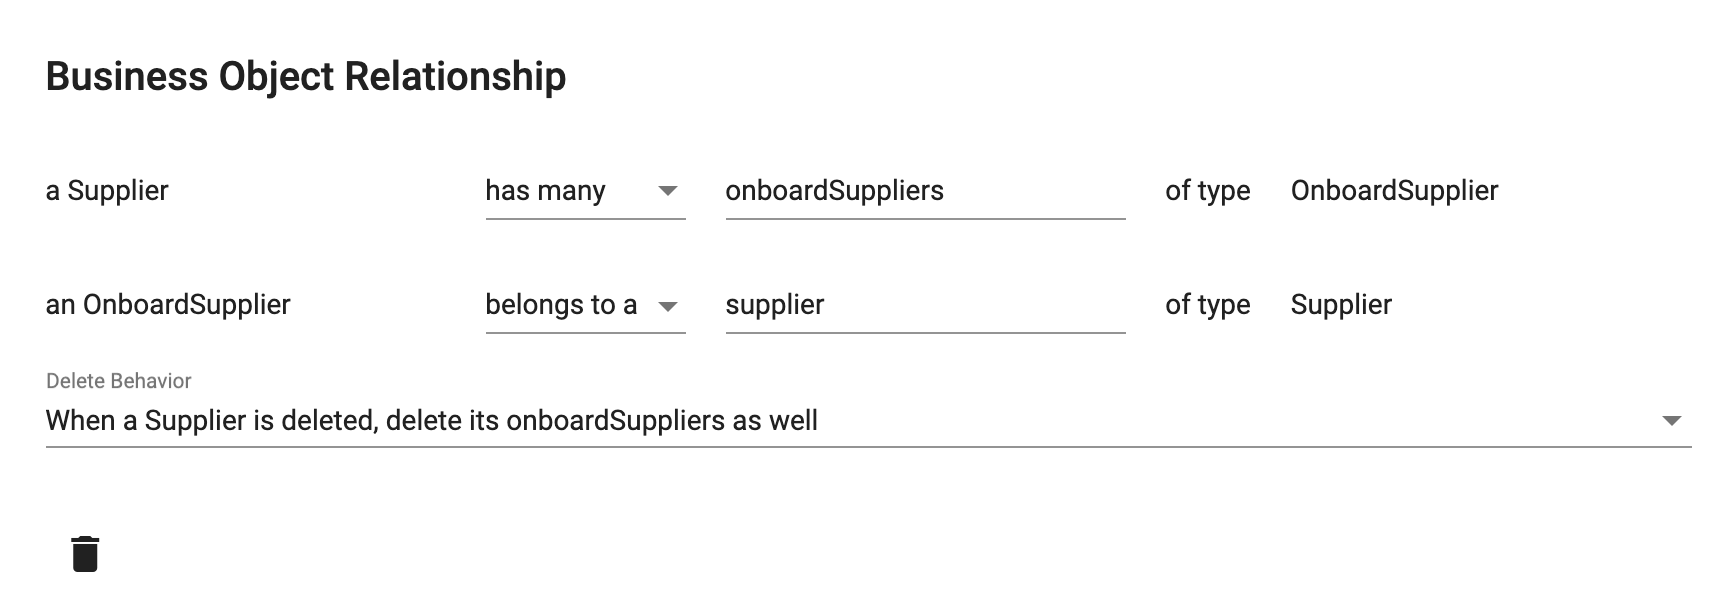
- Note the relationships in the dialog, although no changes are necessary:
Add the Create Supplier System Service
- Navigate to Processes using the button on the ribbon
- Select the Onboard Supplier process.
- To add the new activity in the diagram, first select the Complete Application activity:
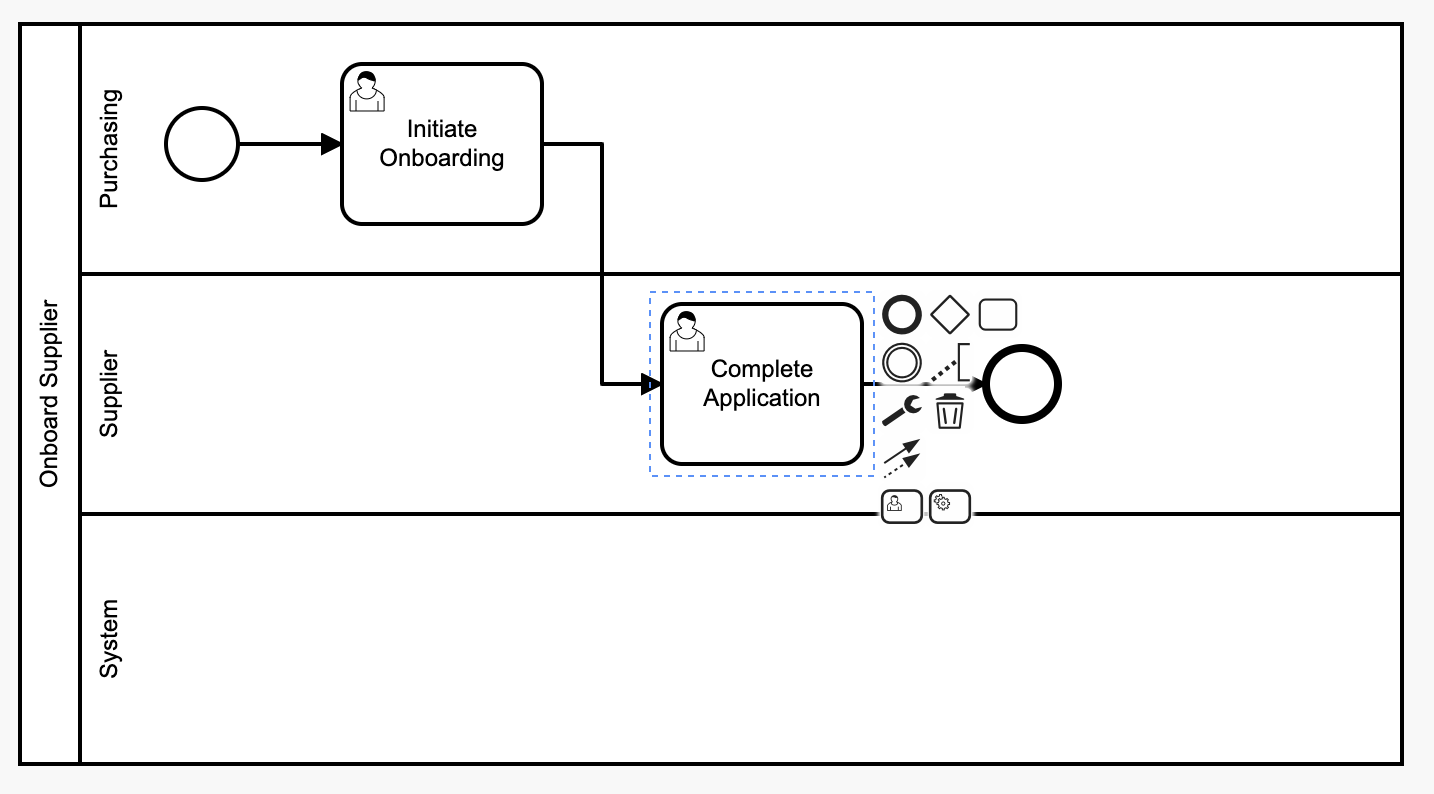
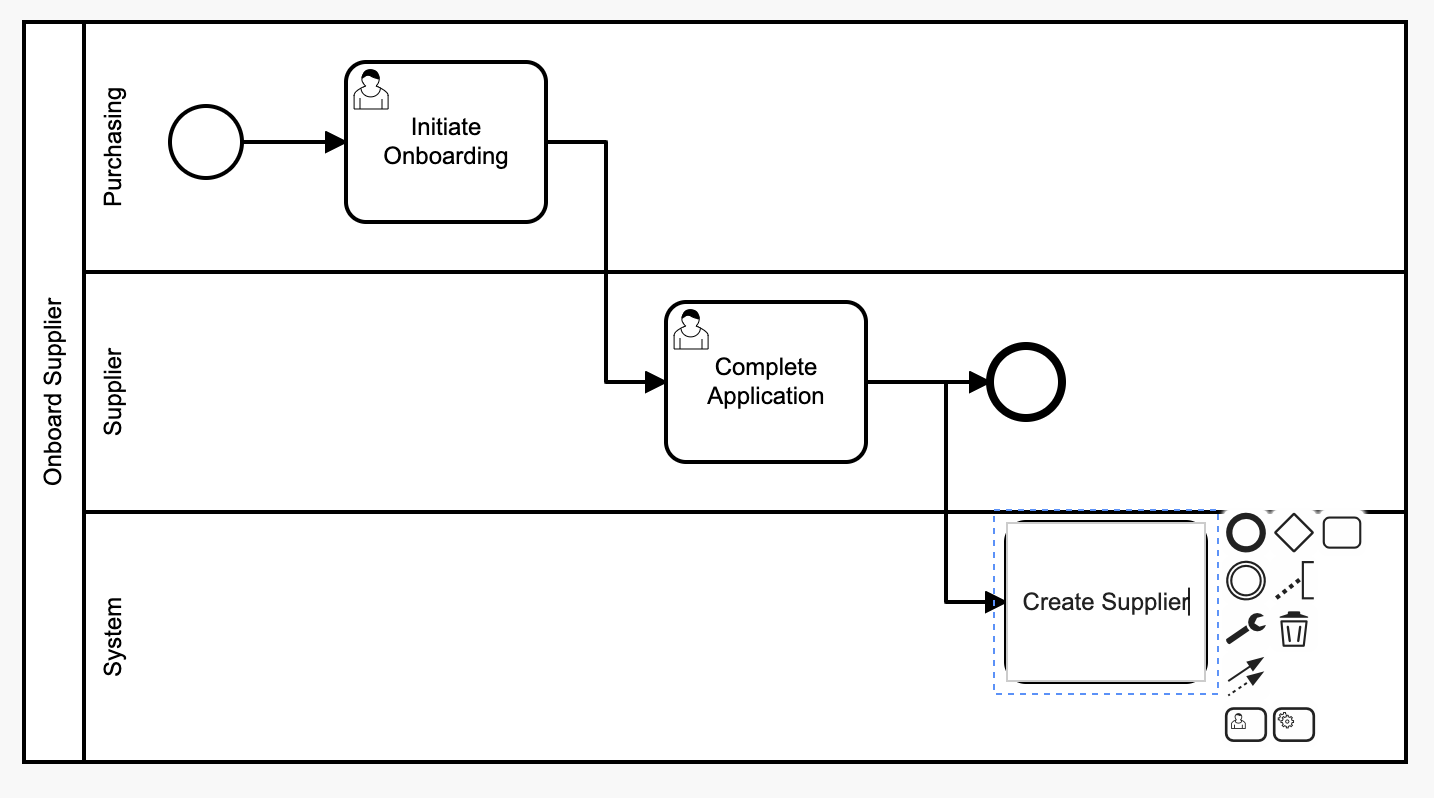
- Click the Create Service Task button to the right and below the activity:
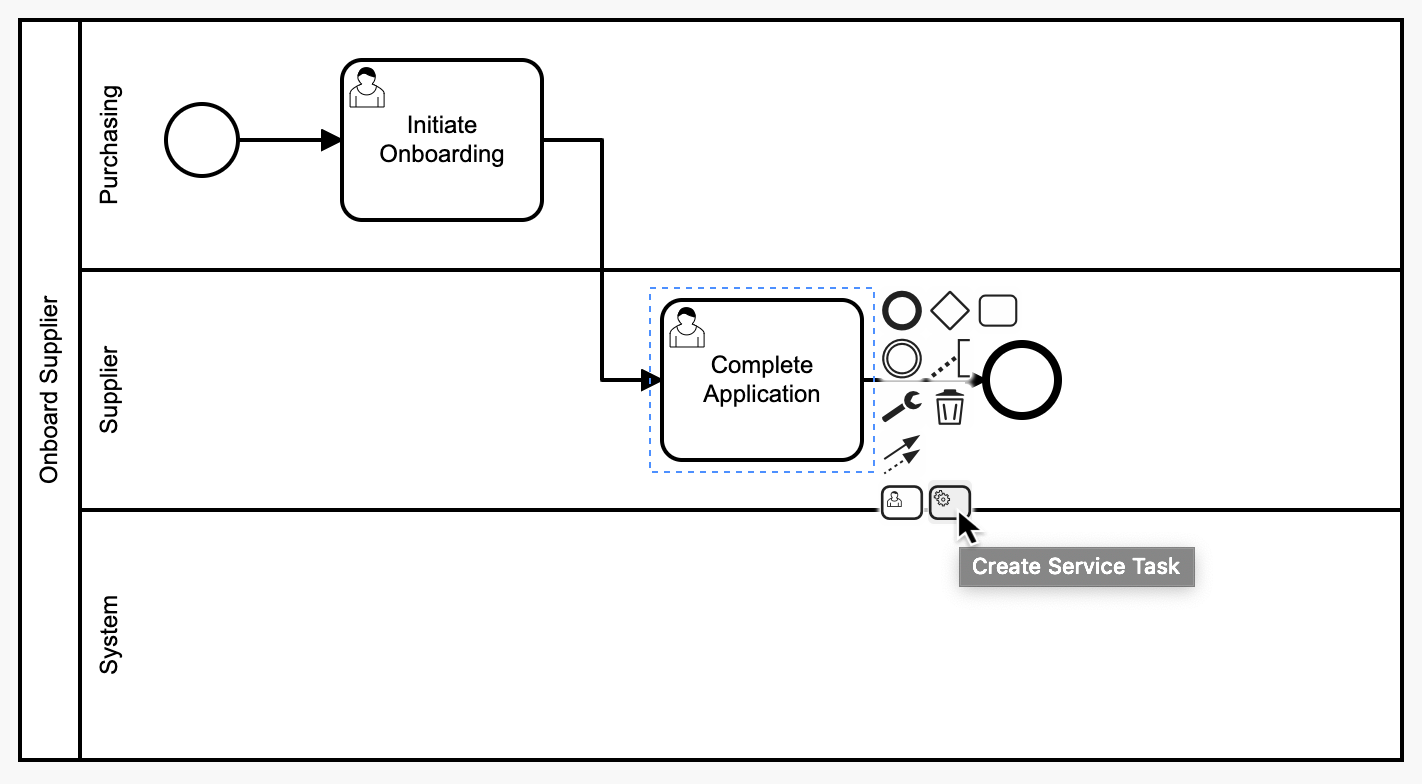
- Type the name Create Supplier in the new activity:
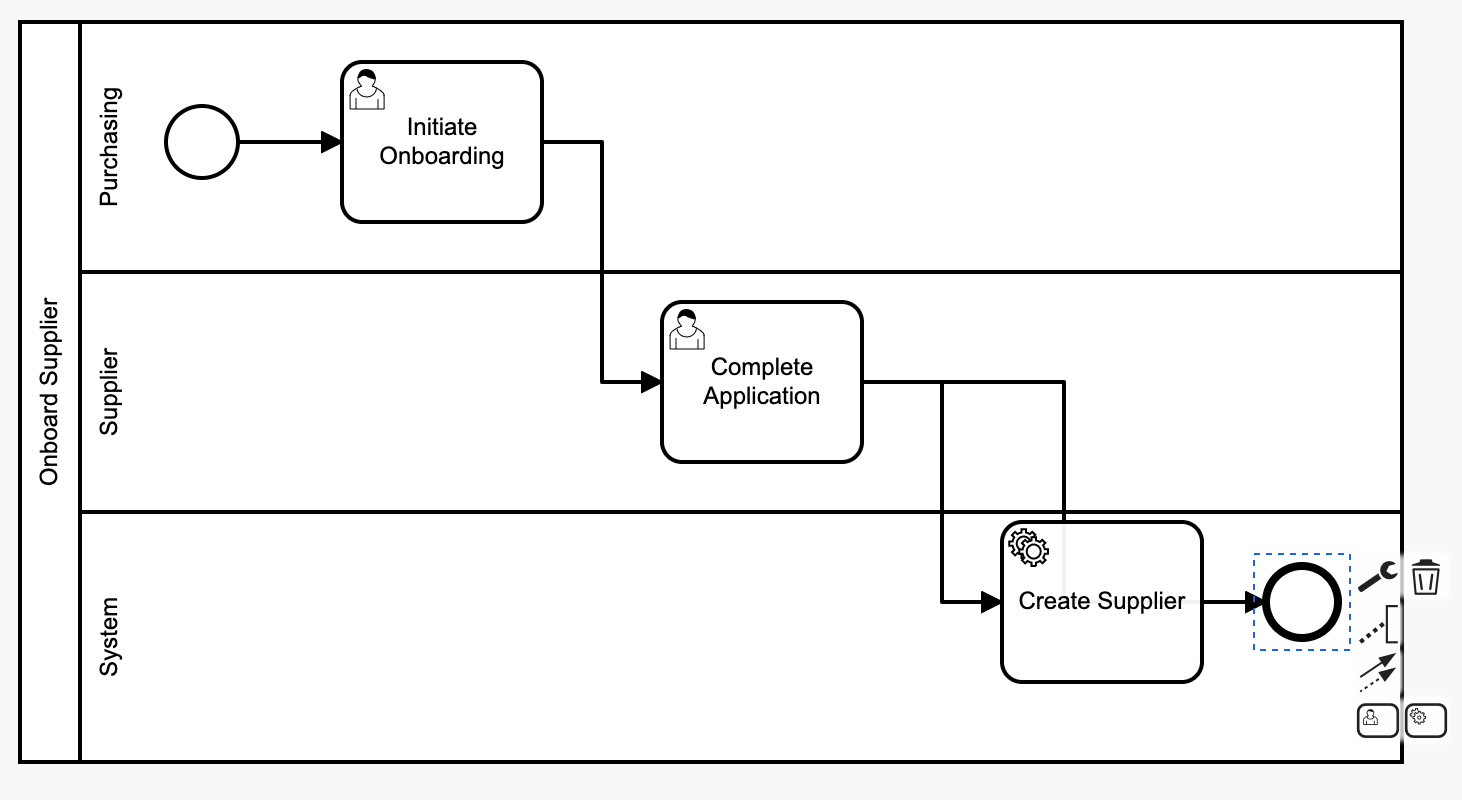
- Click on the end event, and with the mouse still down, drag it to the right of Create Supplier:
- Click on the wire that leads from Complete Application to the end event:
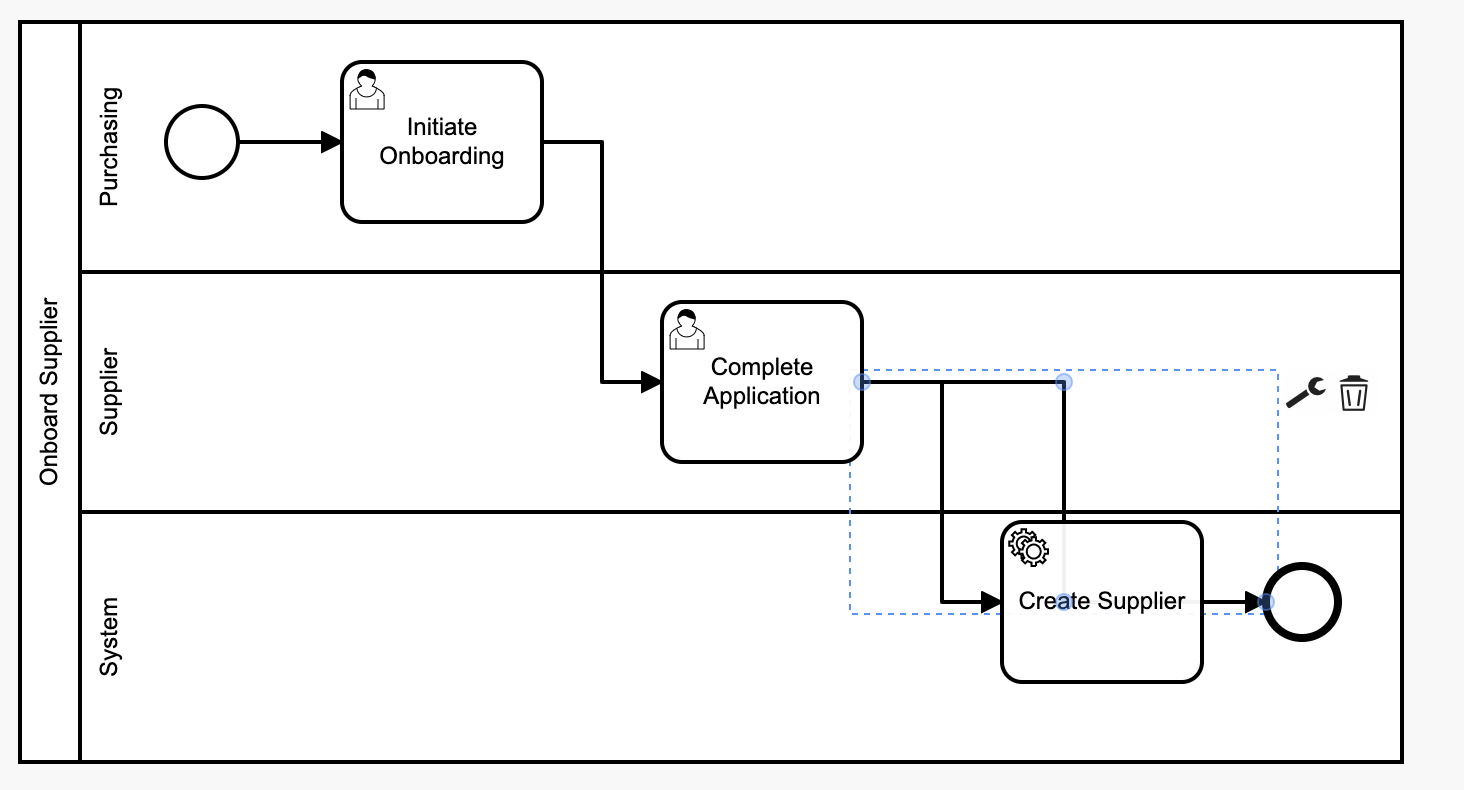
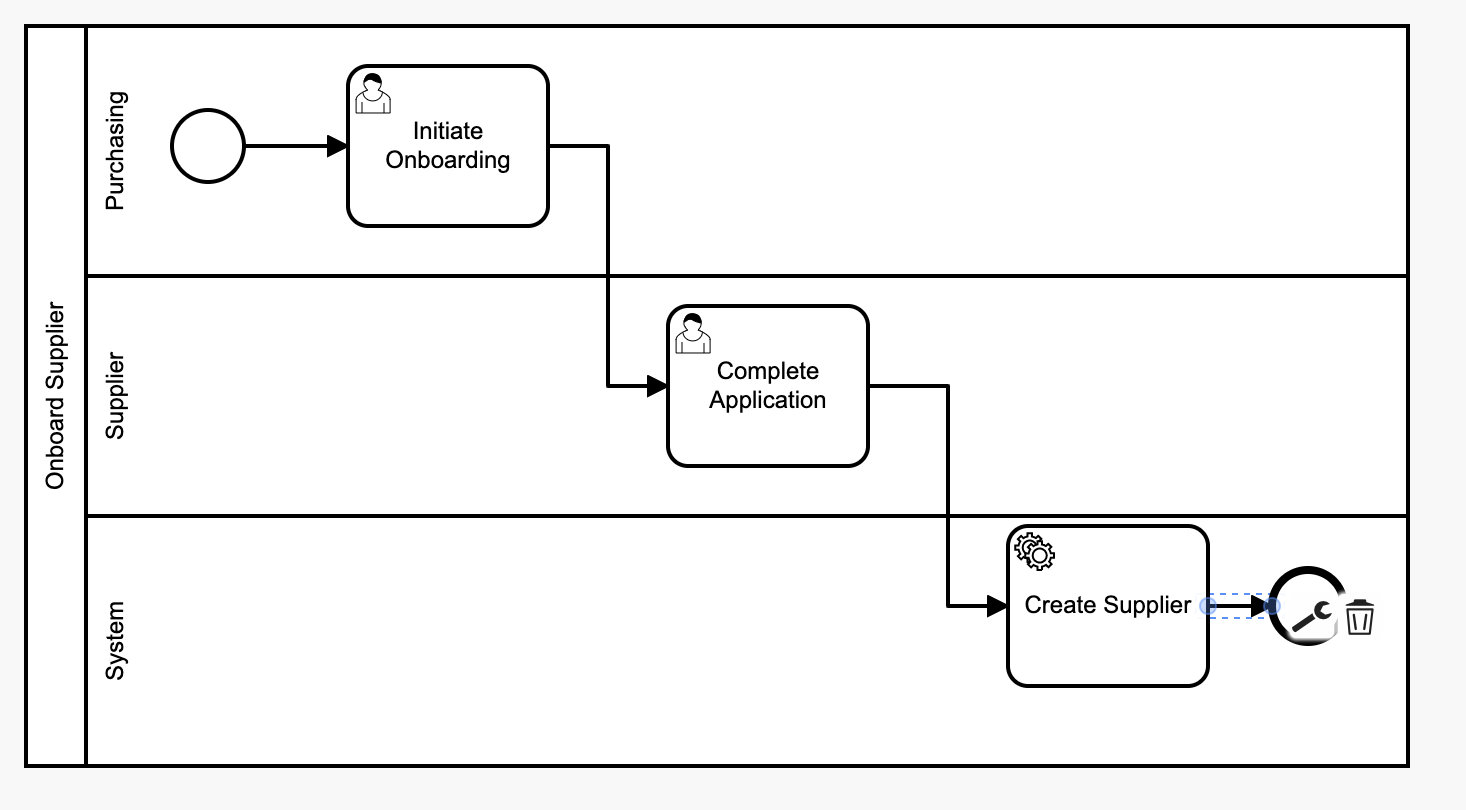
- The tiny blue circles on the wire are now editable. Drag the start endpoint of the wire, attaching it to the Create Supplier activity:
Implement the System Service
- Select the Create Supplier activity.
- Click the Open Service Task Behavior button:
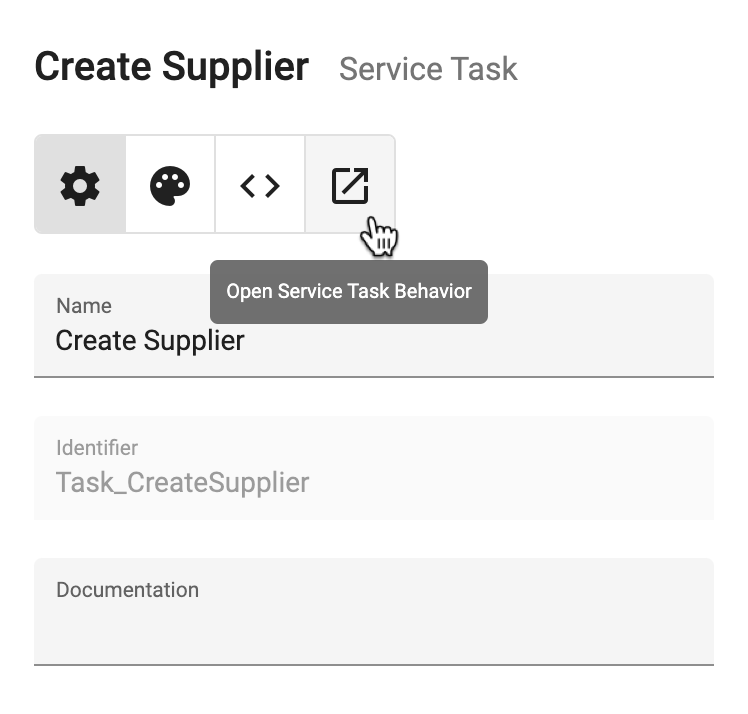
- Notice that some things are added automatically, including the debug lines in the Implementation. These can be used for troubleshooting. More on that can be found in Debugging Behaviors.
- On the right, click into the Add dependency field and type "supp":
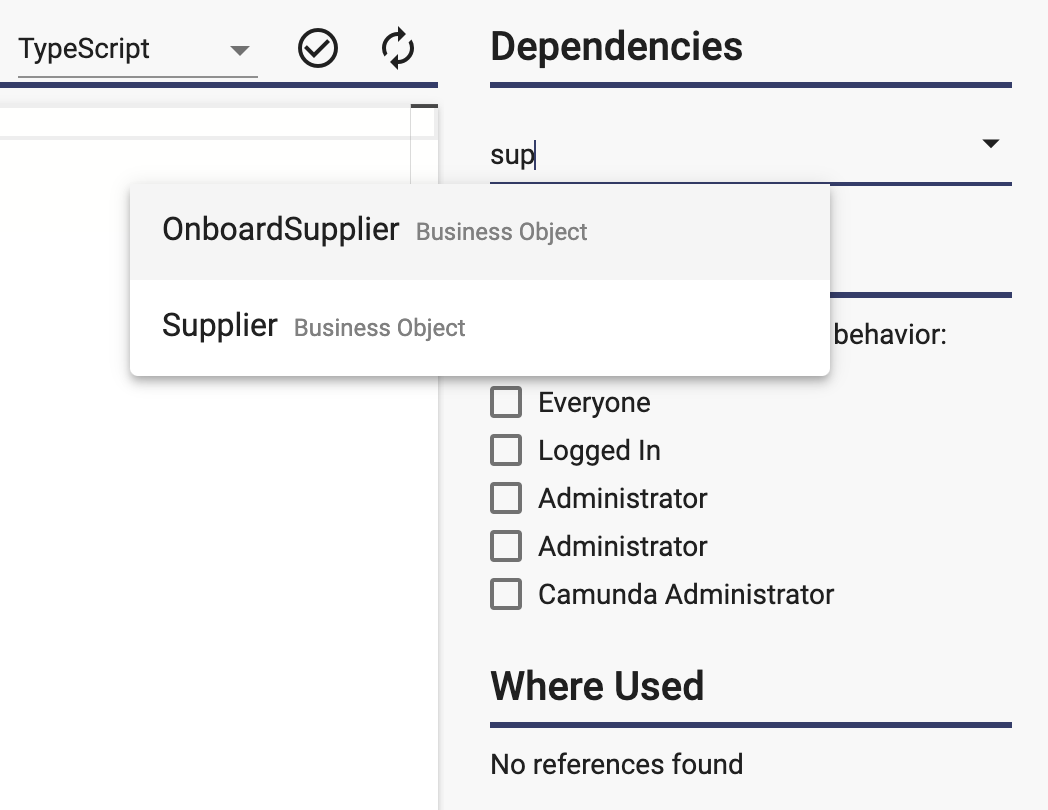
- Select the Supplier business object. Adding it as a dependency allows you to reference that business object within the behavior.
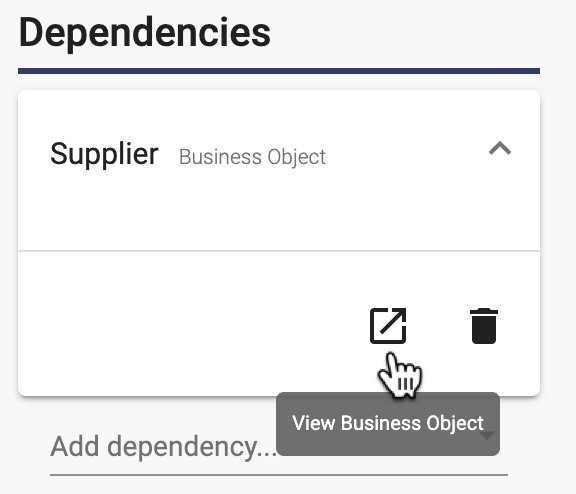
- Before continuing with the behavior, expand the Supplier dependency by selecting it.
- Use the View Business Object button to navigate to the Supplier business object:
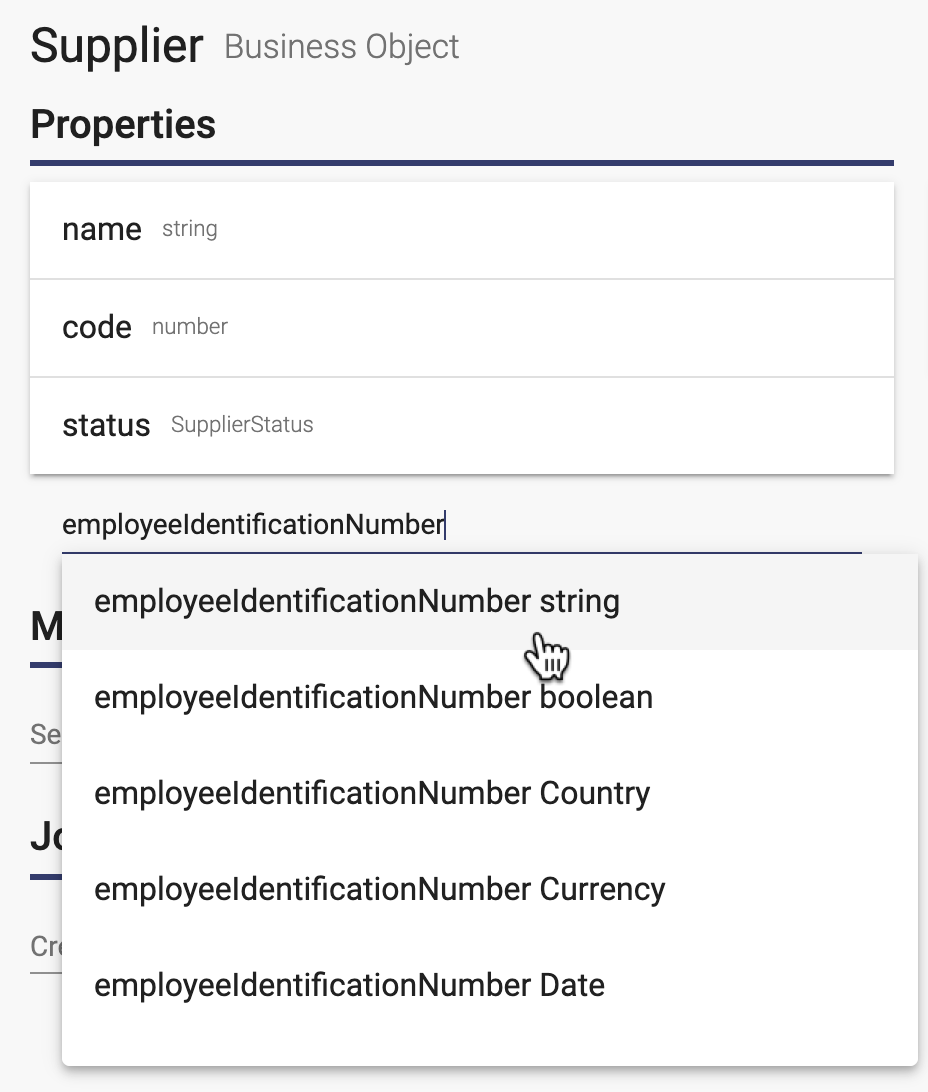
- Although we added the Employee Identification Number to the Onboard Supplier business object, we also need to add it here. Add the property:
- Navigate back to the behavior using the Recent Items button in the toolbar and selecting it:

- In the Implementation of your behavior, include the logic to initialize the supplier variable, add data from the onboarding process, save the data and link the supplier to the onboarding supplier (for more about working with data, see Managing Data In A Business Object Behavior) :
debug('onboardSupplier %j', onboardSupplier); debug('externalTask %j', externalTask); // Initialize the supplier variable, using the Supplier business object let supplier = new Supplier(); // Set the values from the process variable supplier.name = onboardSupplier.supplierName; supplier.employerIdentificationNumber = onboardSupplier.employerIdentificationNumber; // Add a random number as the code supplier.code = Math.floor(Math.random() * 10000); // Save the data, creating the new supplier in the database await supplier.save(); // Write debug to the log, showing the full object after it has been saved debug('supplier %j', supplier); // To link the supplier to onboardSupplier, add the supplierId as the id of the supplier onboardSupplier.supplierId = supplier.id; // Write debug to the log before saving debug('onboardSupplier %j', onboardSupplier); // Save the change to the database await onboardSupplier.save(); - Since there were several changes, generate the app using the Generate App button in the upper right.
Running the Service
In the previous lesson, the service task did not exist in that version of the process. If we tried to finish the process instance that we started in that lesson, it would not run your new service task.
When you generated the app in the step above, a new version of the process was deployed that included the additional service task. Although it is possible to "migrate" the instance from the older process version to the new one, we will avoid that for now. Instead, you can start a new instance that will use the new version of the process:
- In the running app, navigate to the Suppliers page.
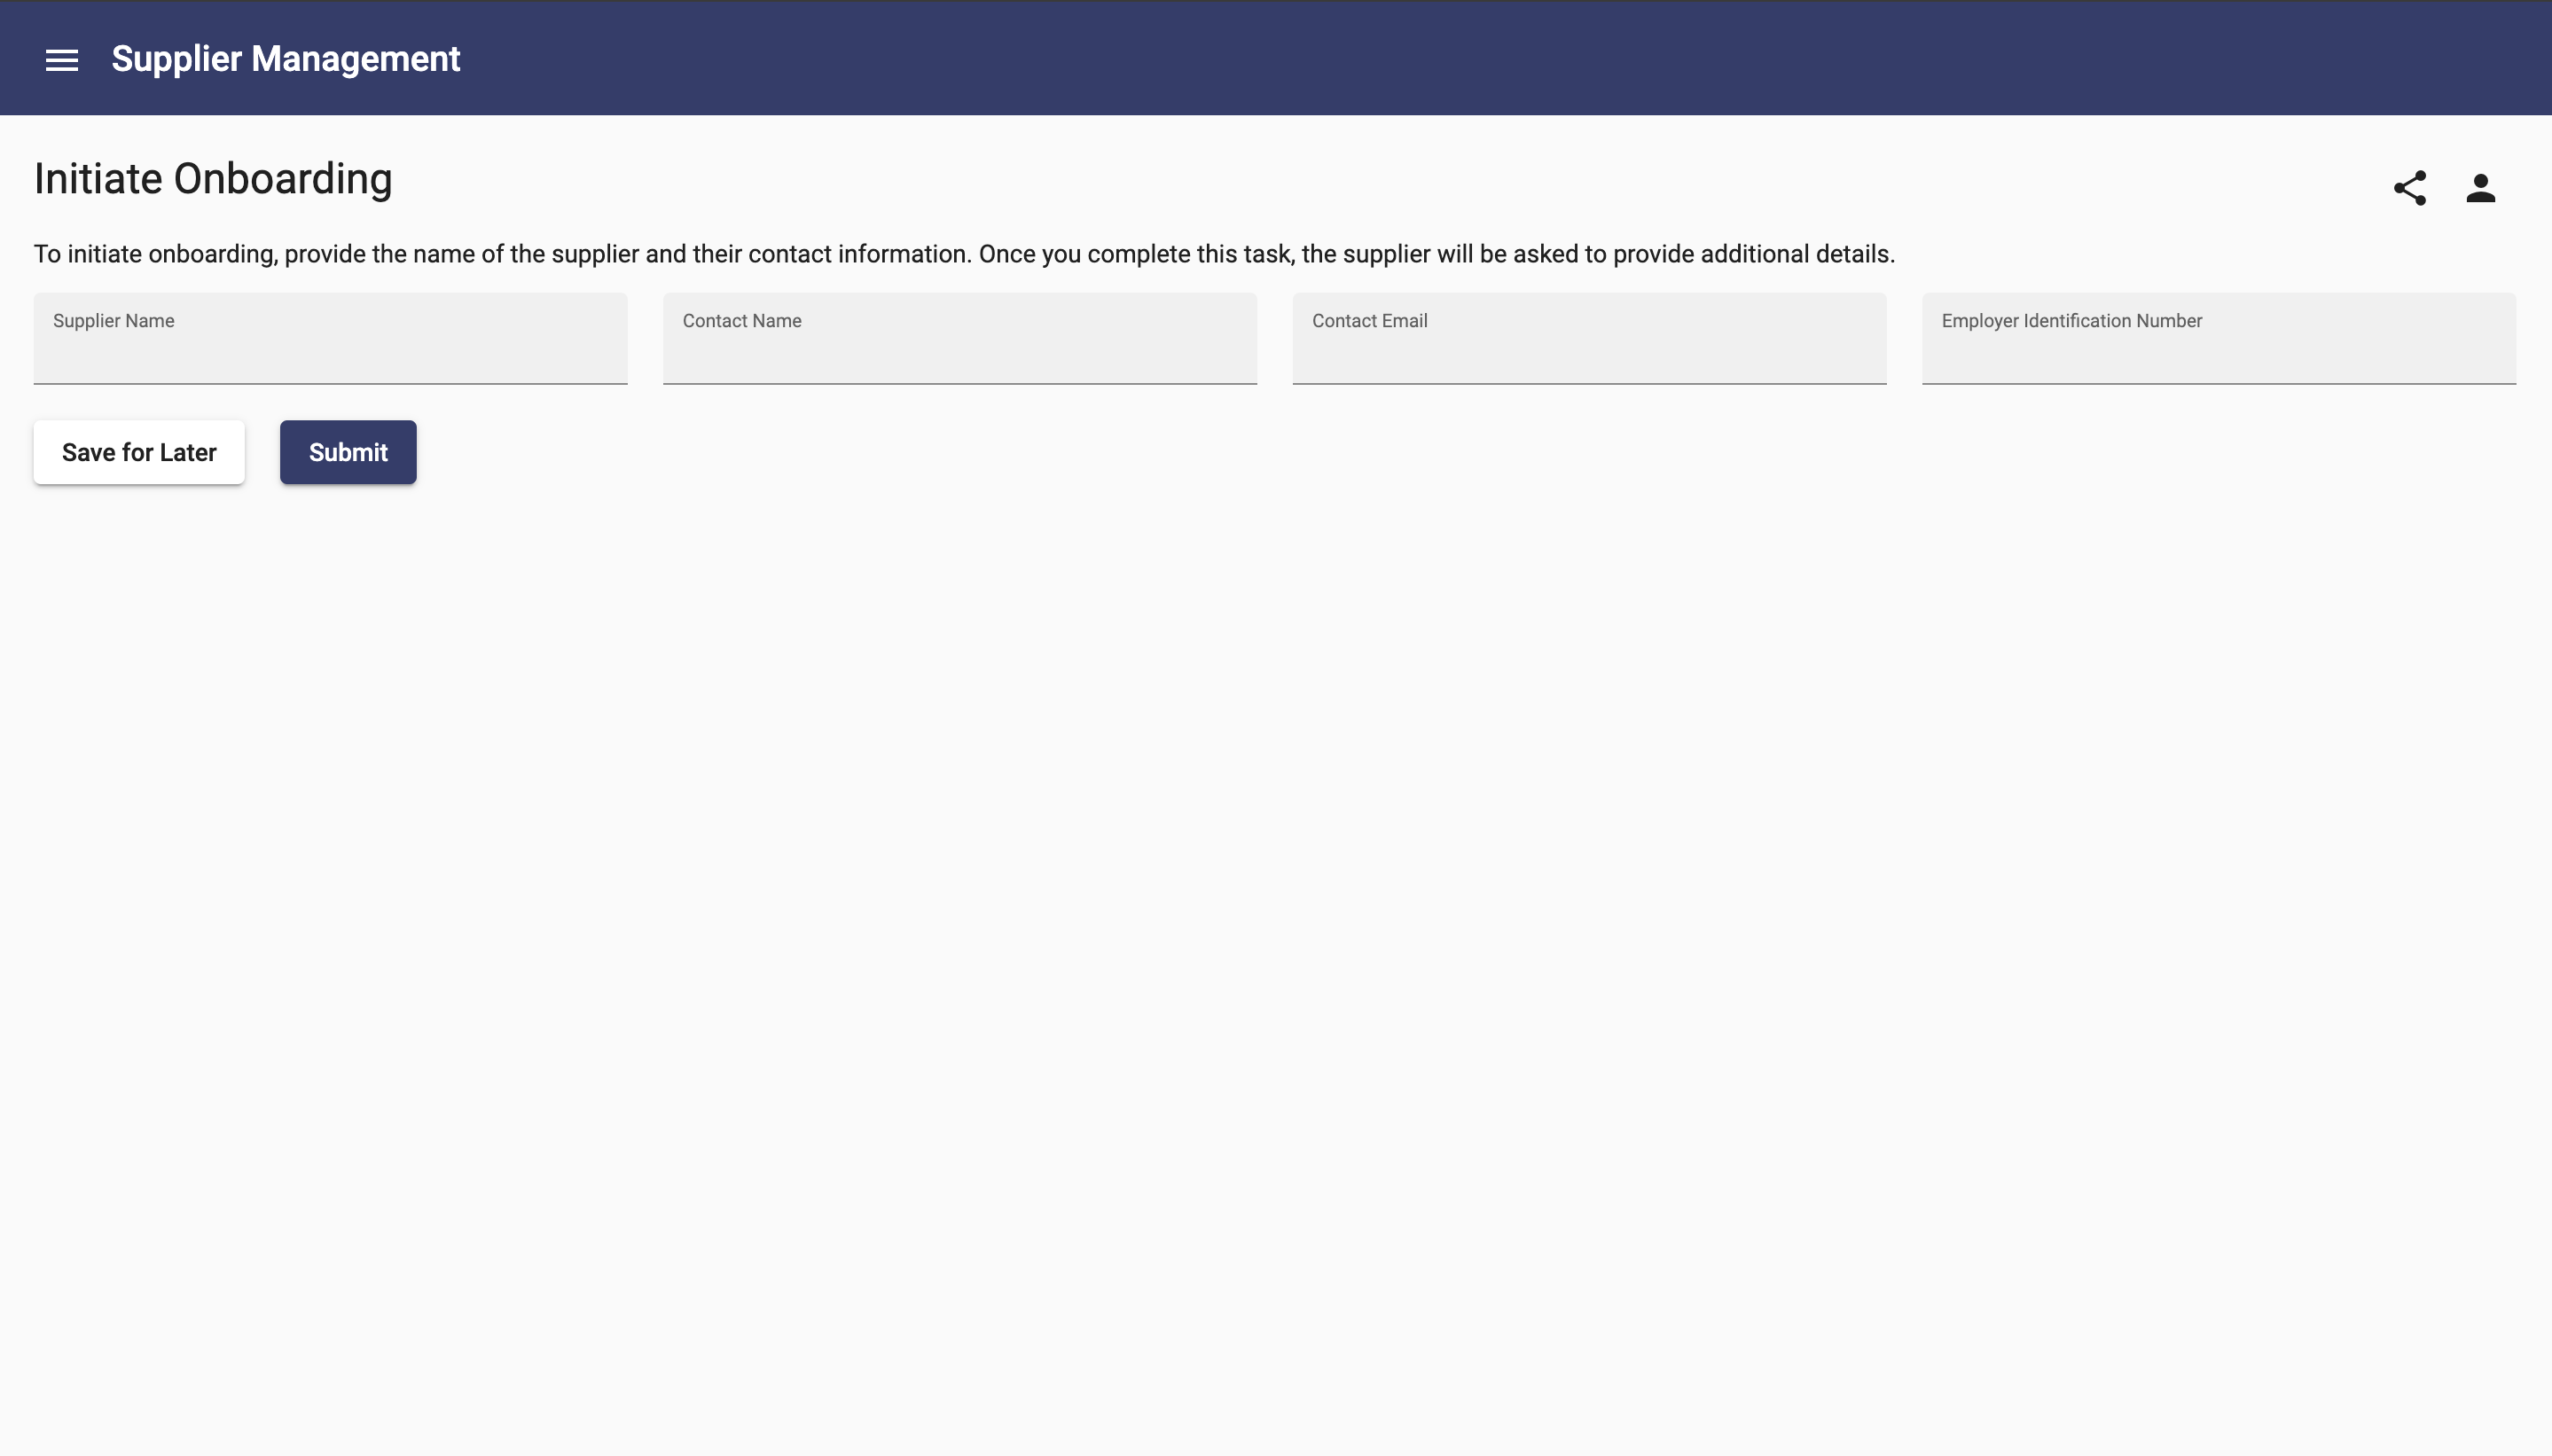
- Click the Onboard Supplier button
 to start a new process instance.
 - Populate the fields for the supplier and submit the task to complete it:
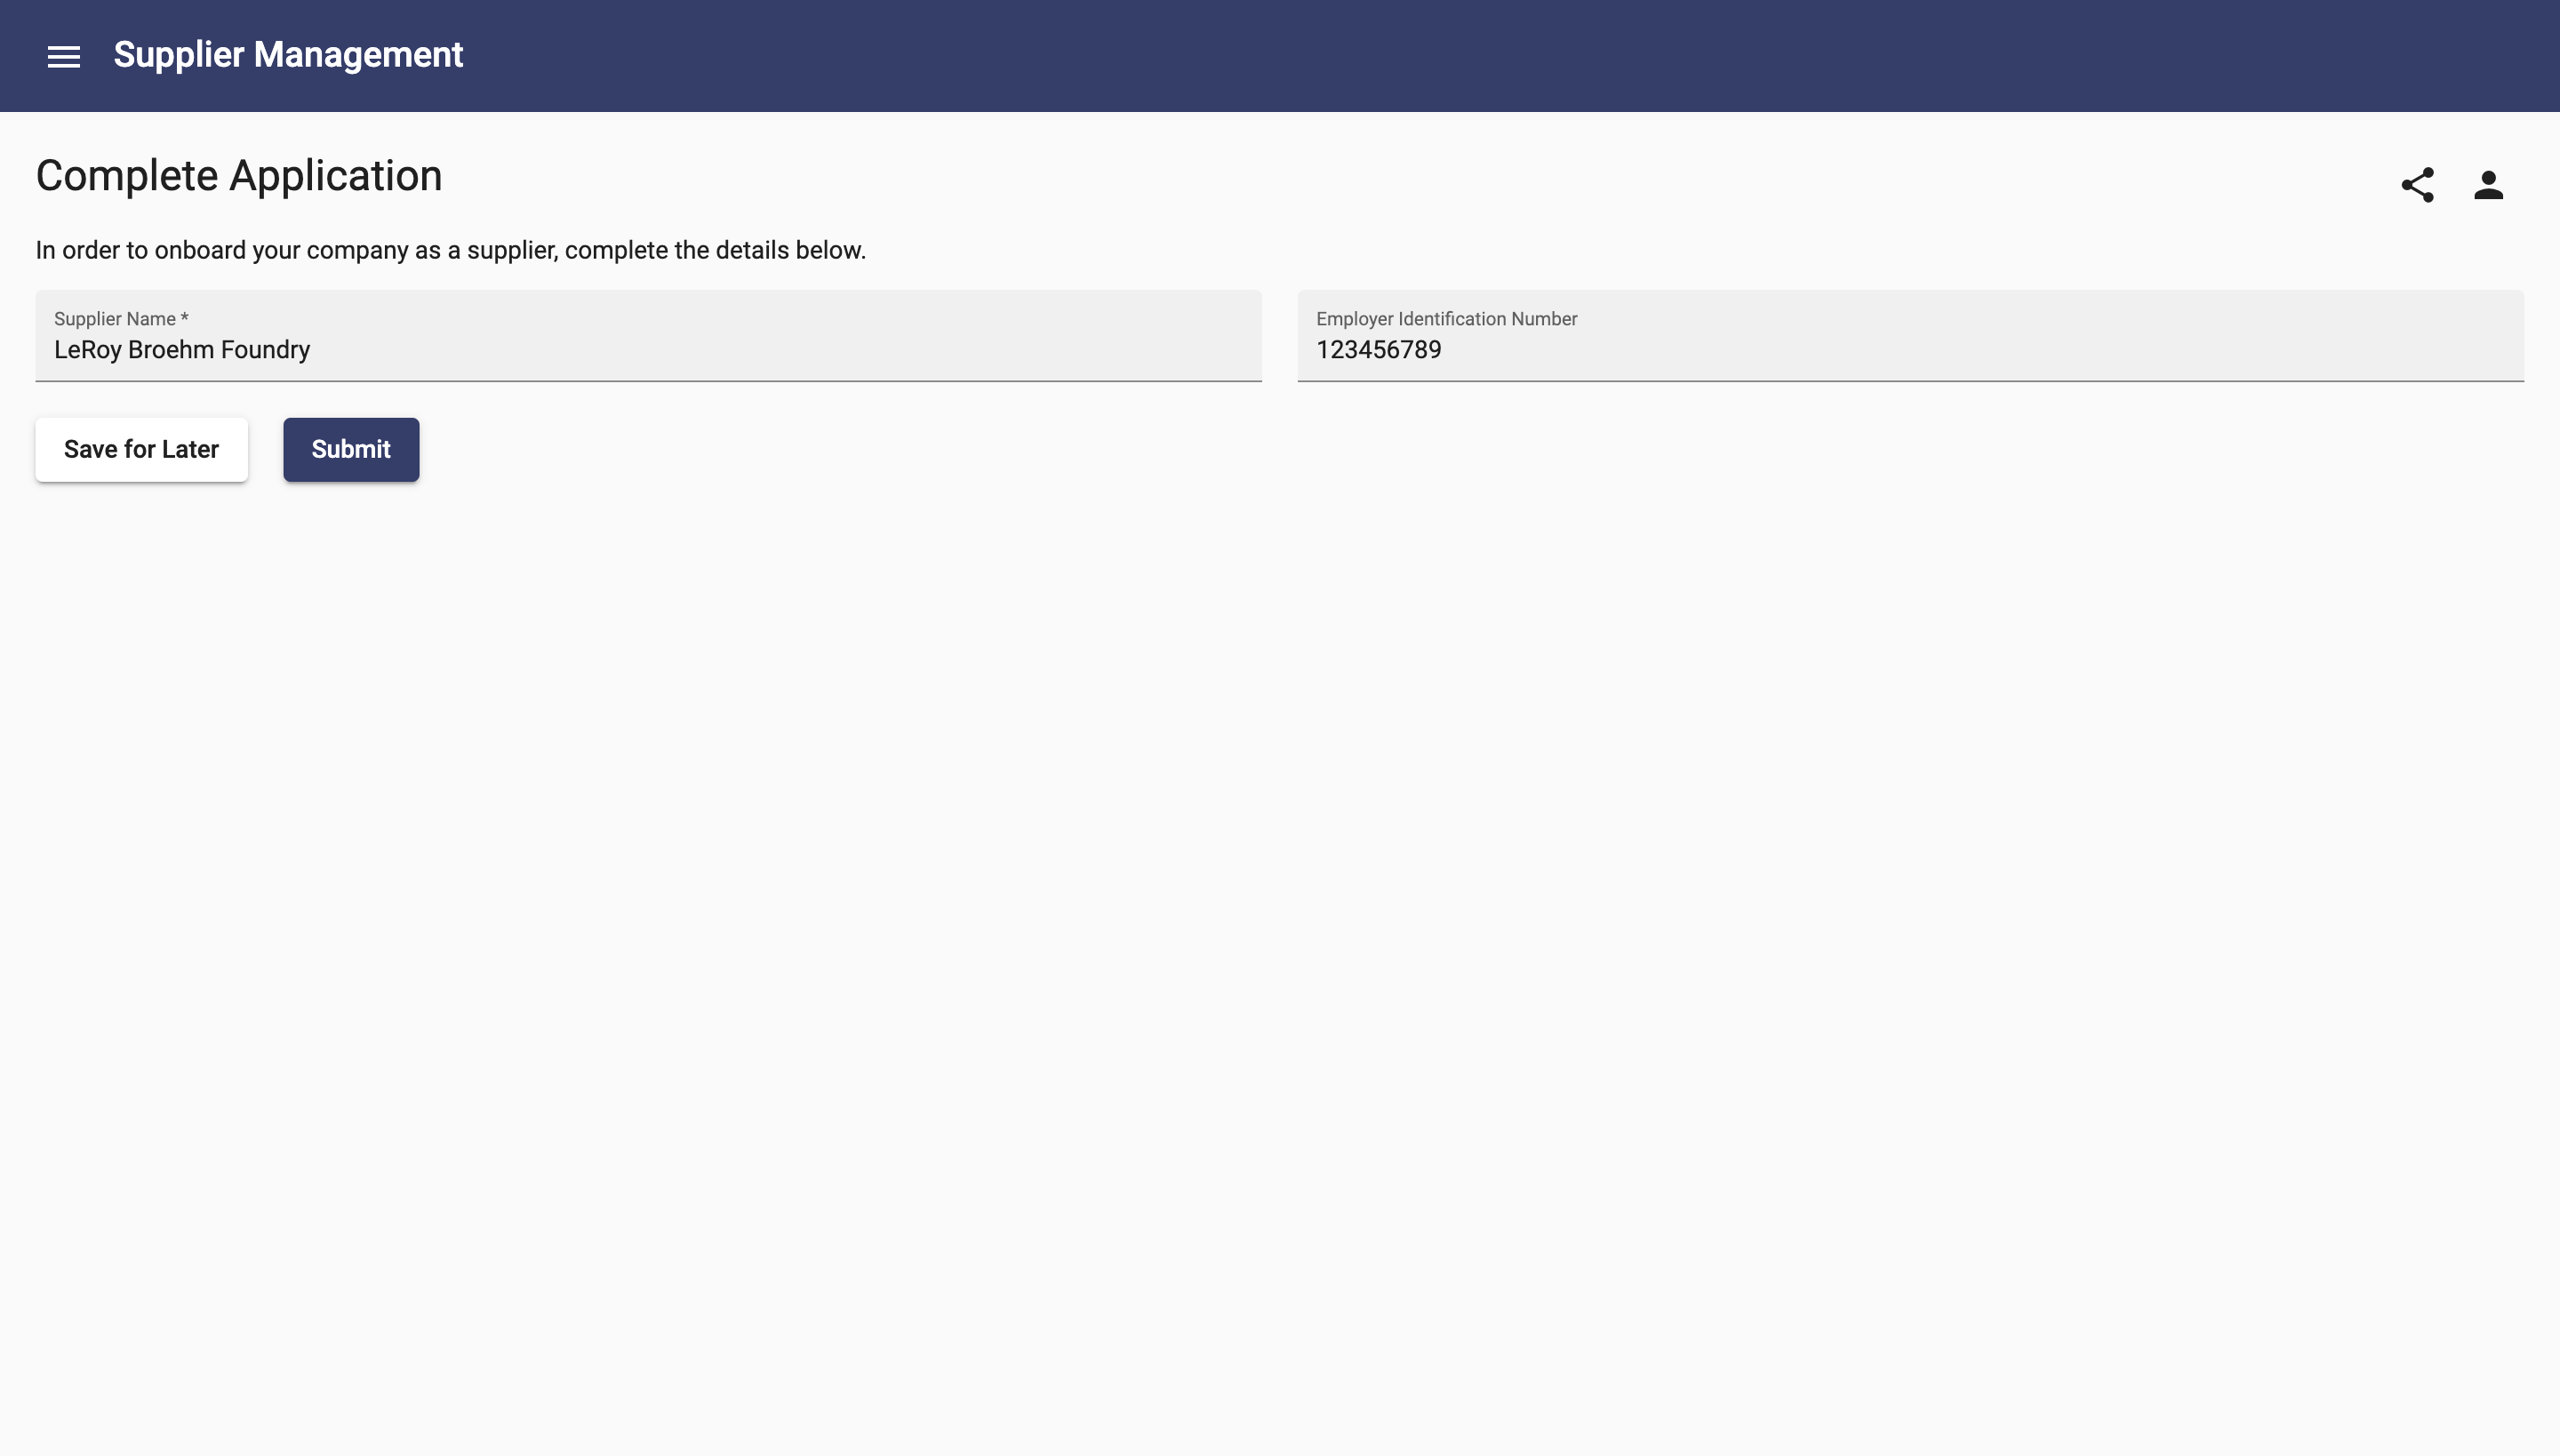
- Back on the My Tasks page, click the Complete Application task for the new supplier (be sure to pick the most recently created task).
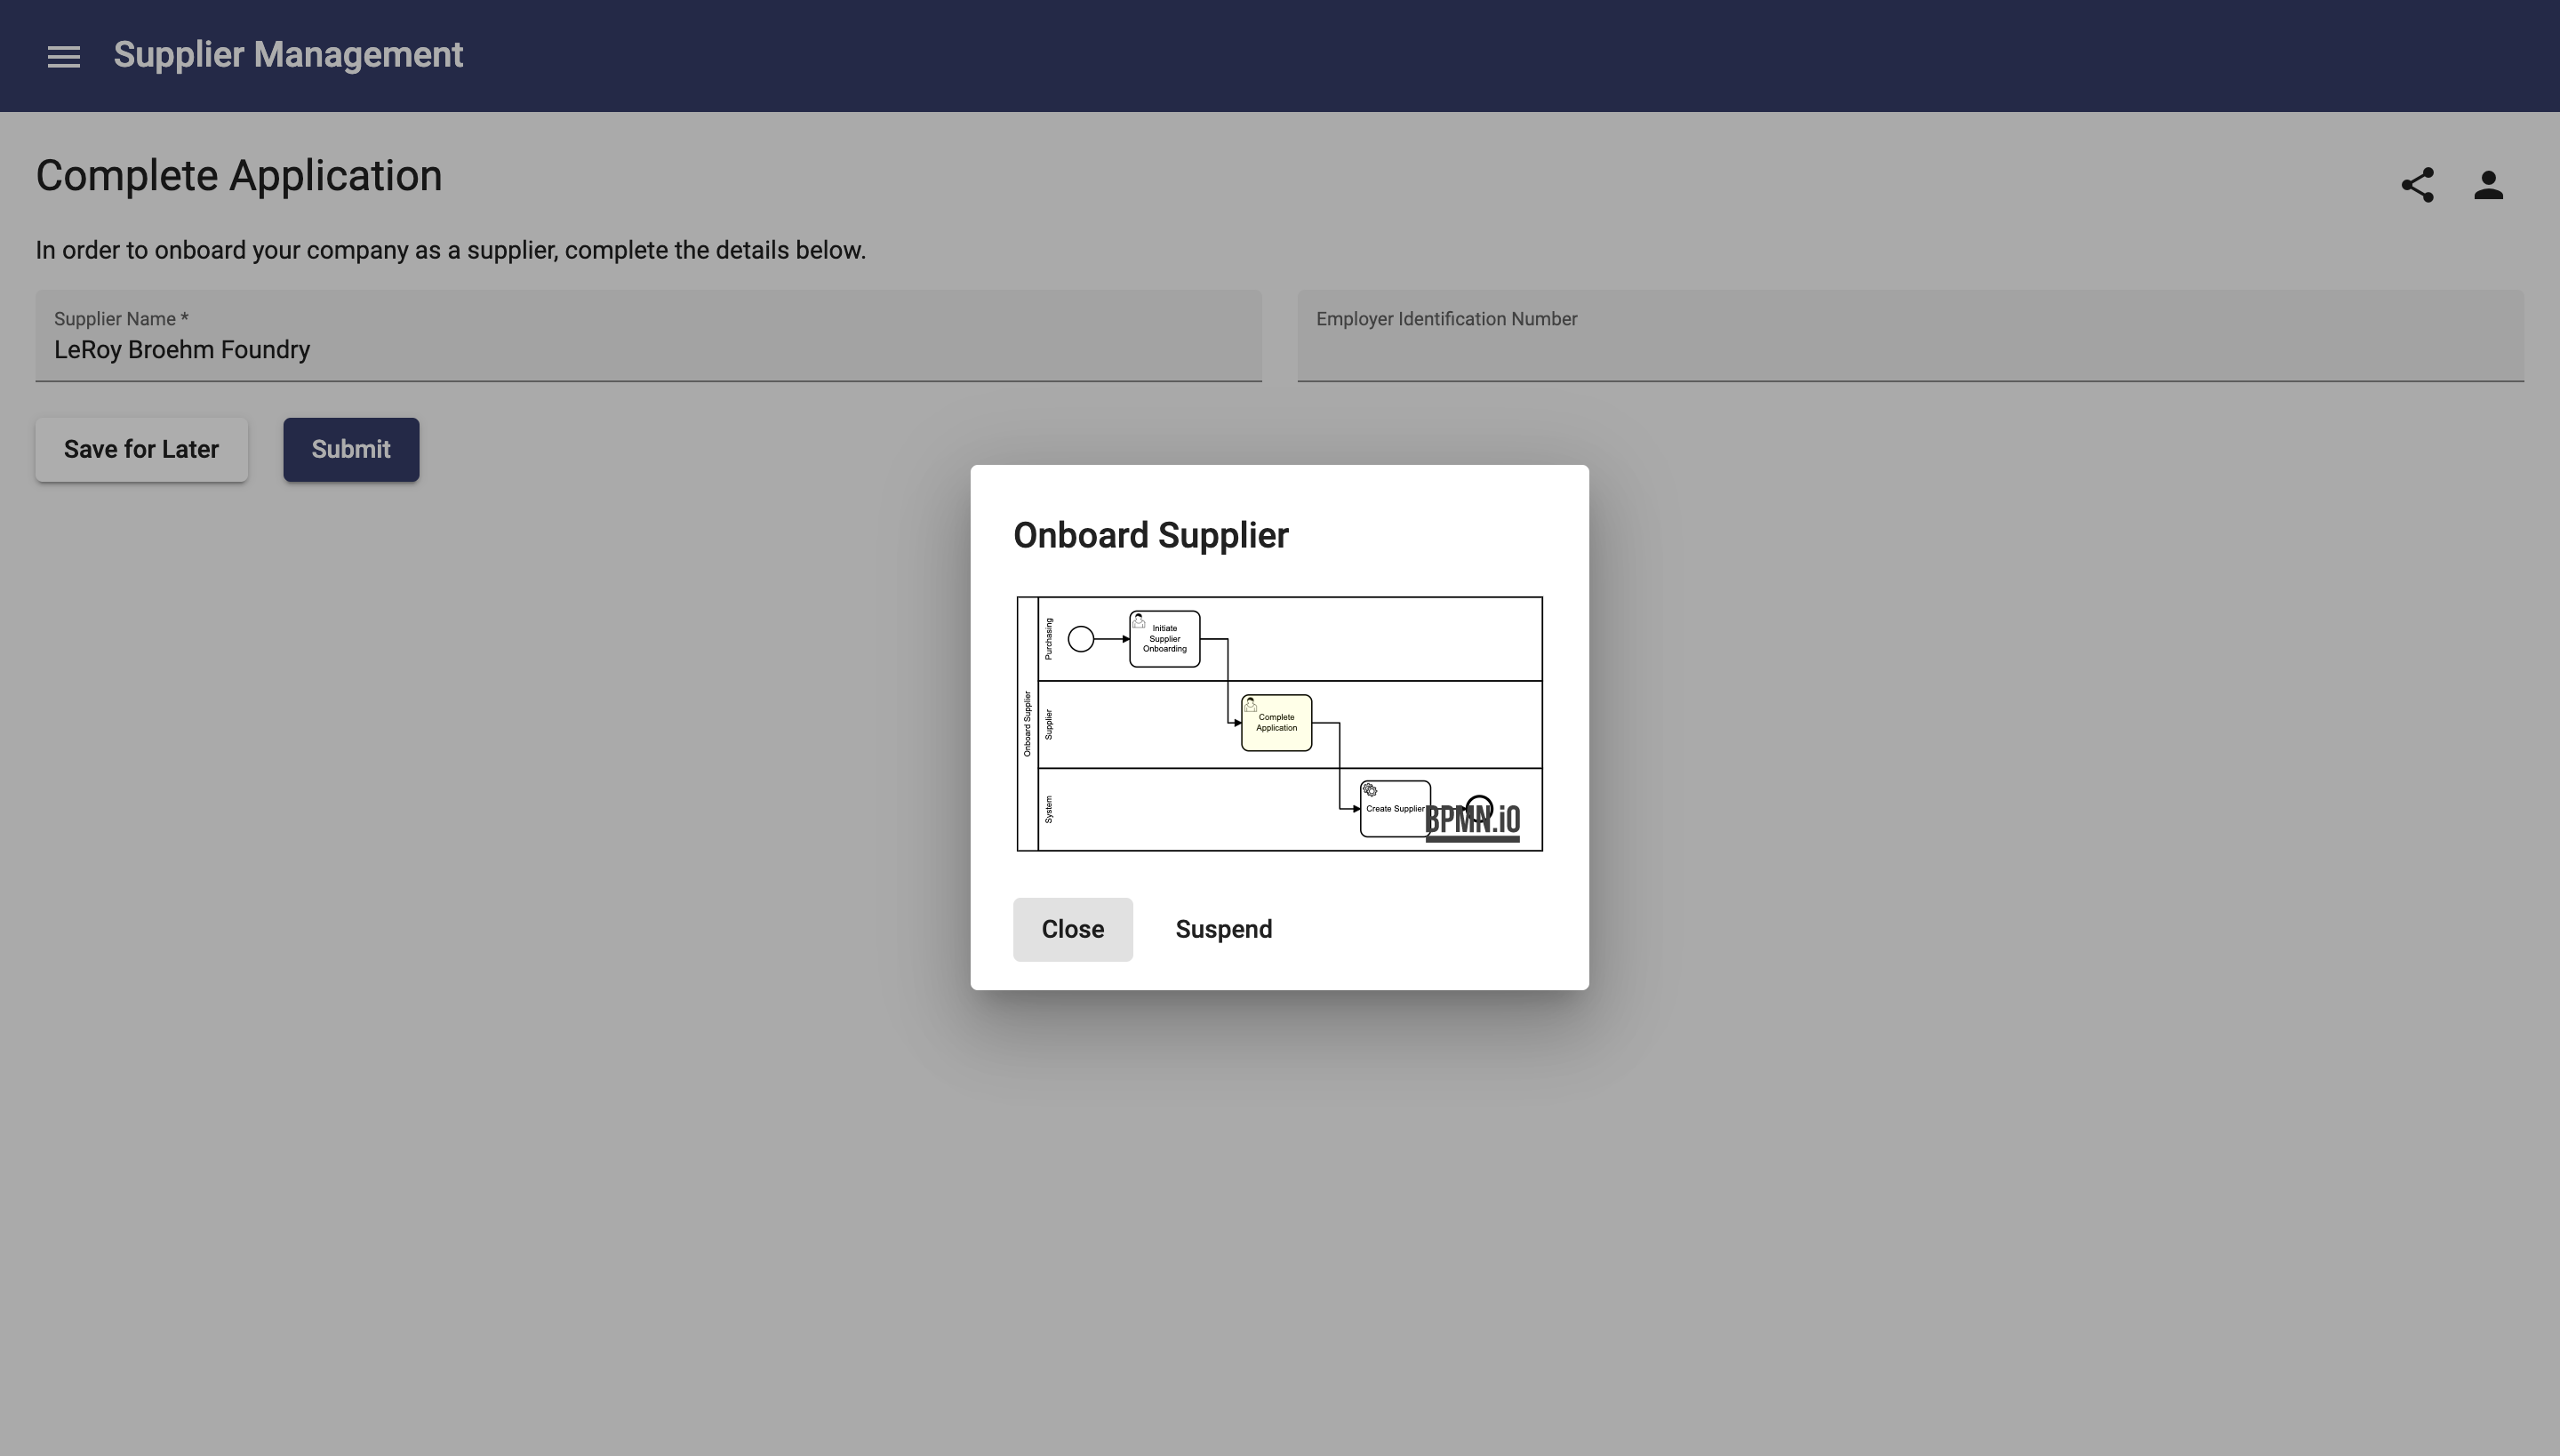
- Before completing the task, click the Show Process Diagram button to see that the new activity is now shown:
- Add an Employer Identification Number and click the Submit button:
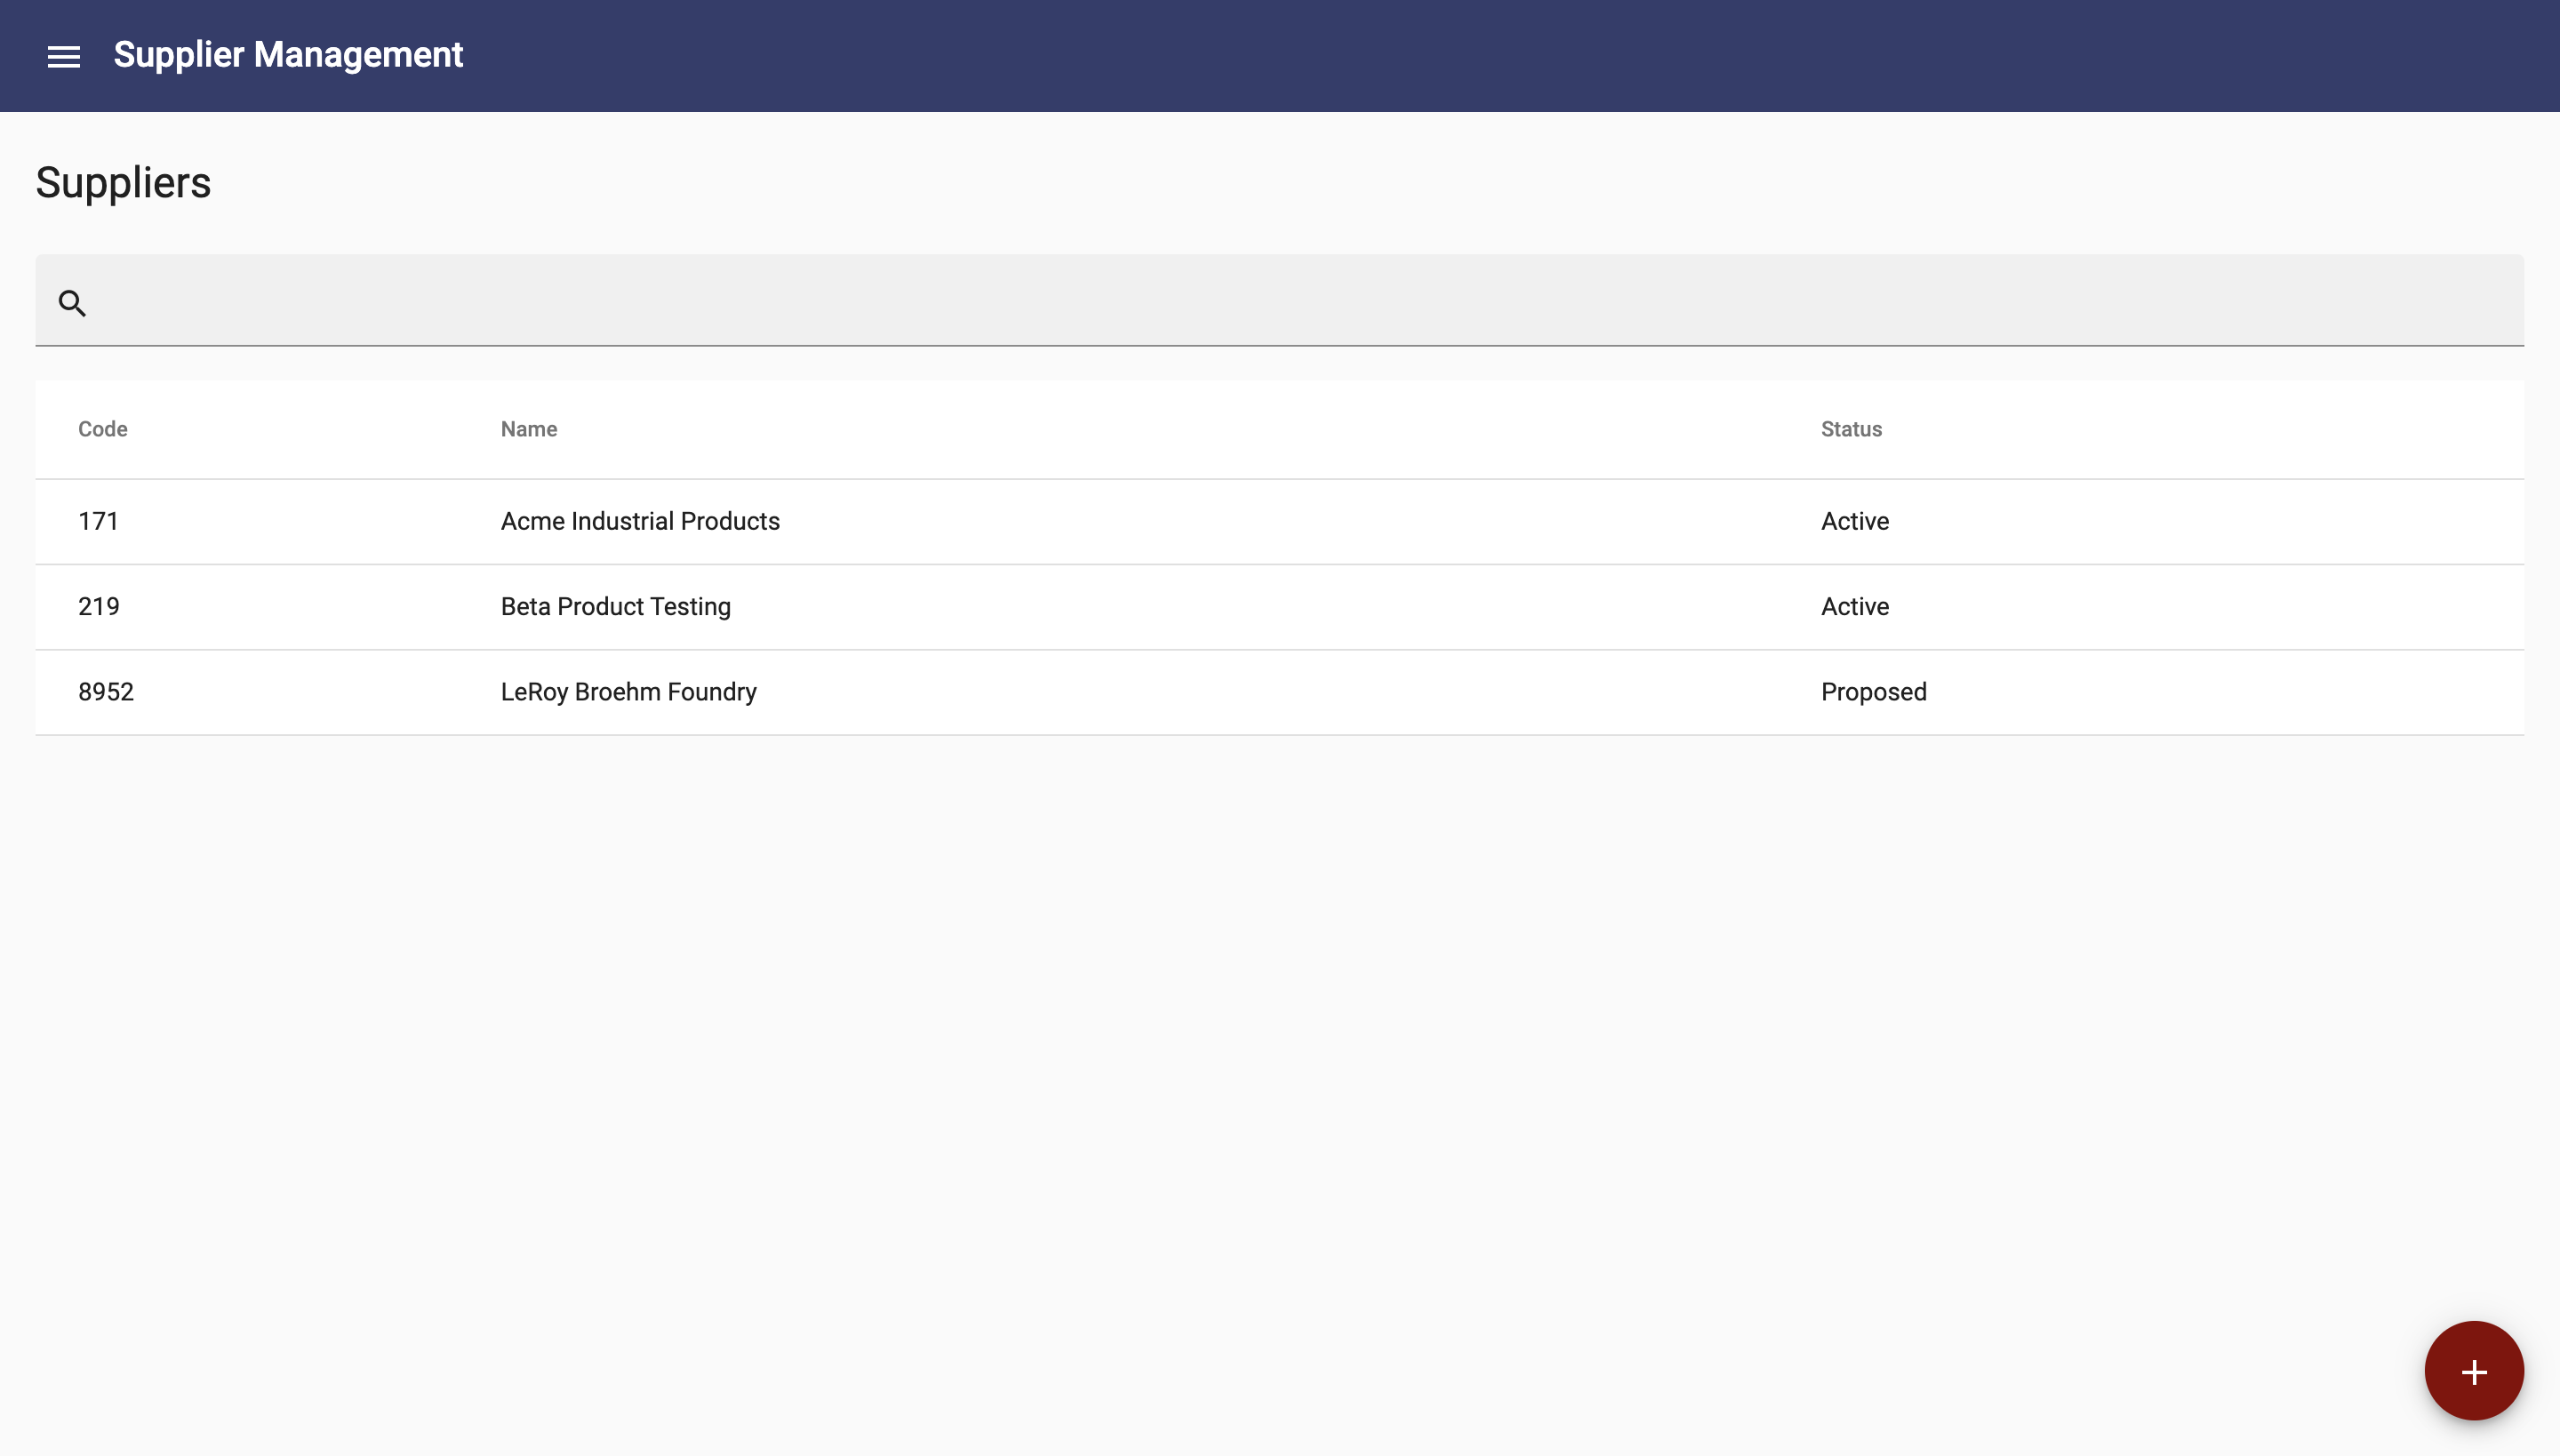
- On the Suppliers page, does your supplier now show on the list? If so, congratulations, you have built and completed your process!
In this lesson you linked the Supplier business object with the Onboard Supplier process business object, added a system activity, then detailed the implementation of the system activity. Finally, you completed the last two tasks within your process and viewed the results.