

In the previous lesson, you created a process with two user activities. When you added those activities, a user task page was created for each with some default components. In this lesson, you will add to the user interfaces to allow you to run each of those activities. You will also build a user interface to show your list of tasks.
Detail the Initiate Onboarding Activity
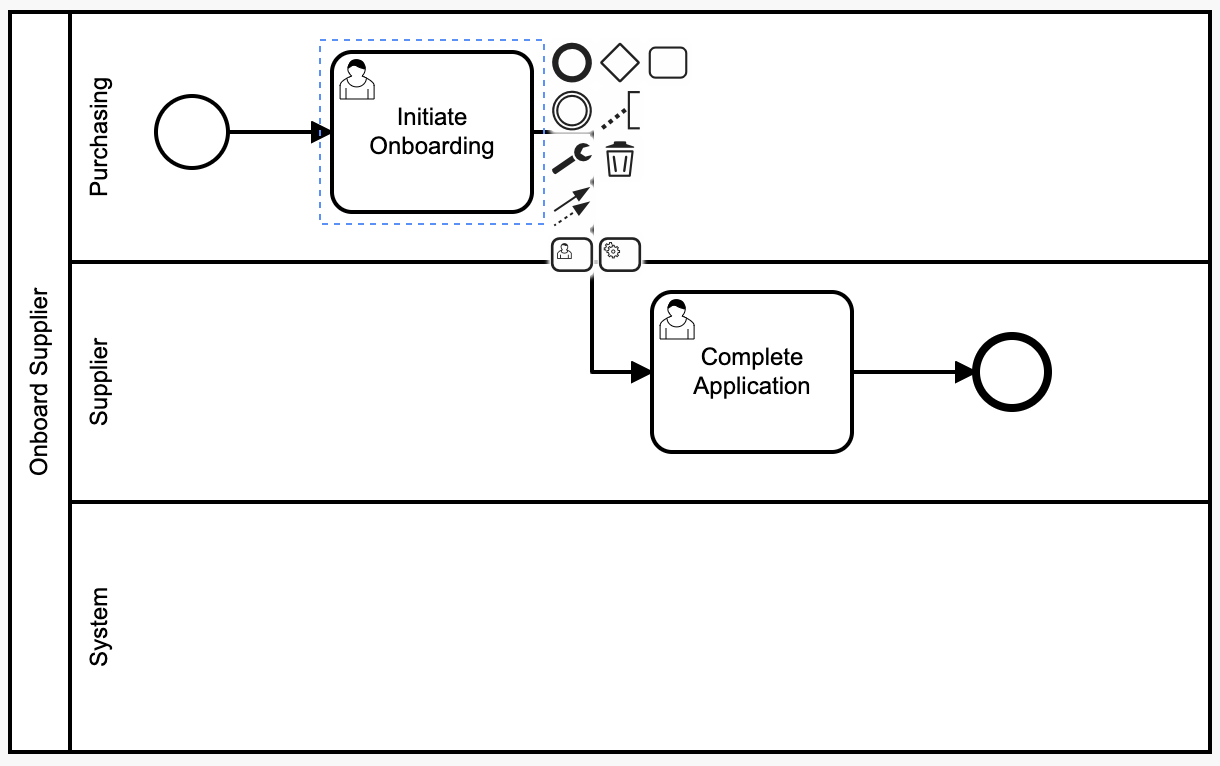
- Navigate to the process by selecting from the ribbon, then selecting the Onboard Supplier process.
- Select the Initiate Onboarding activity from the process diagram:
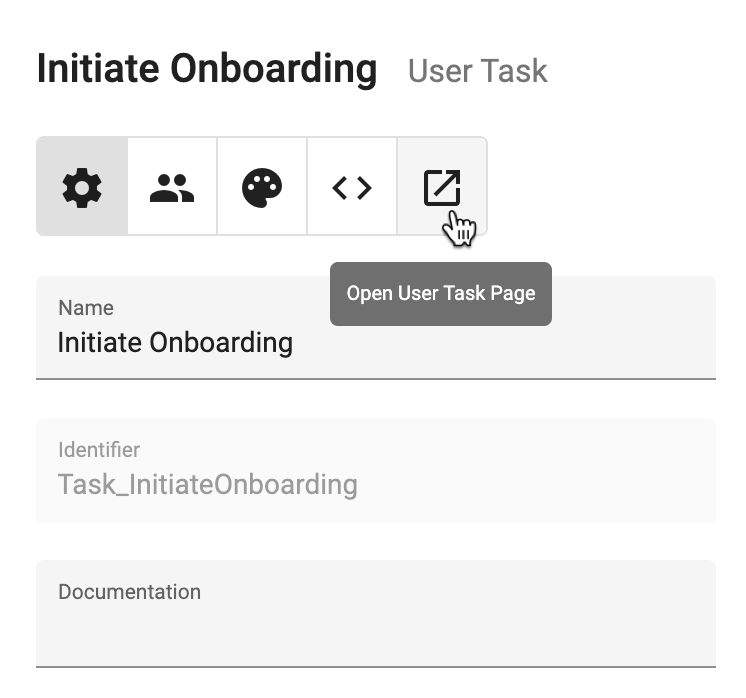
- Open the user task page using the button:
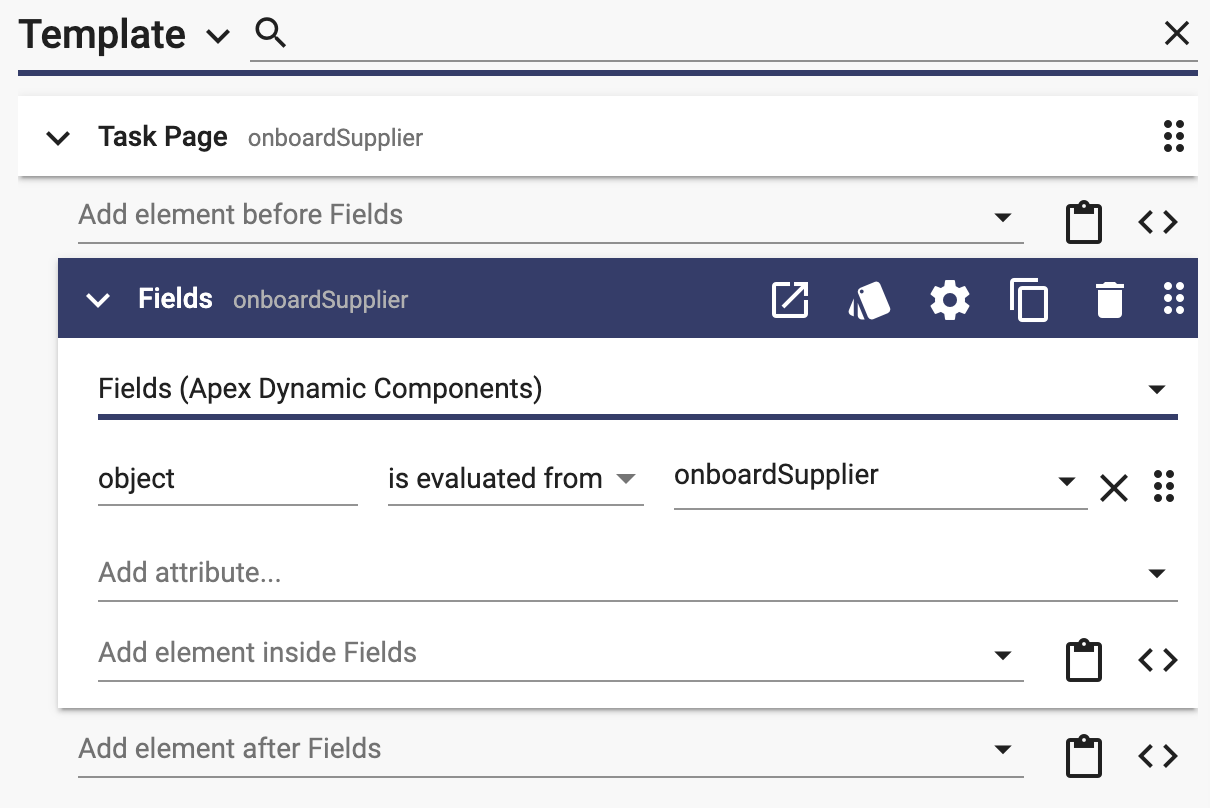
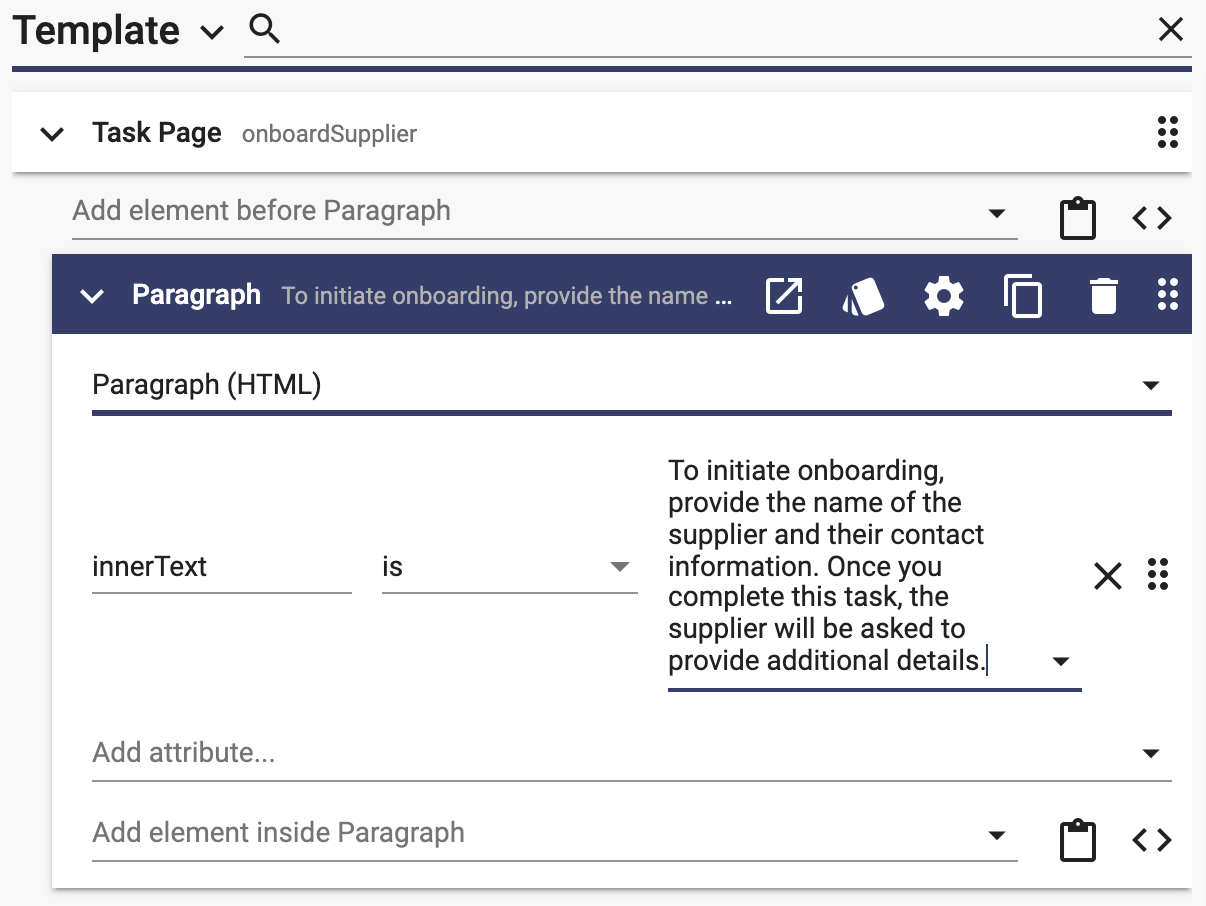
- In the Template, click on the Fields component. This will expand it to allow you to add some instructions before it:
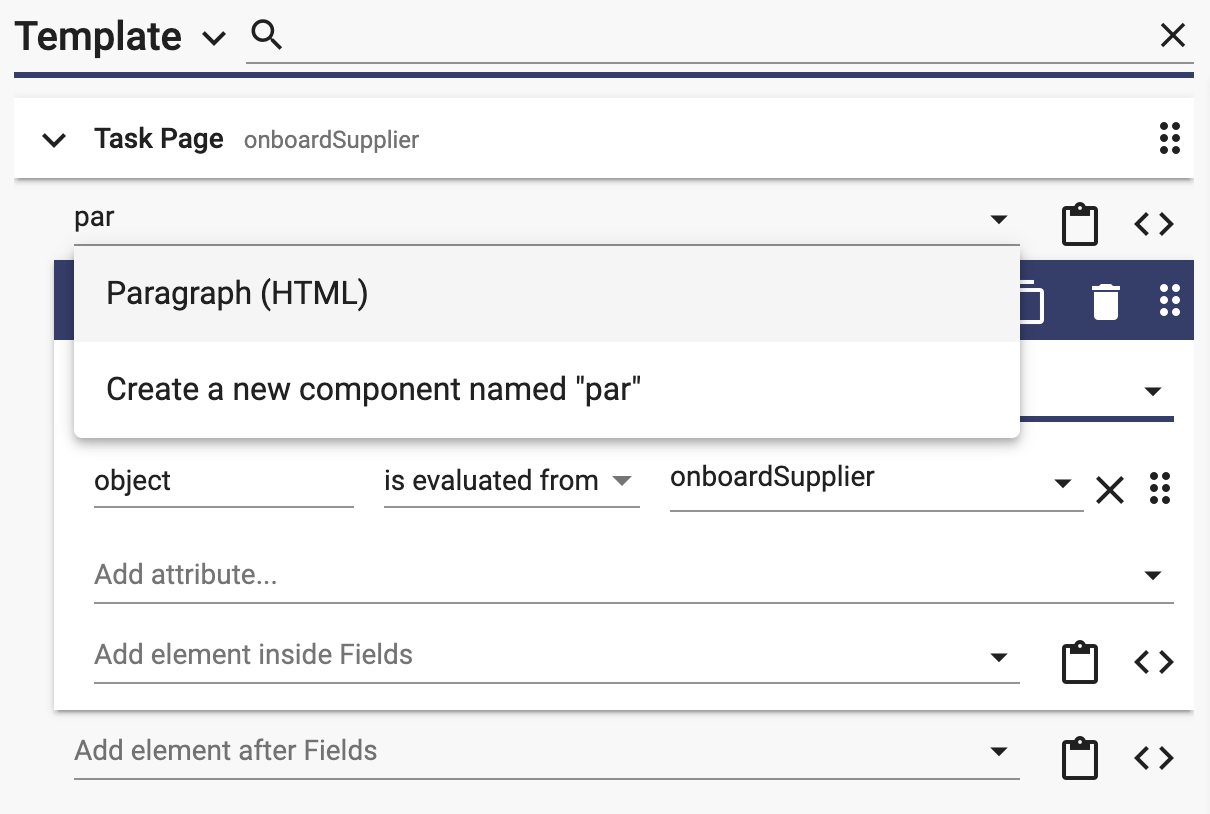
- Above Fields, type "par" to find and add the Paragraph component, clicking on it to add it:
- For the inner text of the paragraph, add some instructions for the Purchasing person assigned to this task:
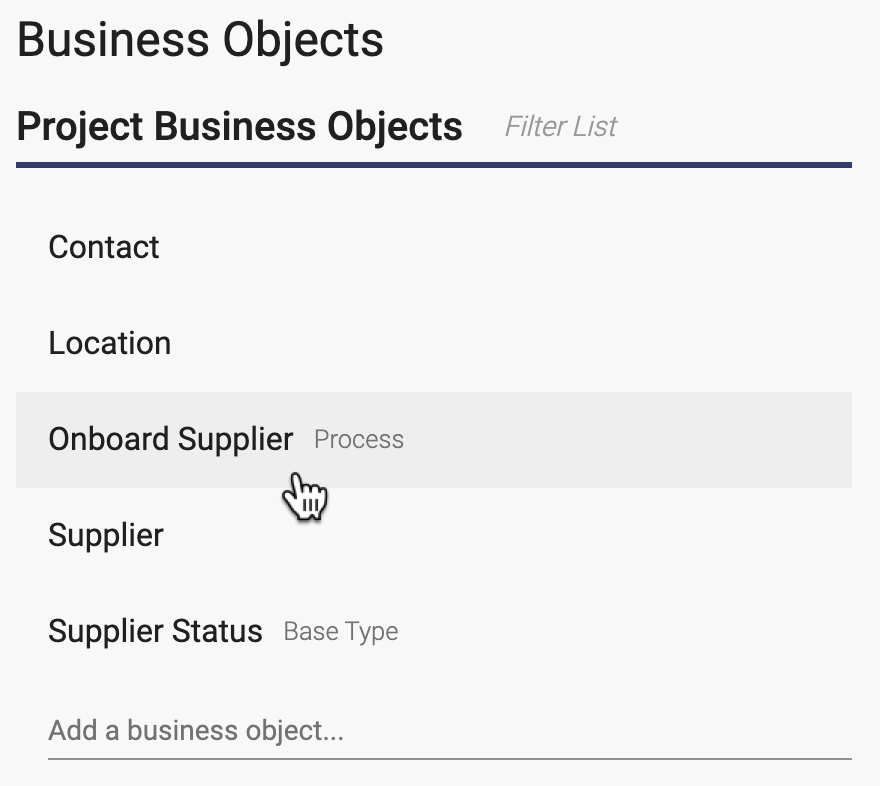
- To collect the information for this activity, we need to add some information parameters to the process. Open the Business Objects page using the button on the ribbon.
- Click on the Onboard Supplier process business object. This business object was added when you created the process.
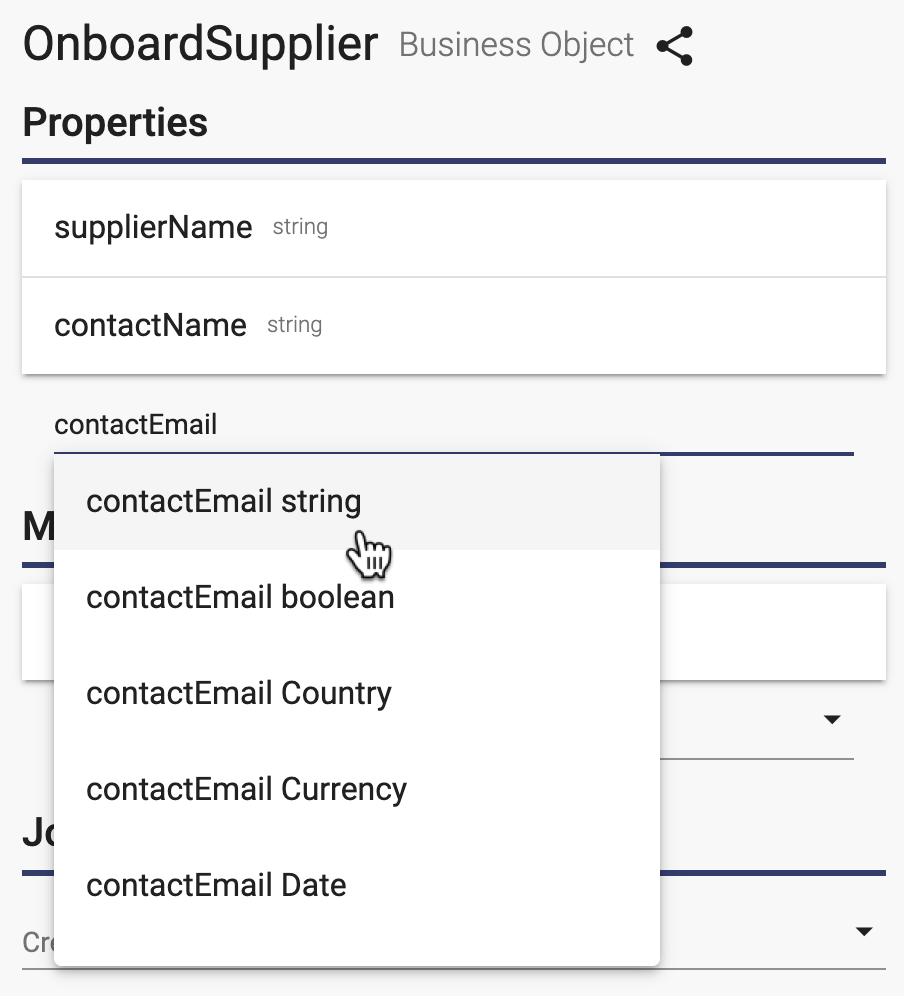
- Add 4 properties as strings: supplierName, contactName, contactEmail and employerIdentificationNumber:
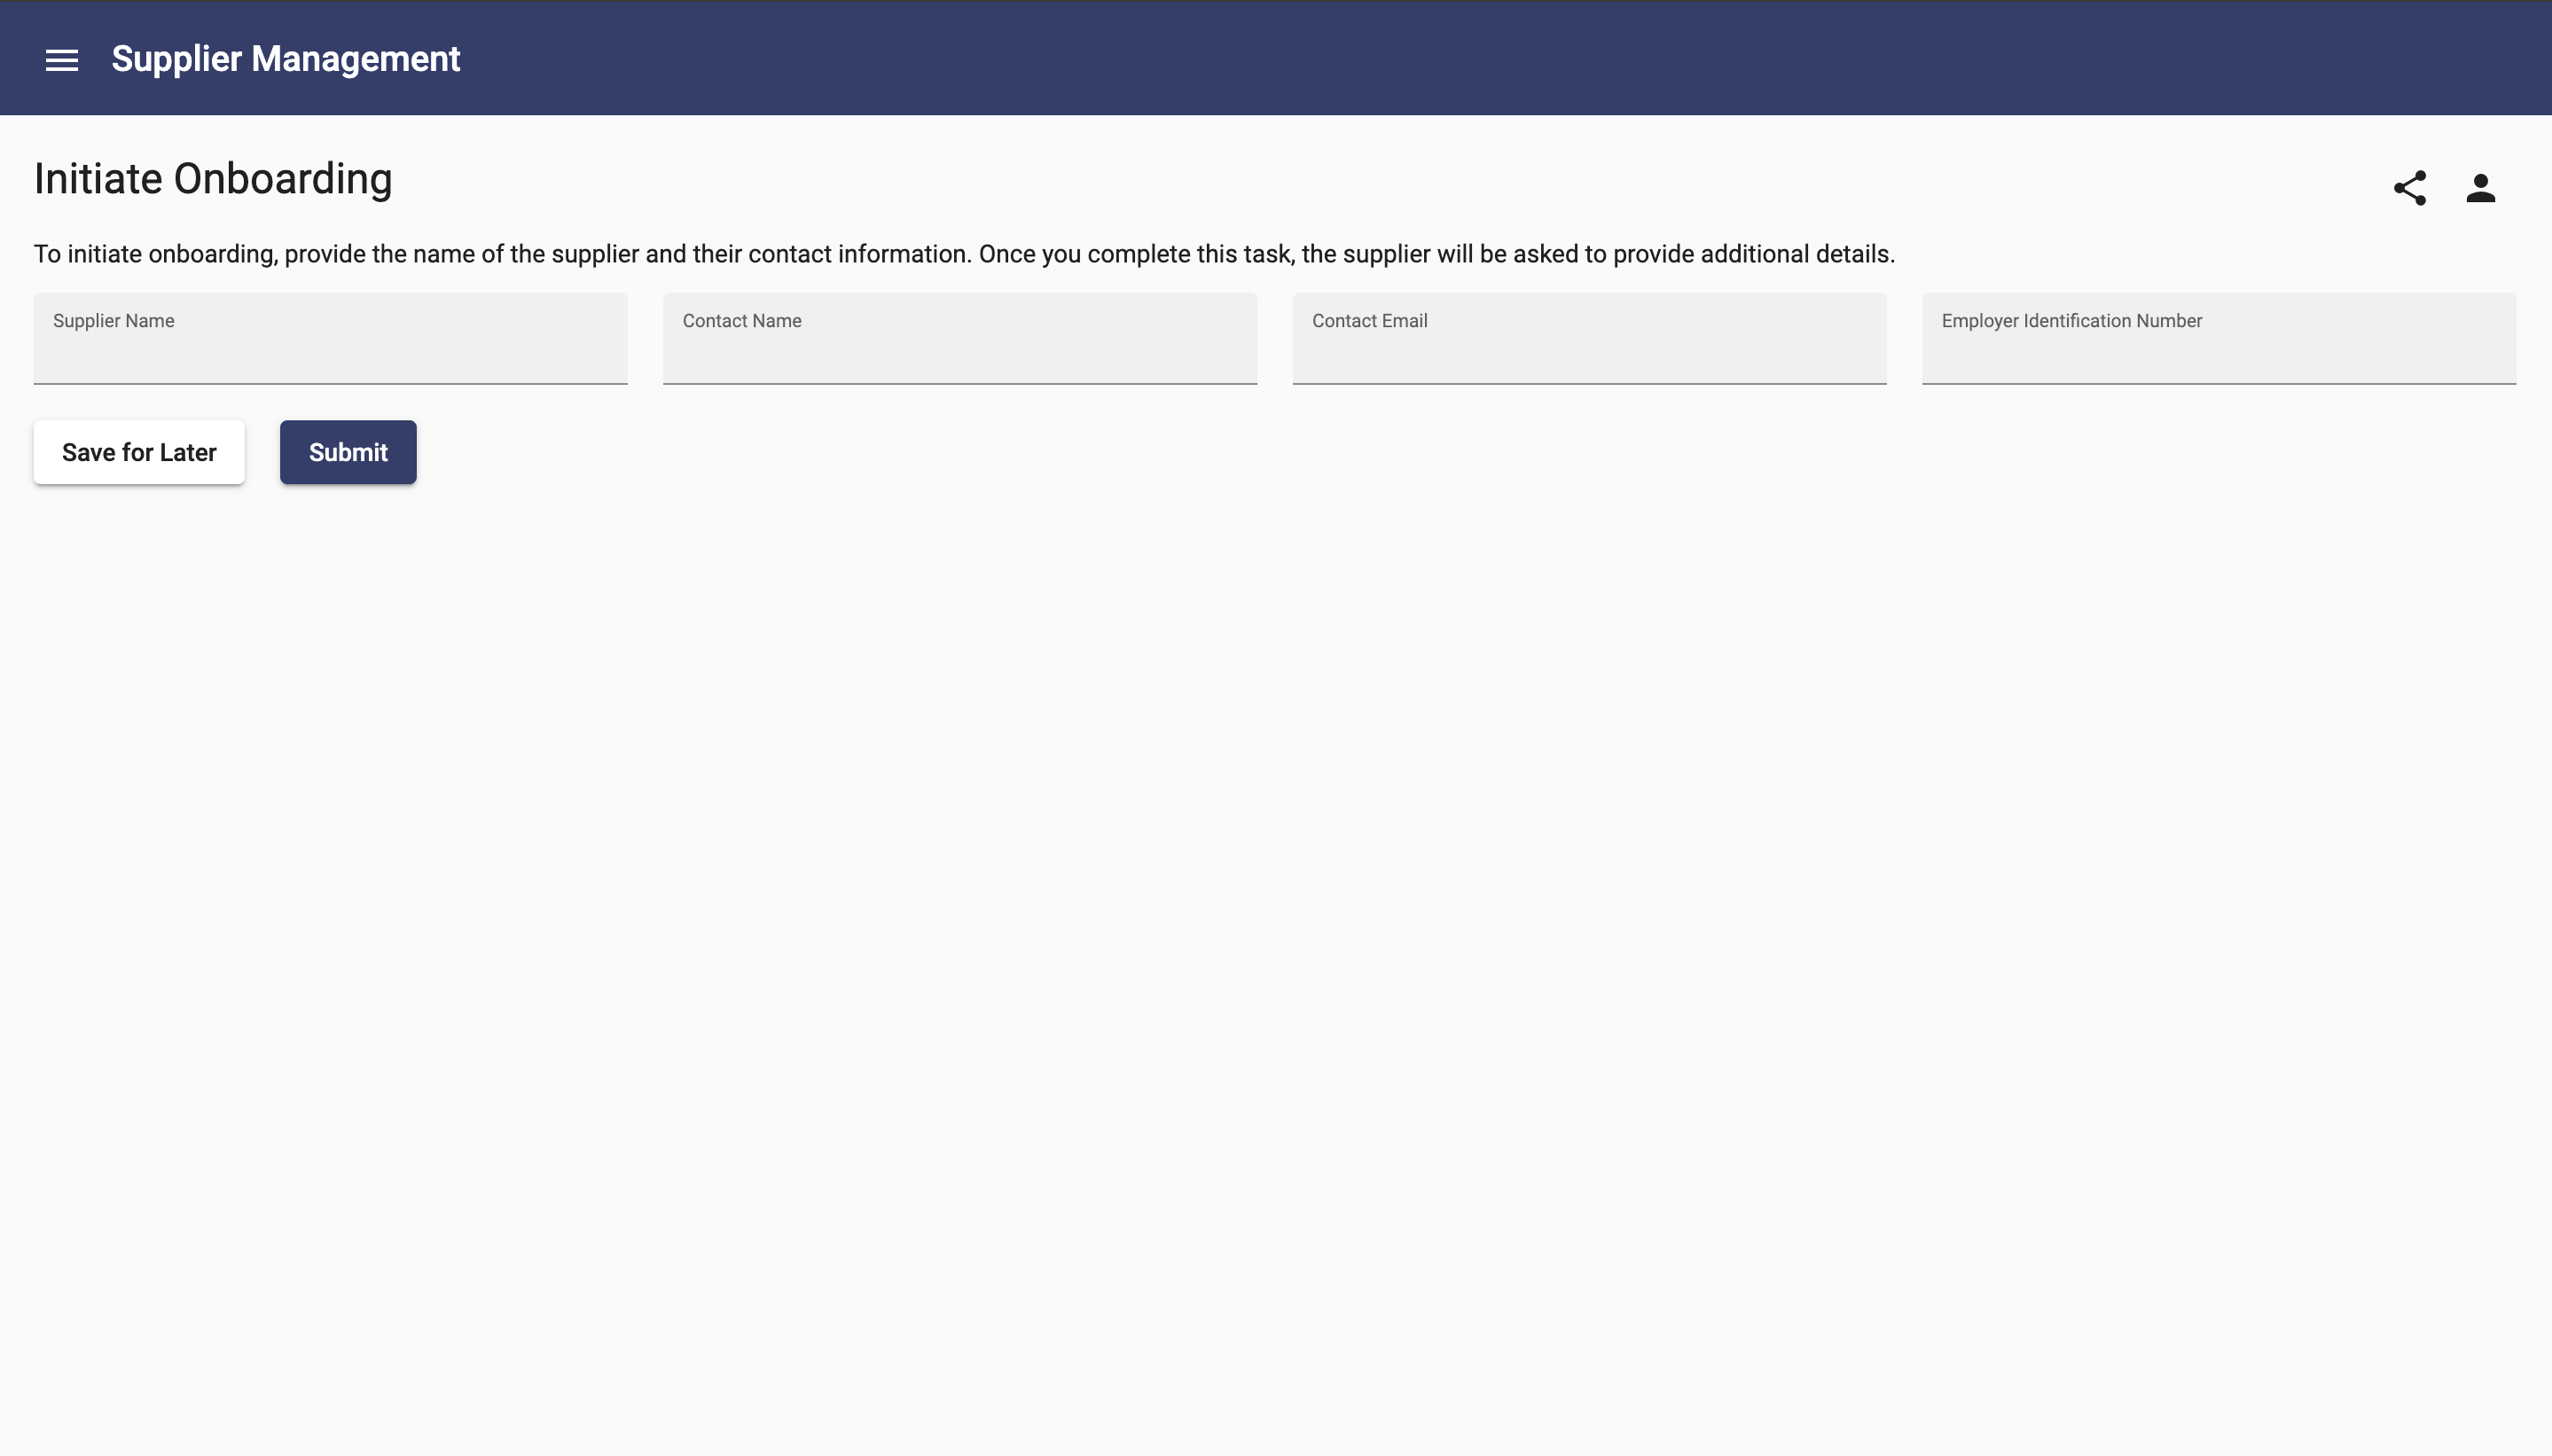
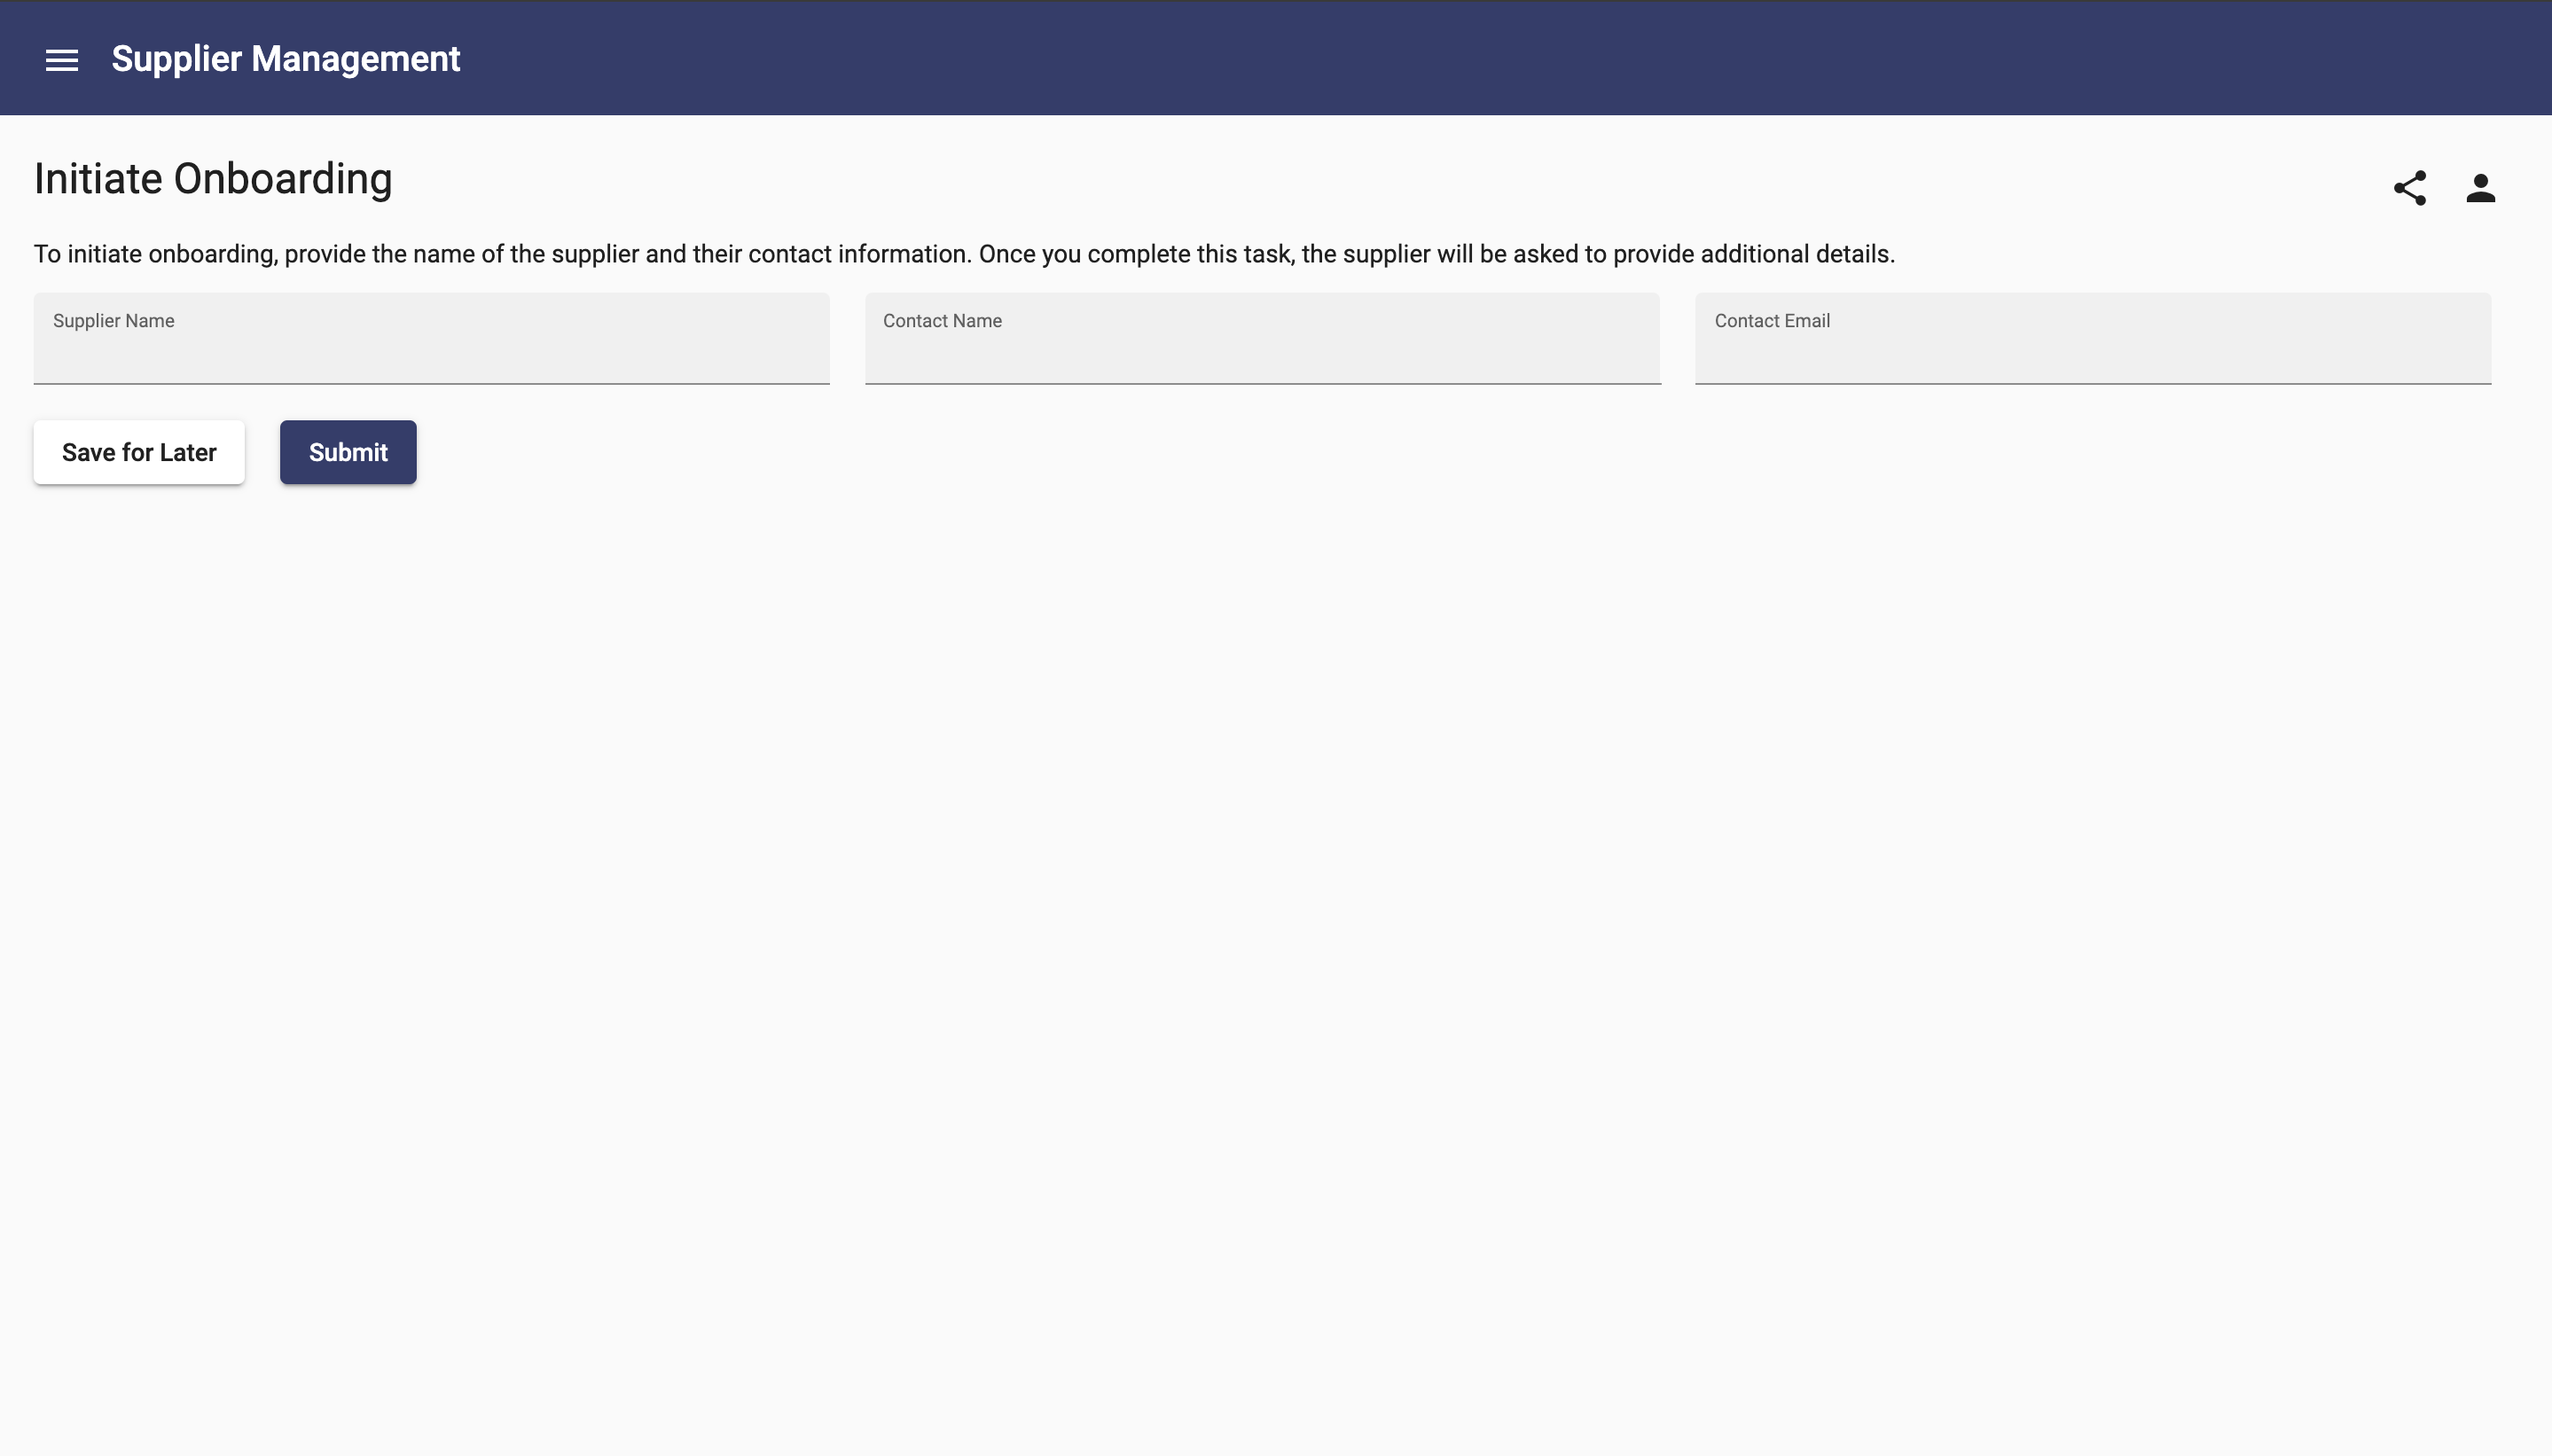
- Generate the app and look at the running app.
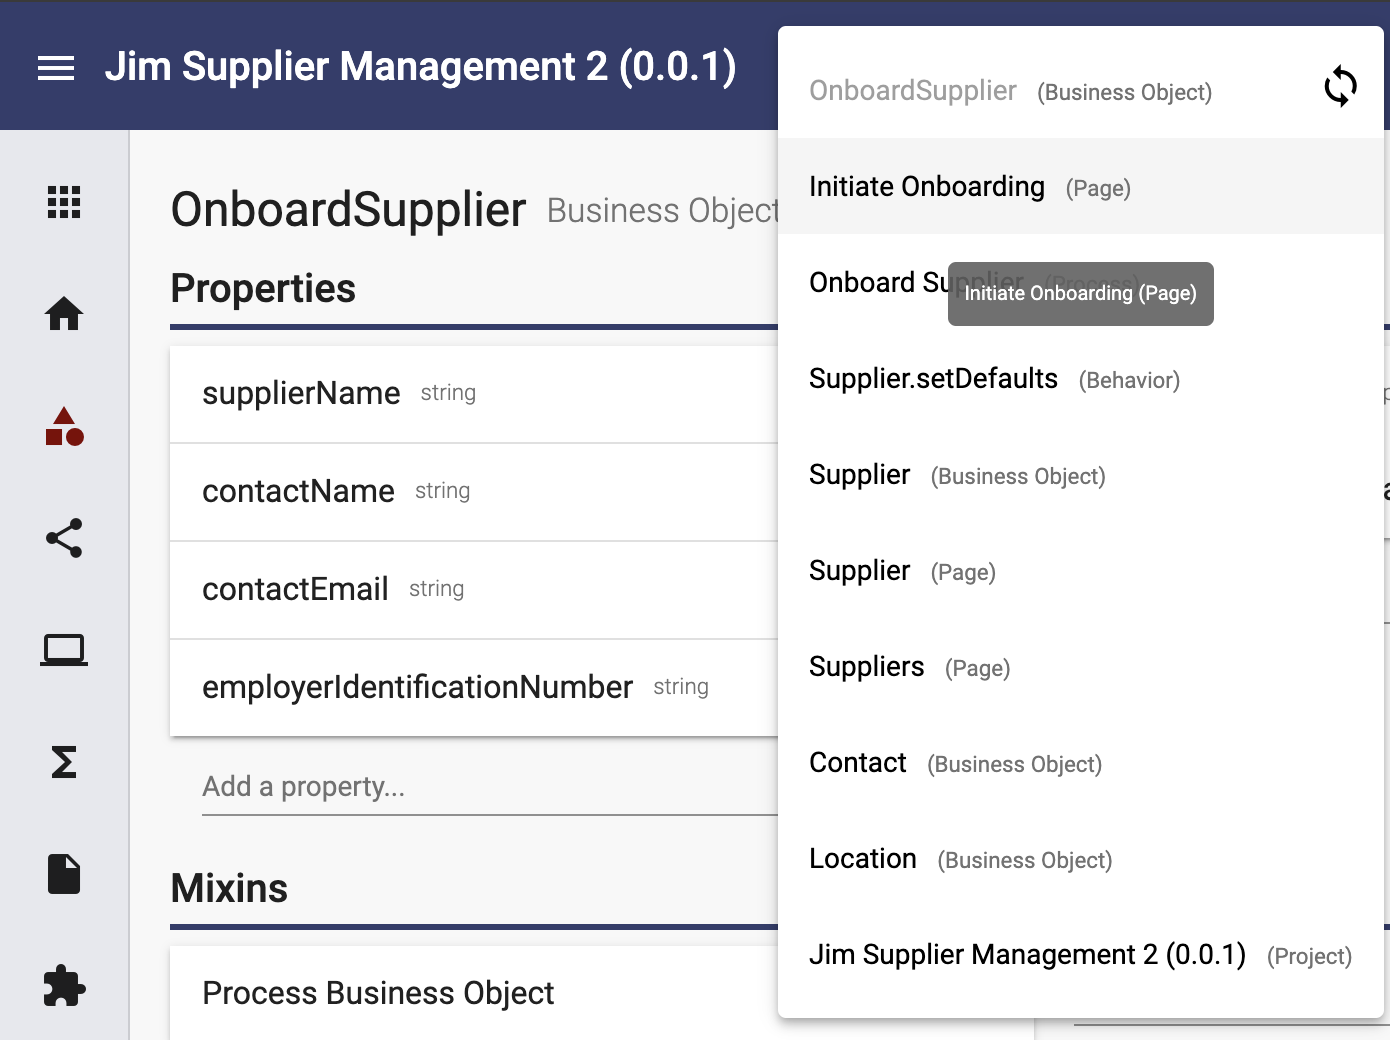
- Since this task is performed by Purchasing and they may not know the Employer Identification Number, you should remove that field from the page. Click the Recent Items button in the toolbar at the top of the page
- Select the Initiate Onboarding page:
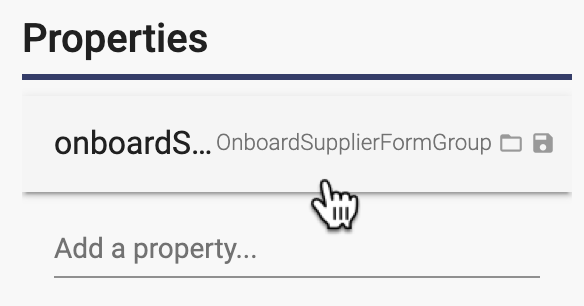
- Select the onboardSupplier property:
- In the read configuration, click into the Add a configuration item field:
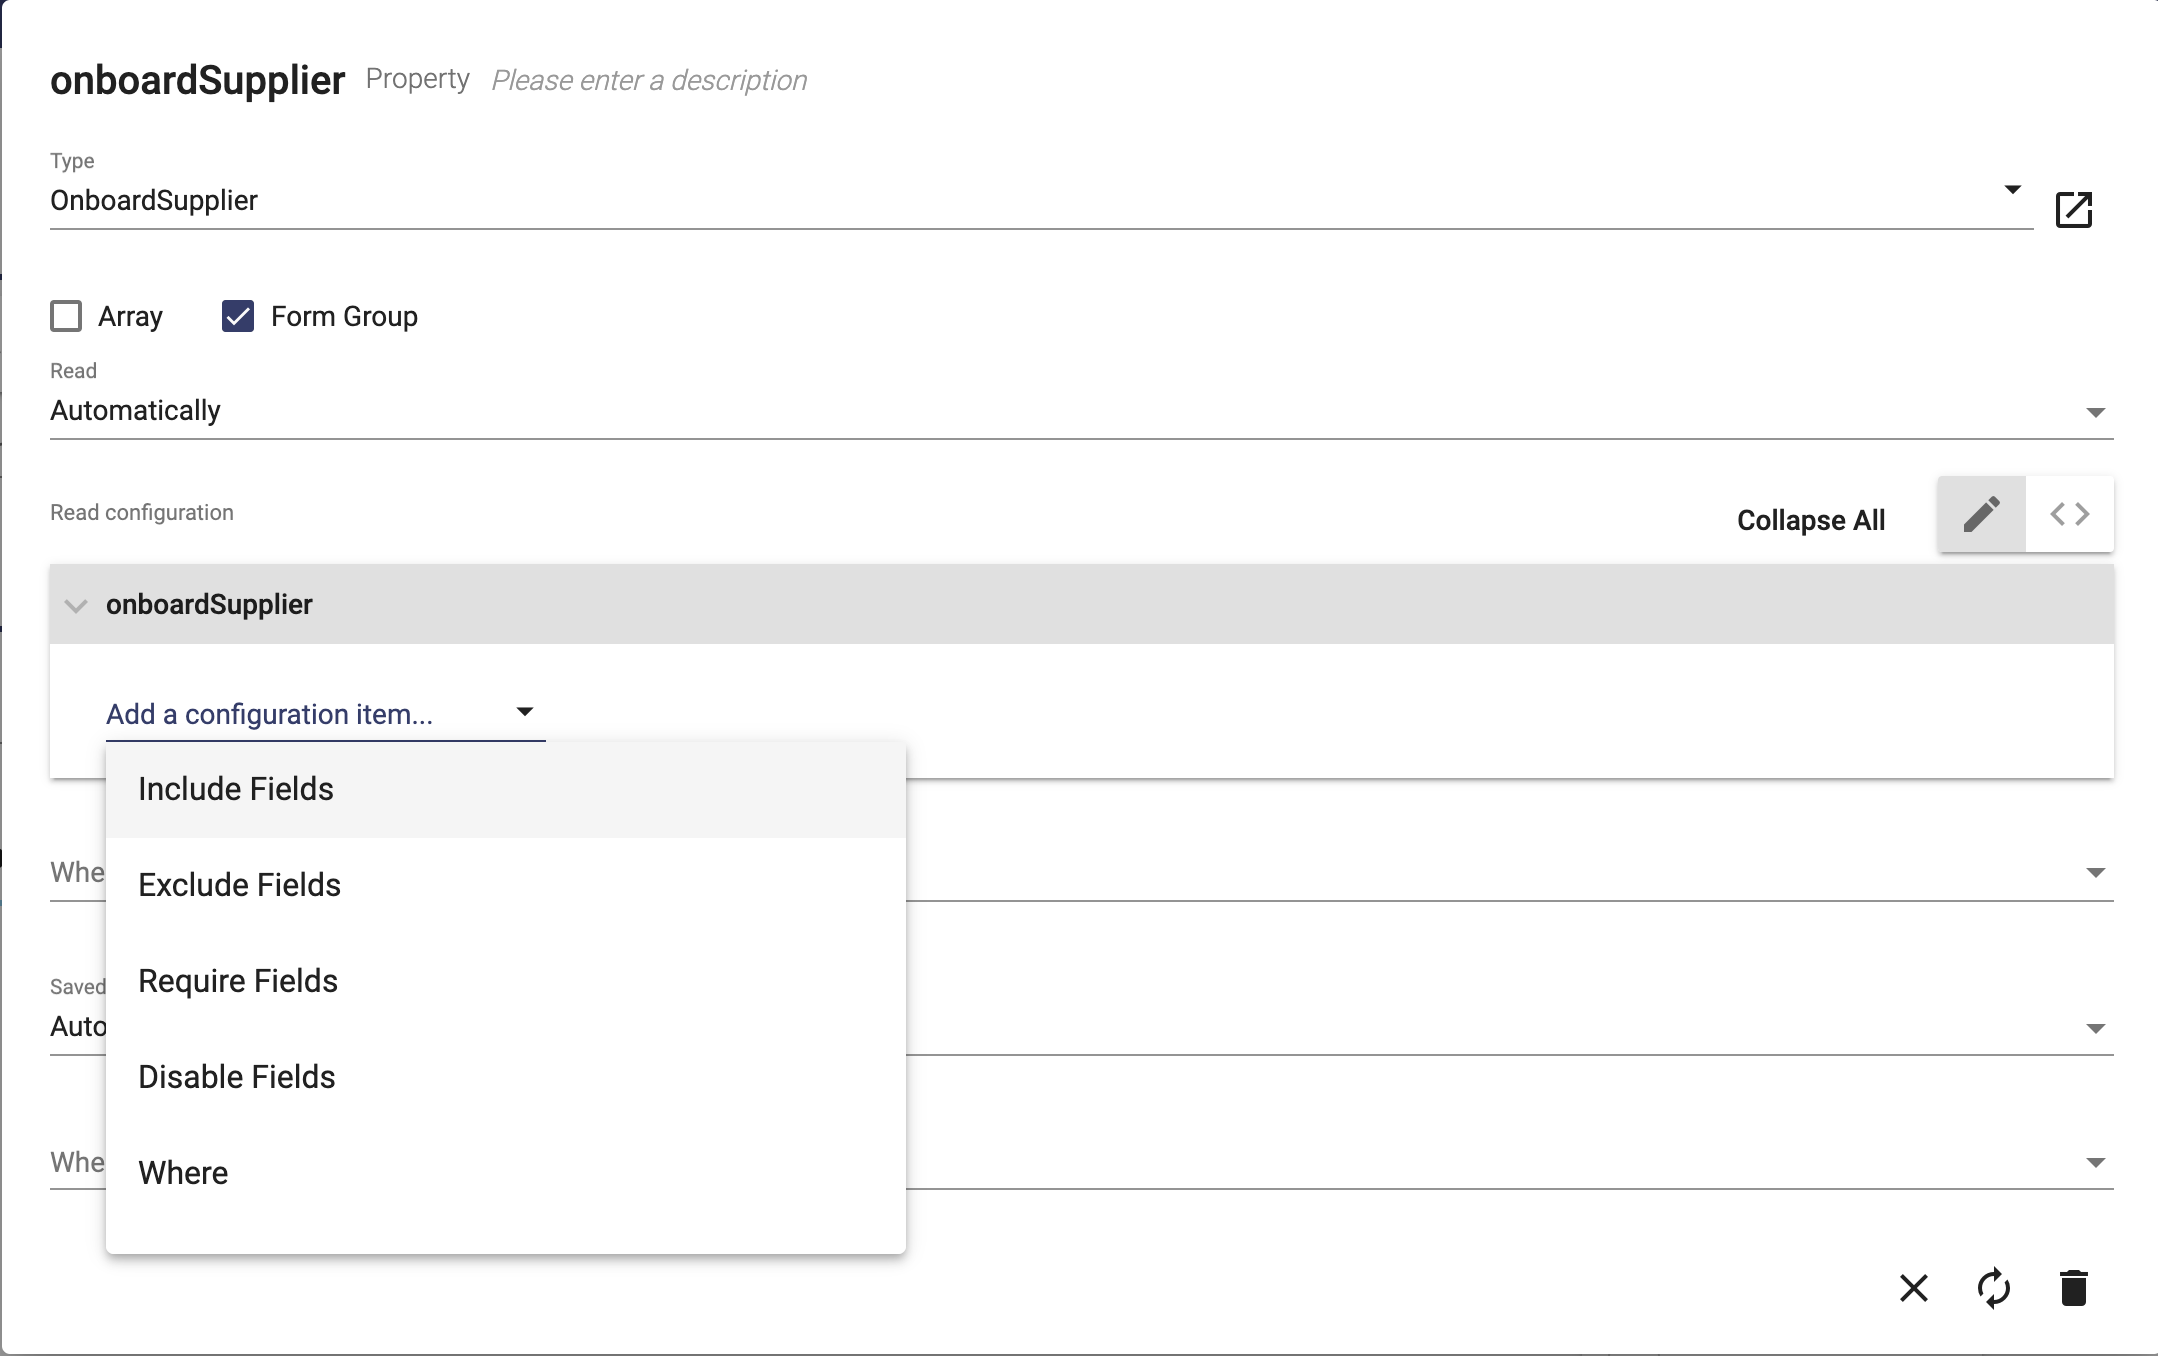
- Select Include Fields.
- Click into Include Fields to add a field.
- Select supplierName to add it as a field to include:
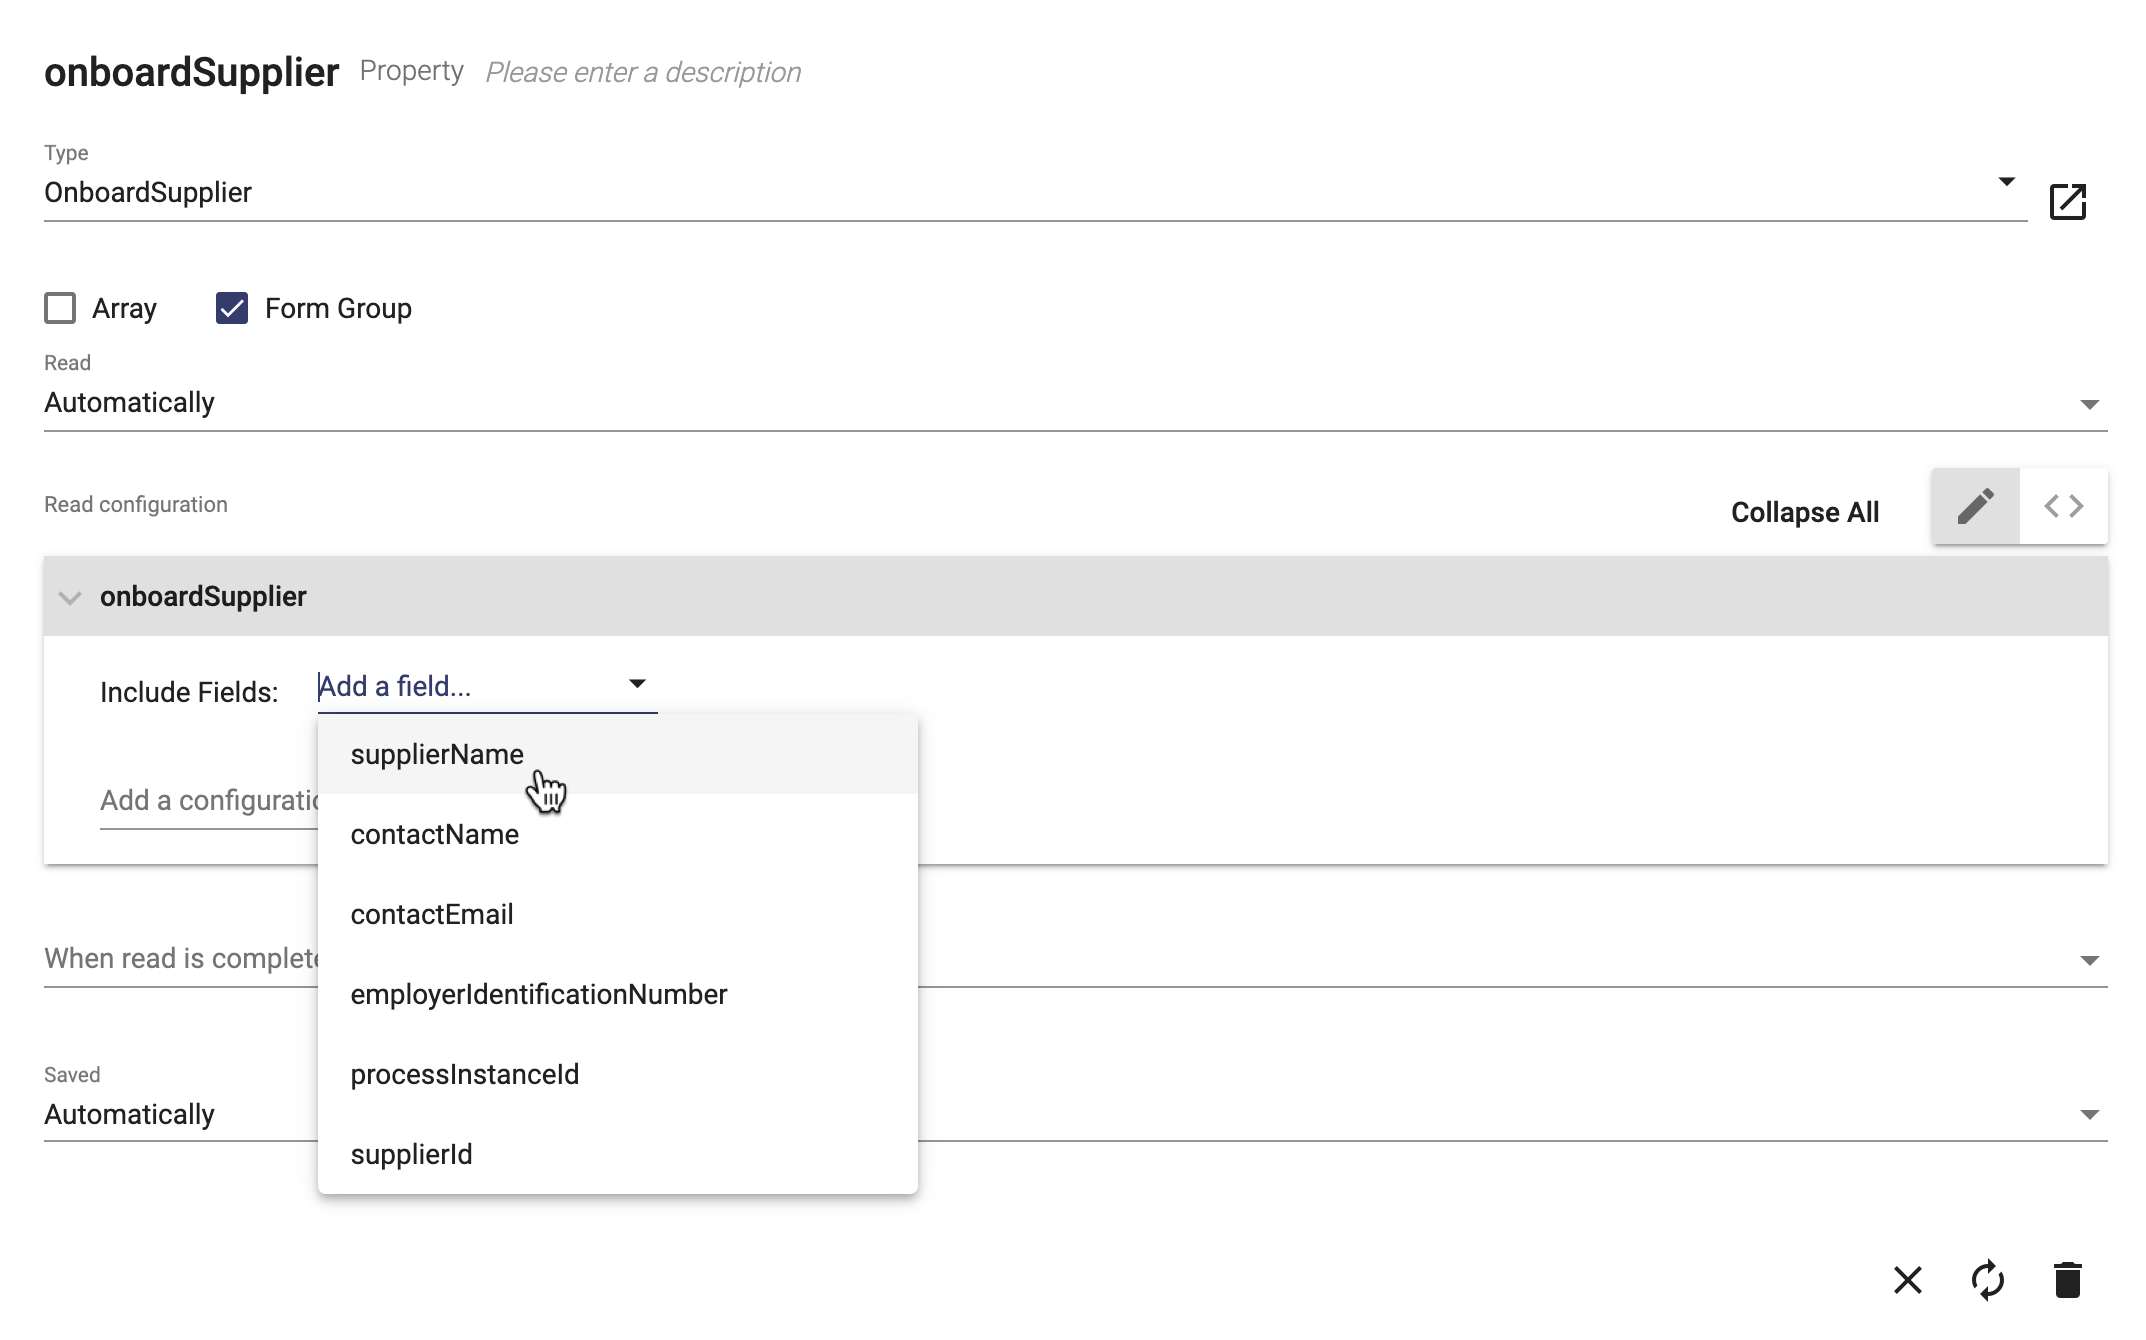
- Select two other fields to include: contactName and contactEmail:
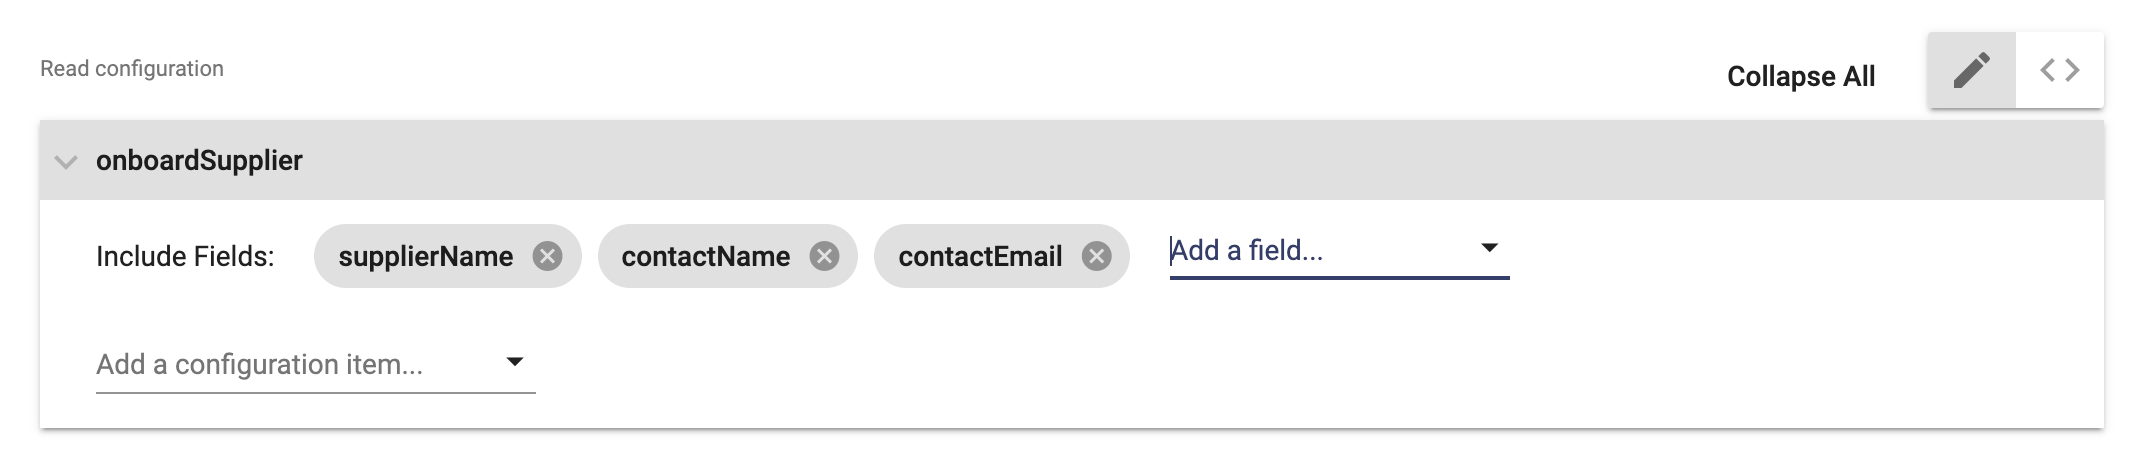
- Click the Generate UI button
- Check the page to see that only the 3 fields that you included are shown:
Assign the Complete Application Task
- From the ribbon, select the Processes page, then select the Onboard Supplier process.
- Click the Process Variables icon button .
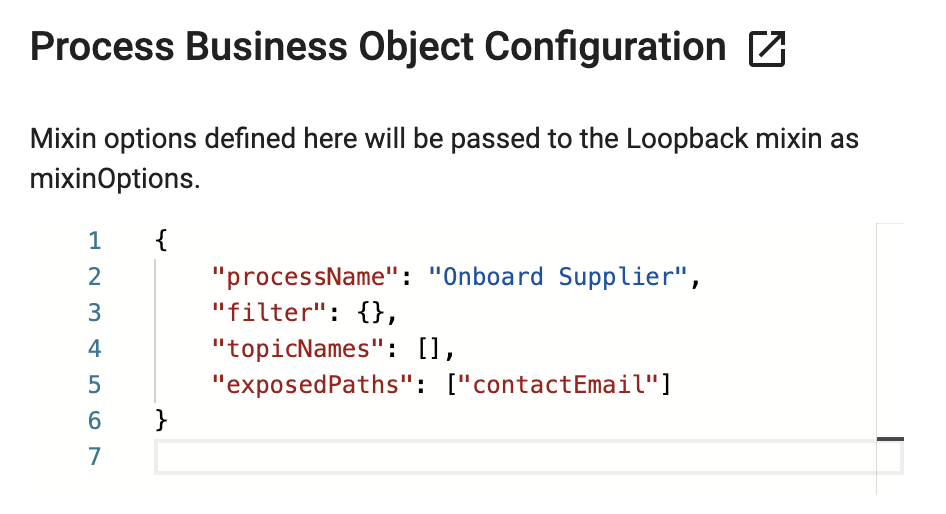
- Select the Process Business Object mixin to see the configuration.

- Add contactEmail to the list of exposed paths, making it available within the process.
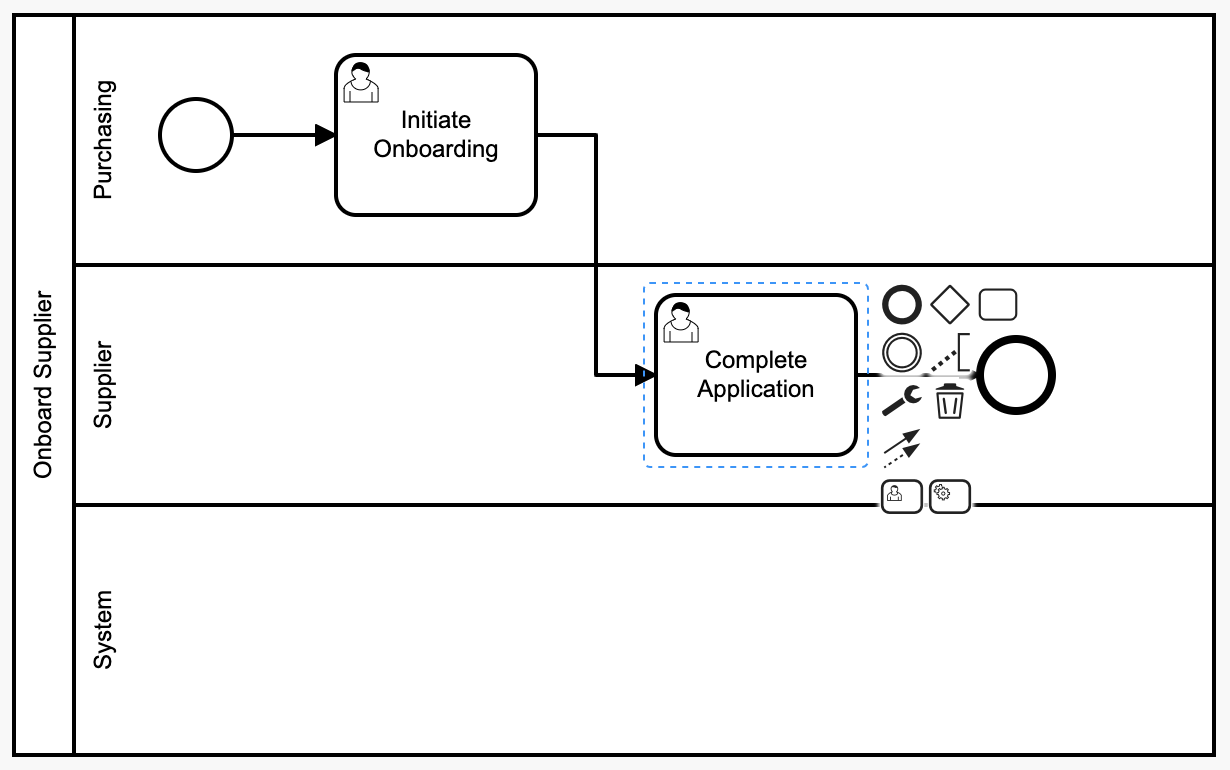
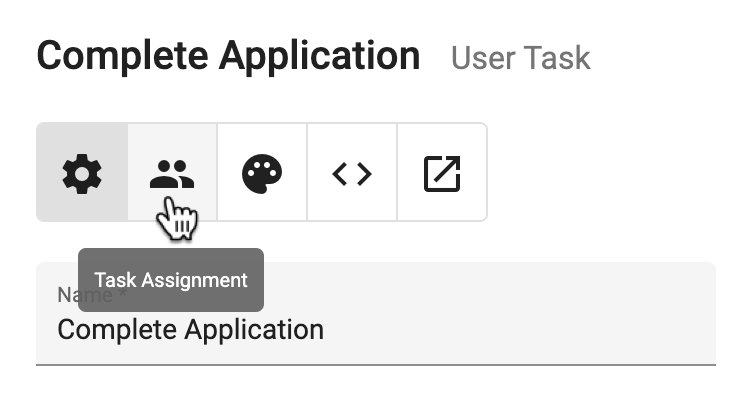
- Select the Complete Application task.
- Select the Task Assignment tab for the task.
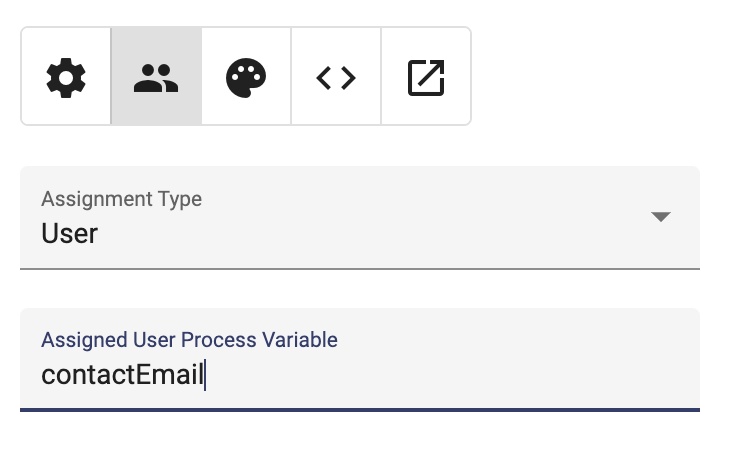
- For Assignment Type, select User.
- Type "contactEmail" in the Assigned User Process Variable field.
- Generate the process.
Add a My Tasks Page
We need a way for users to see their tasks and open them. Now, you will create a page to do that.
- Open the User Interfaces page using the button from the ribbon.
- Add a page called "My Tasks". After typing the name, select the last option shown.

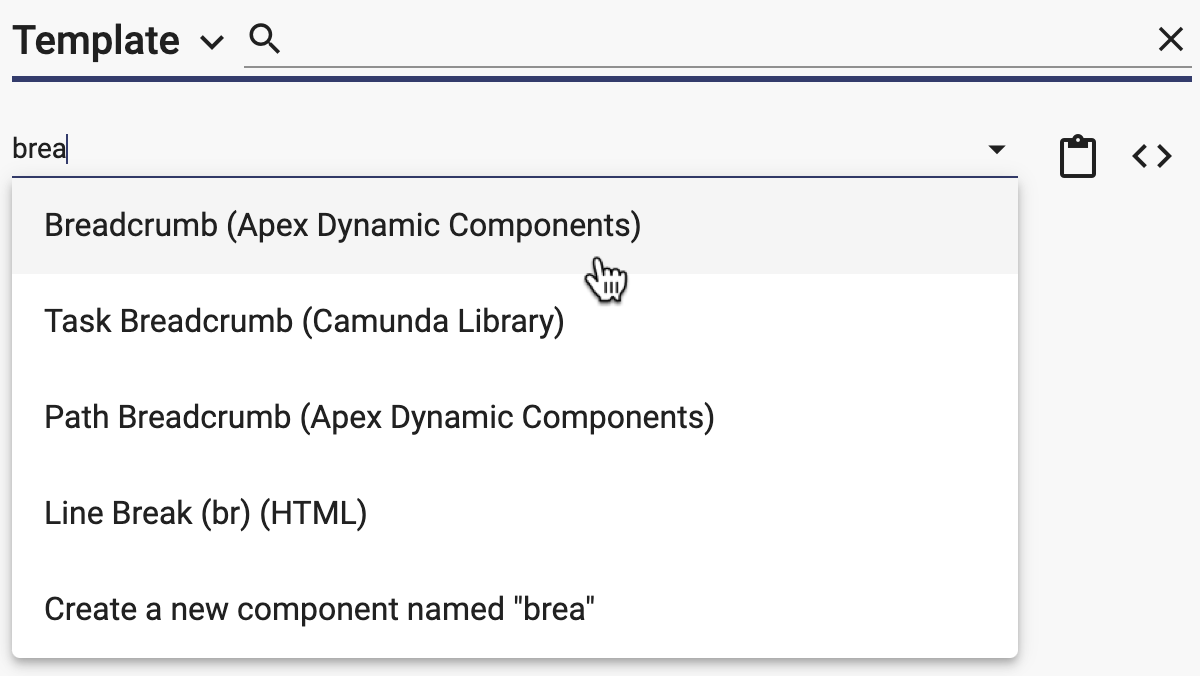
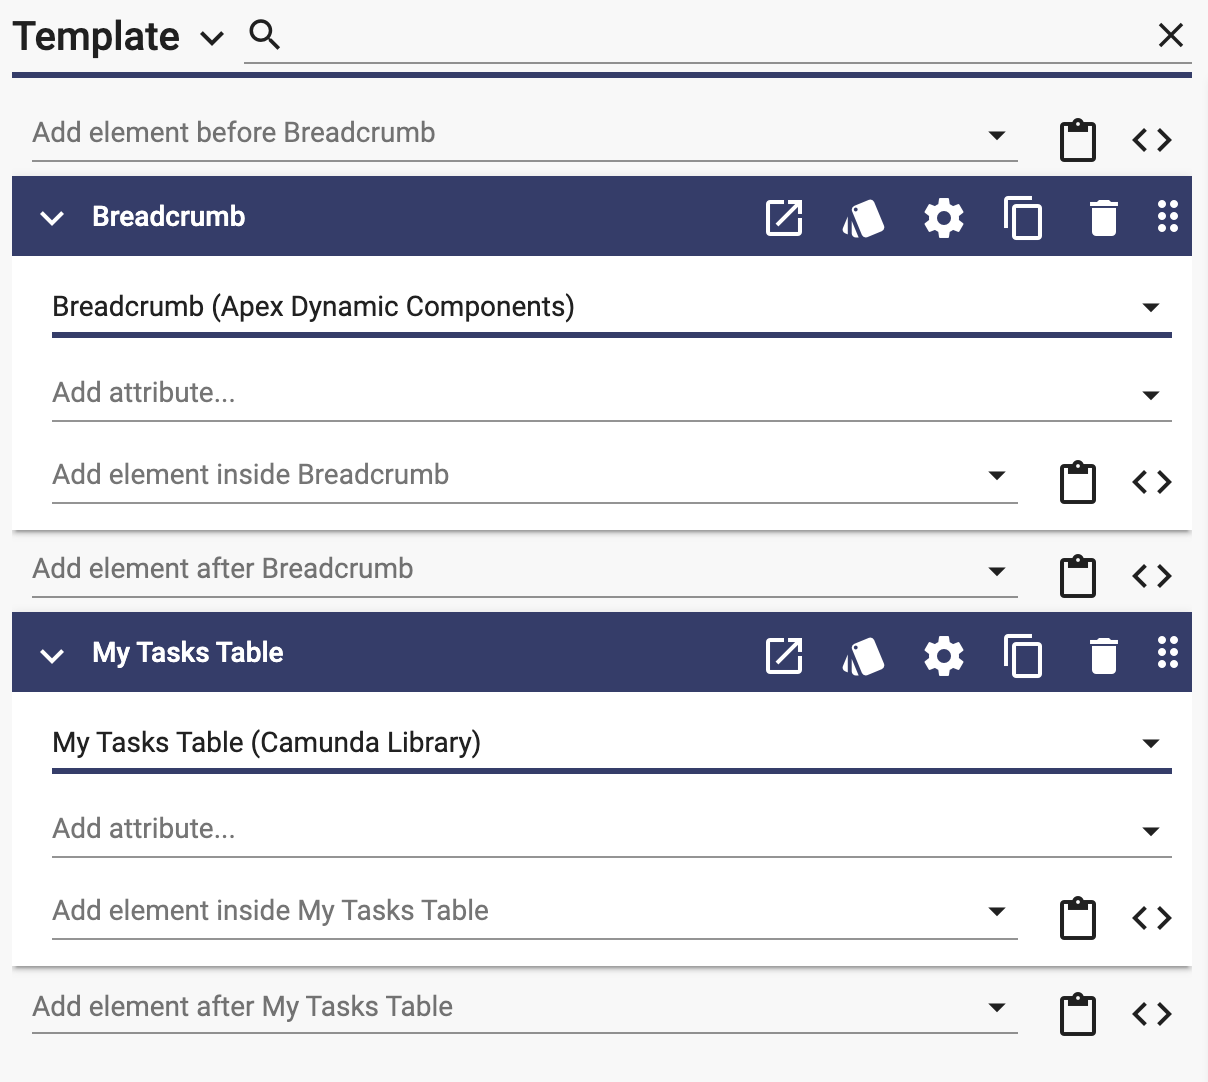
- Add a breadcrumb from the Dynamic Components library:
- Add the My Tasks Table component from the Camunda Library:
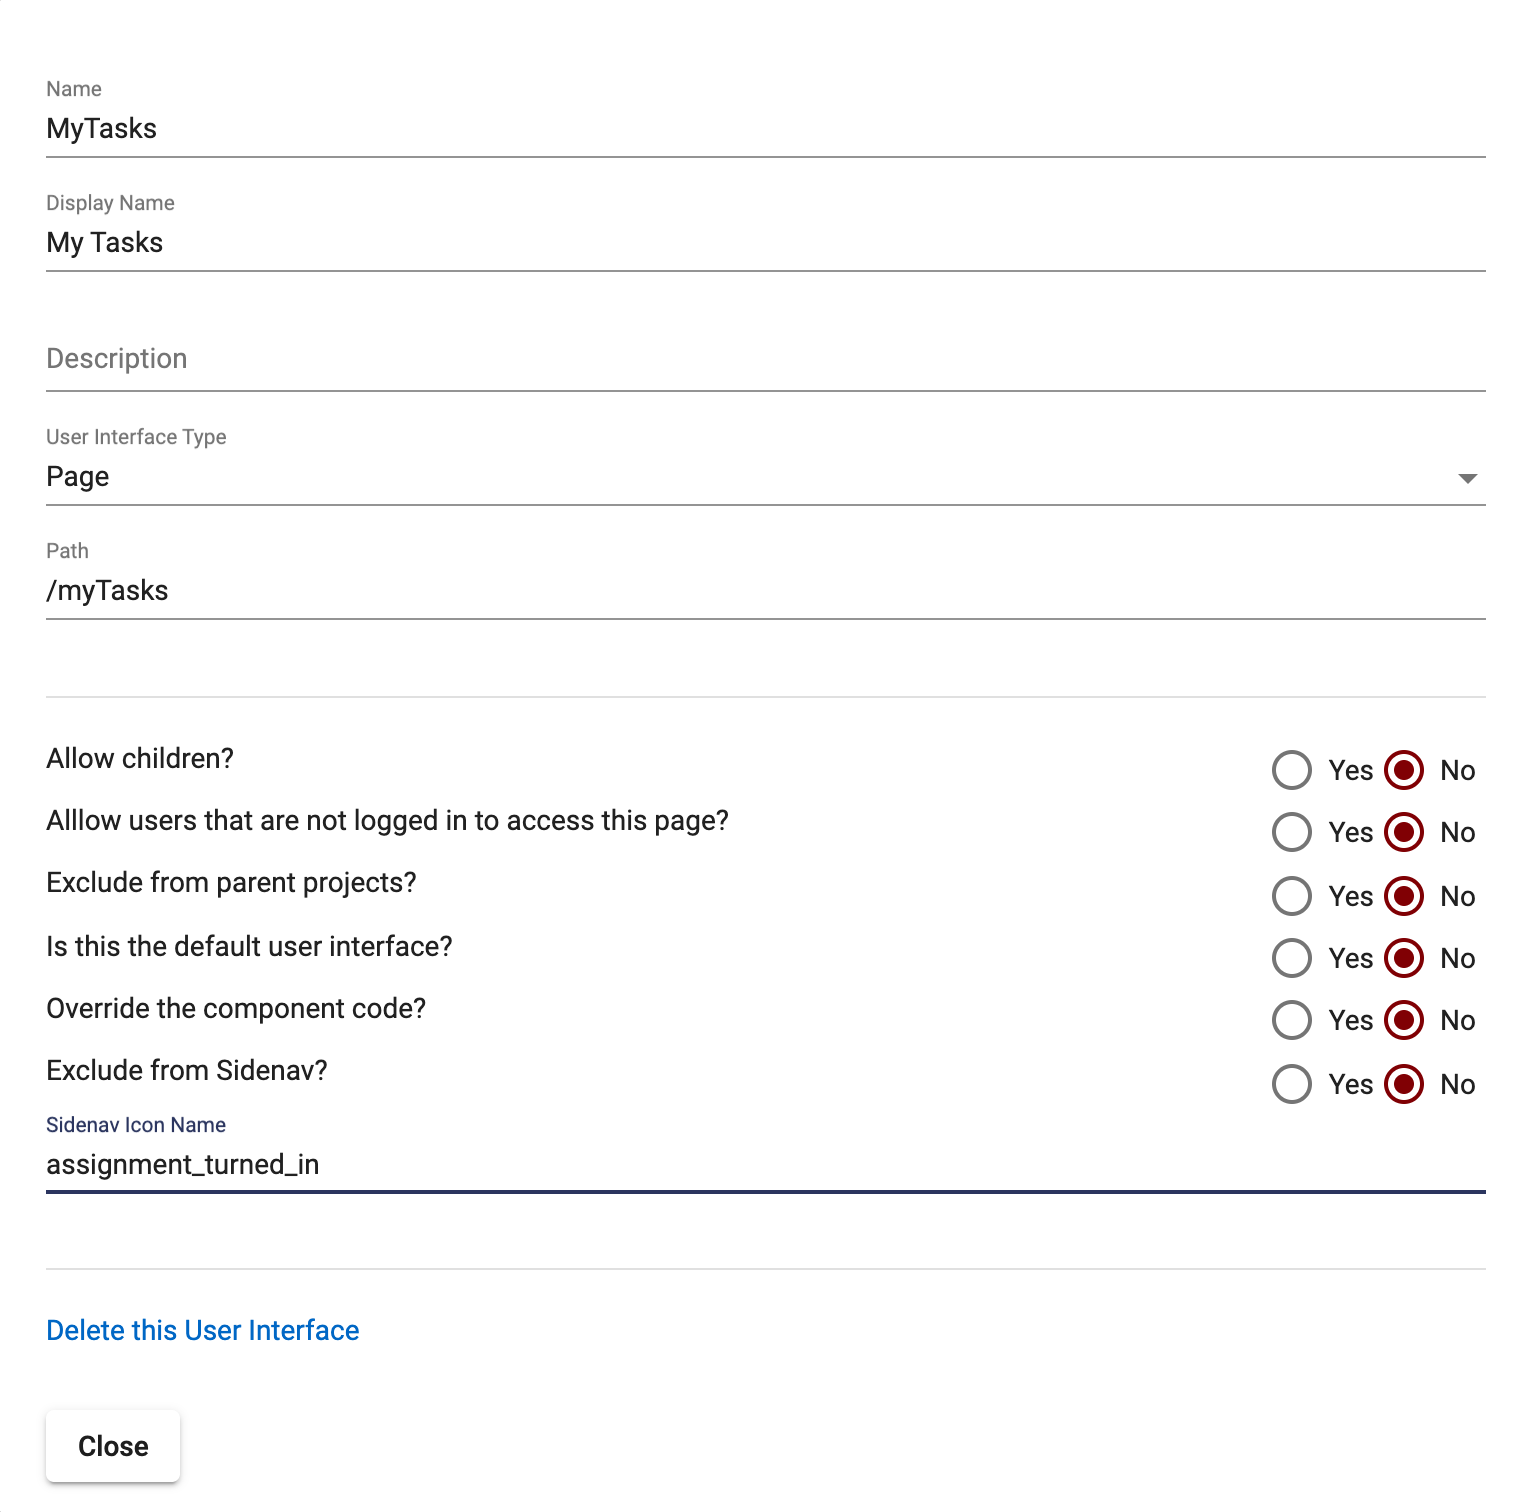
- Use the button to open settings for the user interface.
- Set the Sidenav Icon Name for the icon to display in the ribbon:
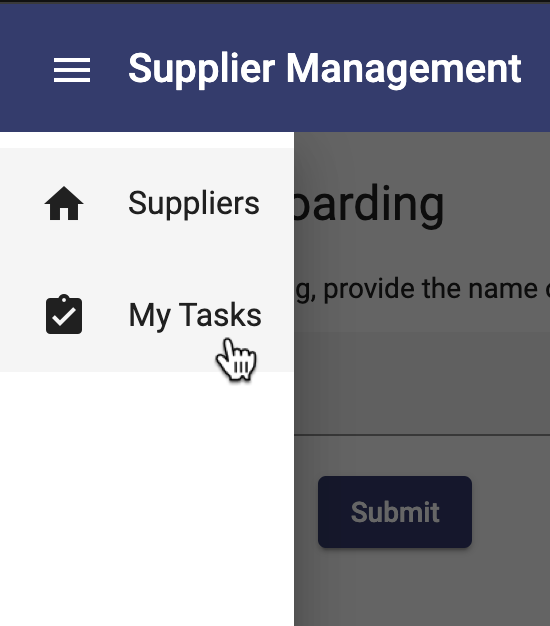
- Generate the app and run the app to try it out.
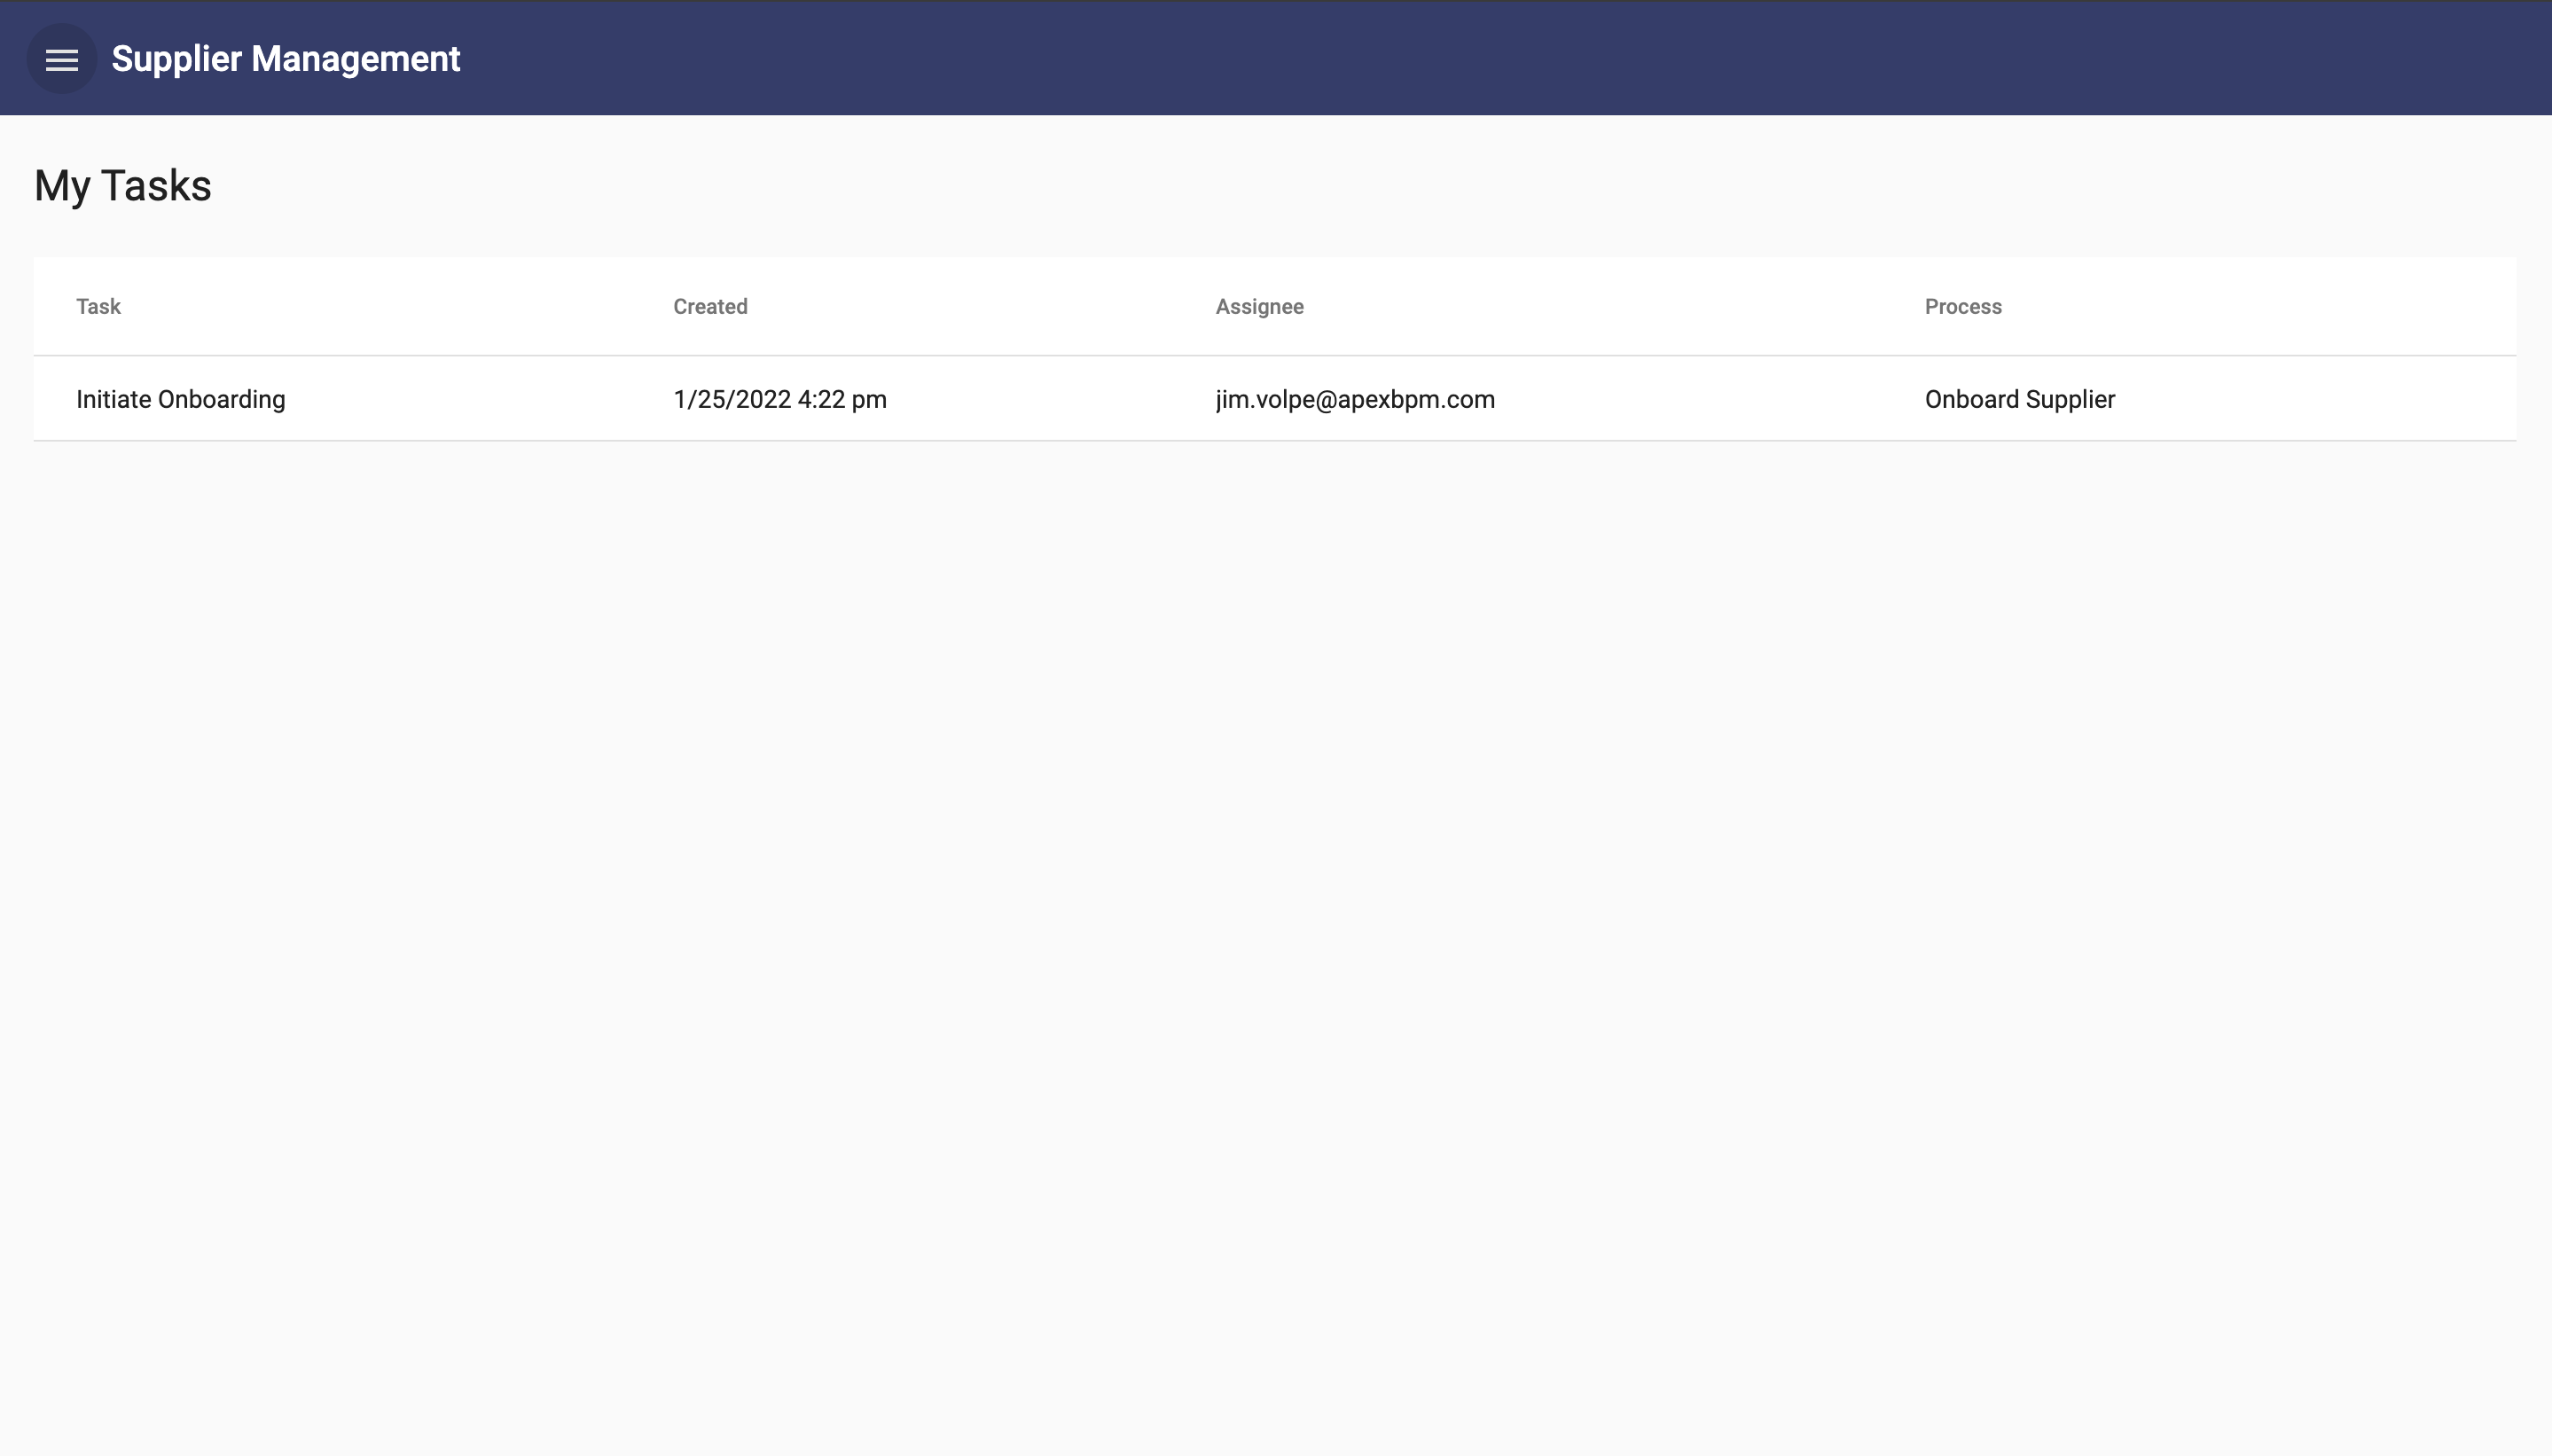
- Navigate to the My Tasks page:
- Select the task to run. (If you have more than one, do not worry! Just pick the latest one):
- Populate each field, including your own email address for Contact Email.
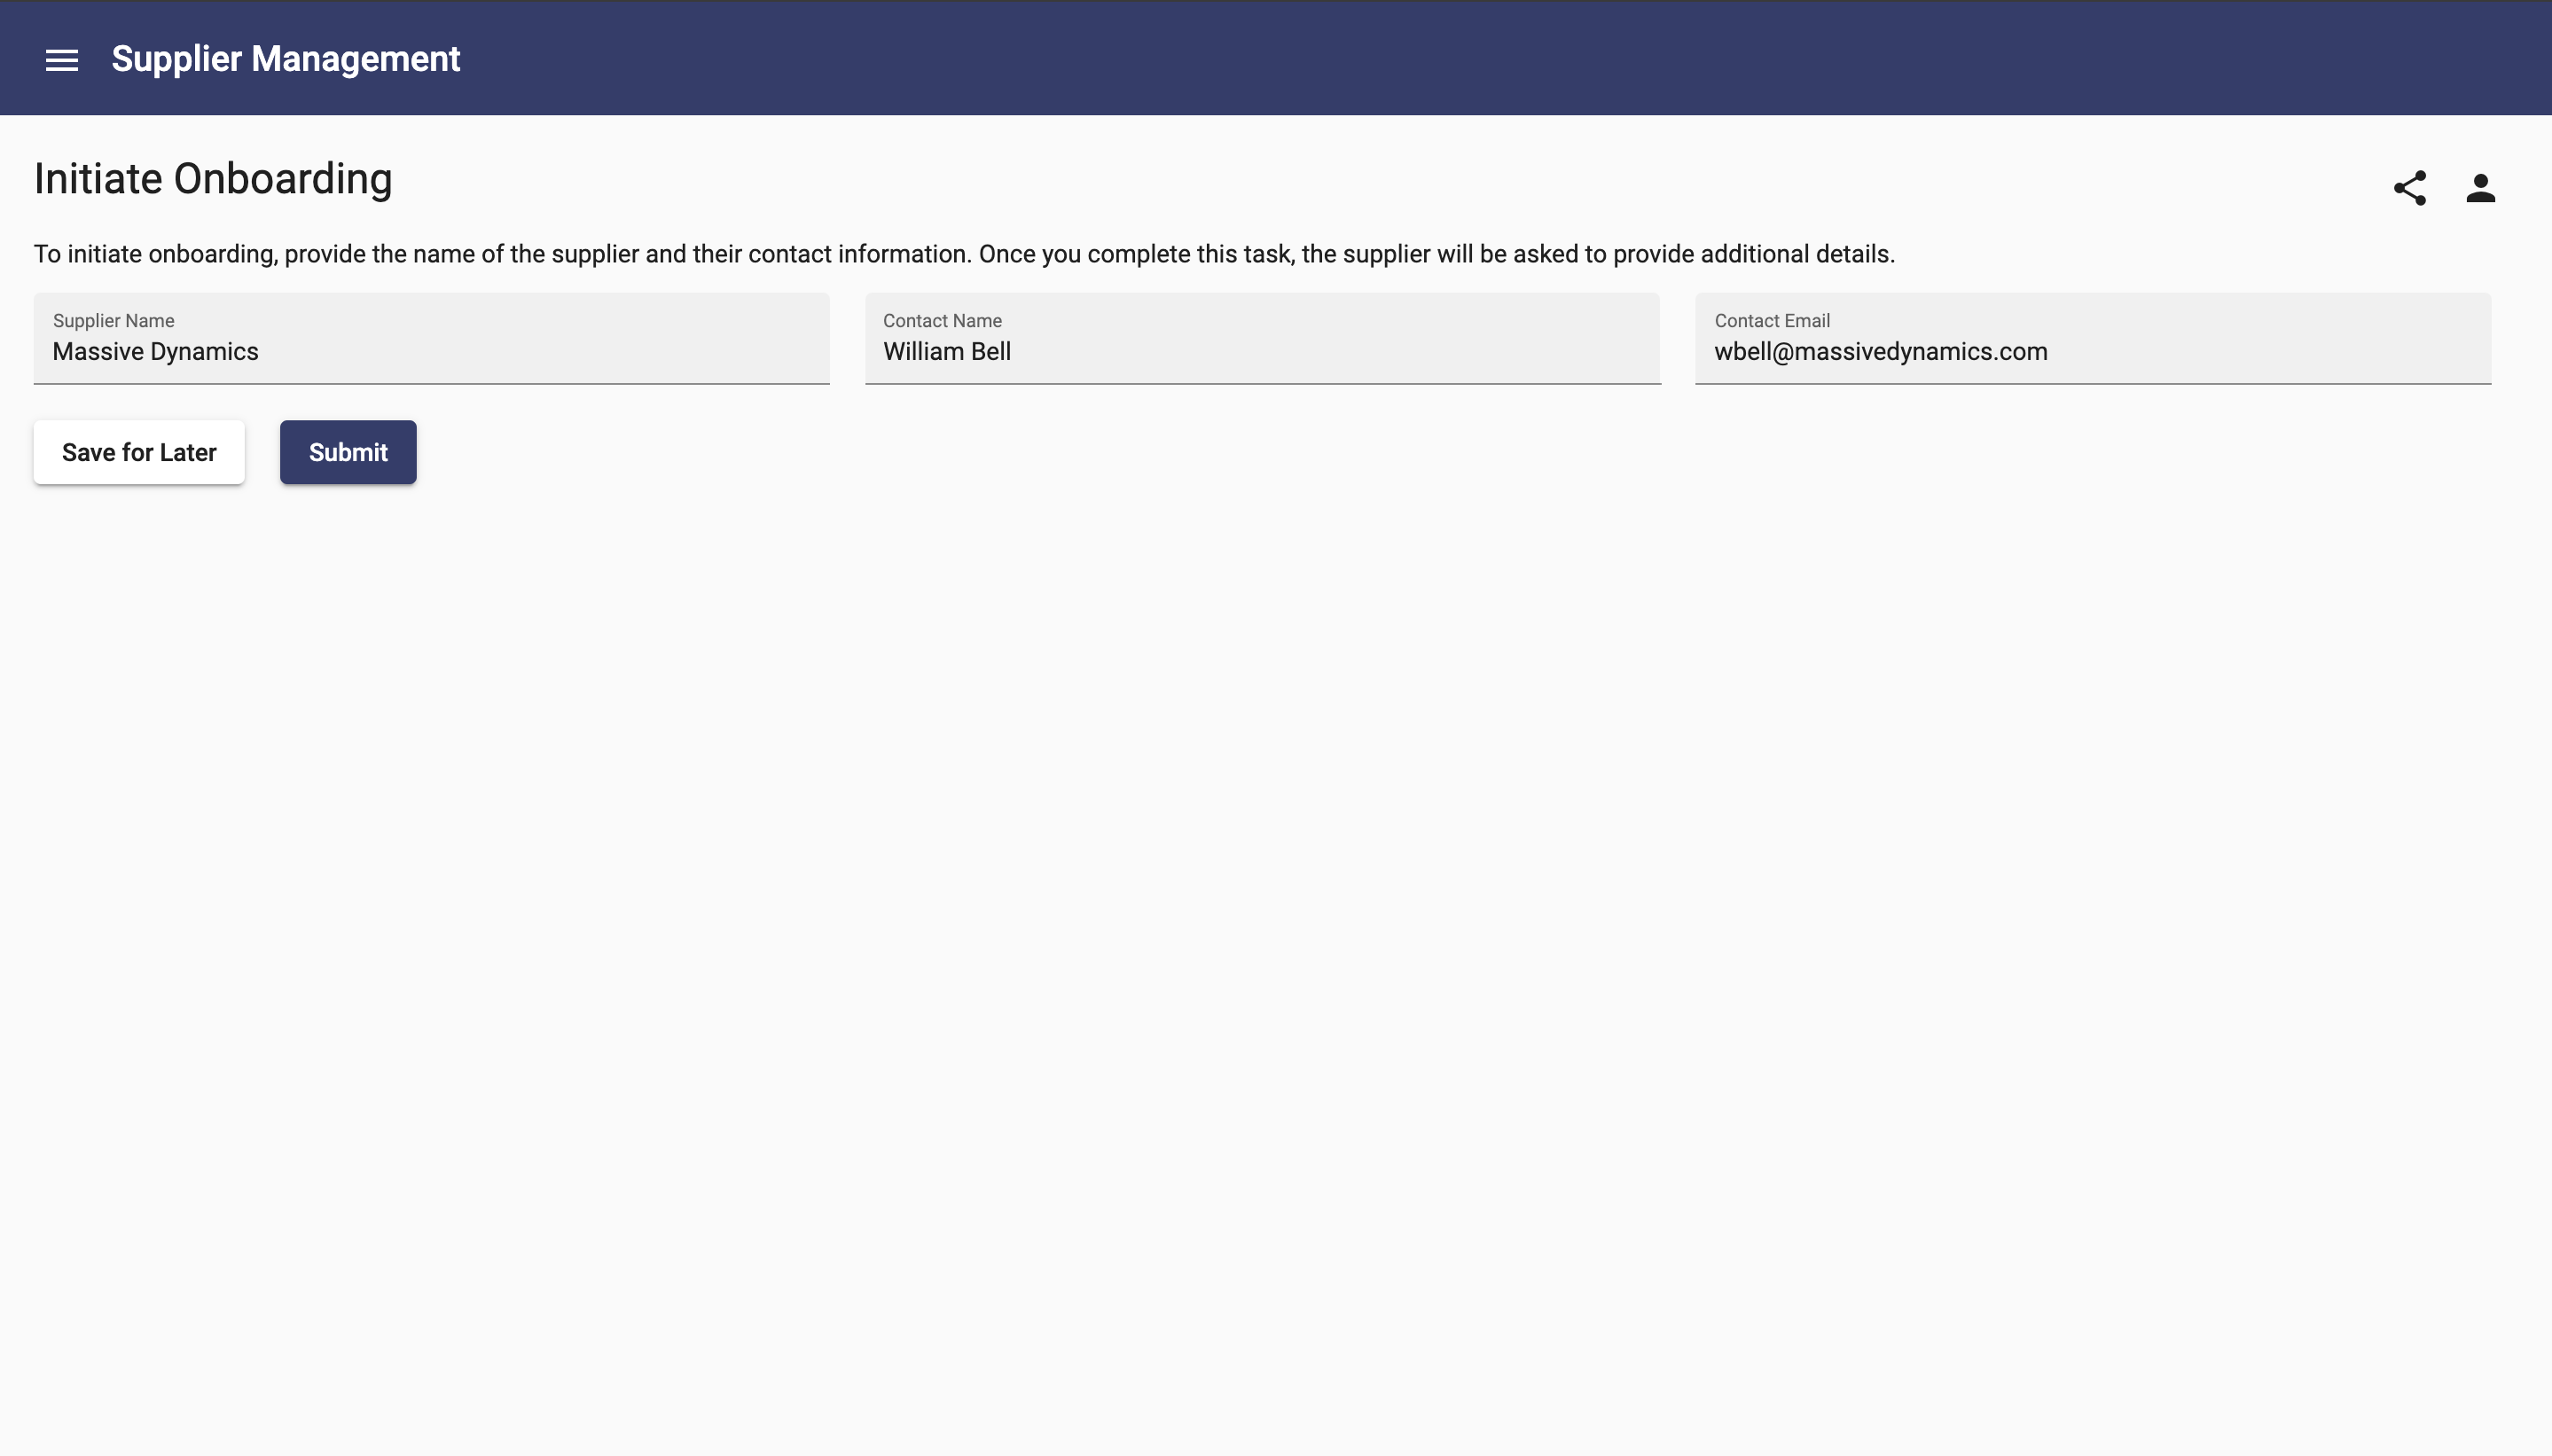
- Complete the task by pressing the Submit button.
- Still in the app, navigate back to the task list using the My Tasks button on the ribbon
- Select the Complete Application task to open it:

- Click on the Show Process Diagram button and notice that the highlighted box is now the second activity in the process.
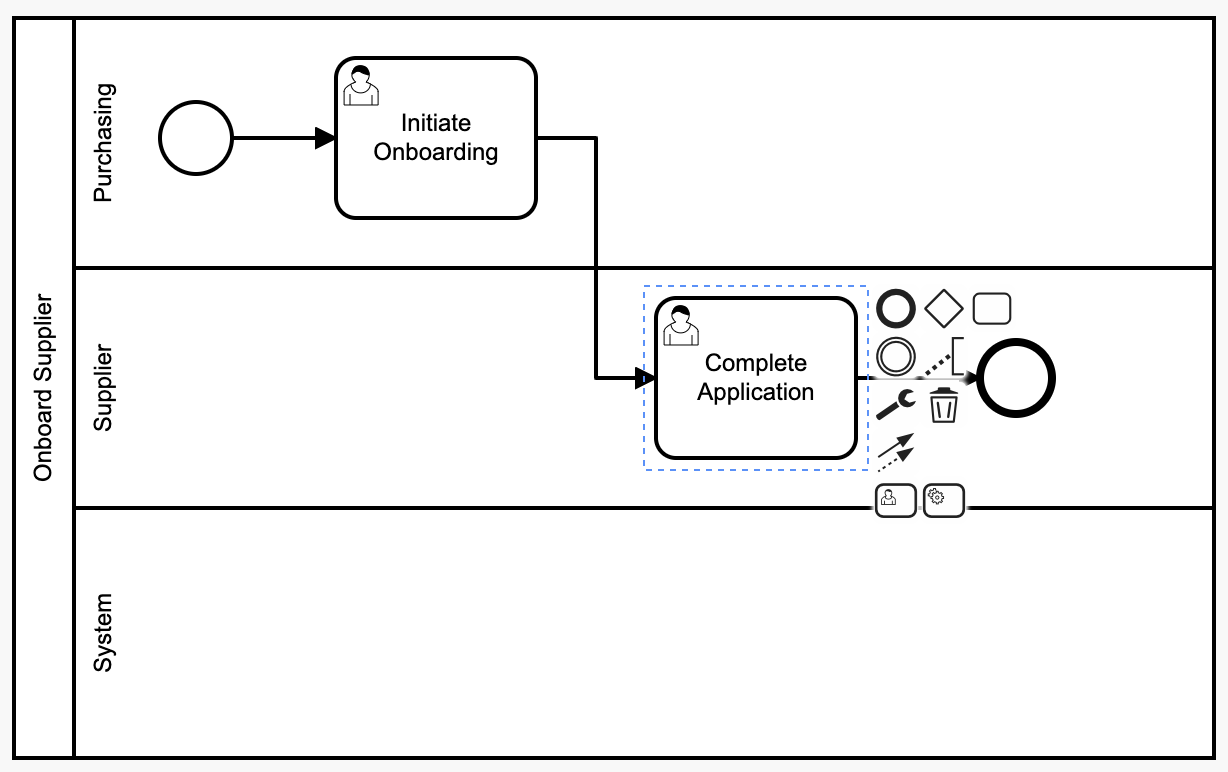
Detail the Complete Application Activity
- Back in Apex Designer, navigate to the Process page using the button in the ribbon.
- Open the Onboard Supplier process by selecting it.
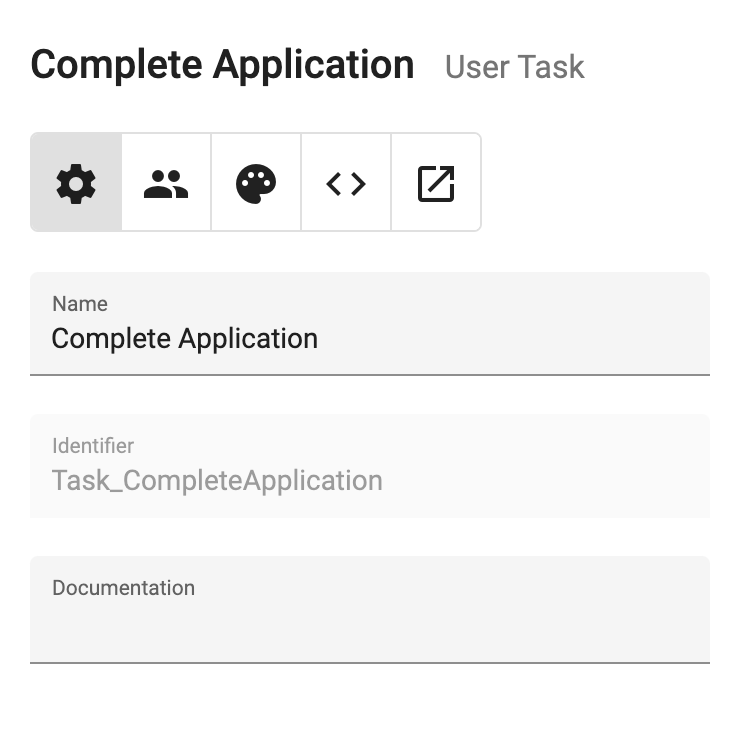
- Select the Complete Application activity:
- Open the user interface for this activity, by clicking the Open Task in Designer button
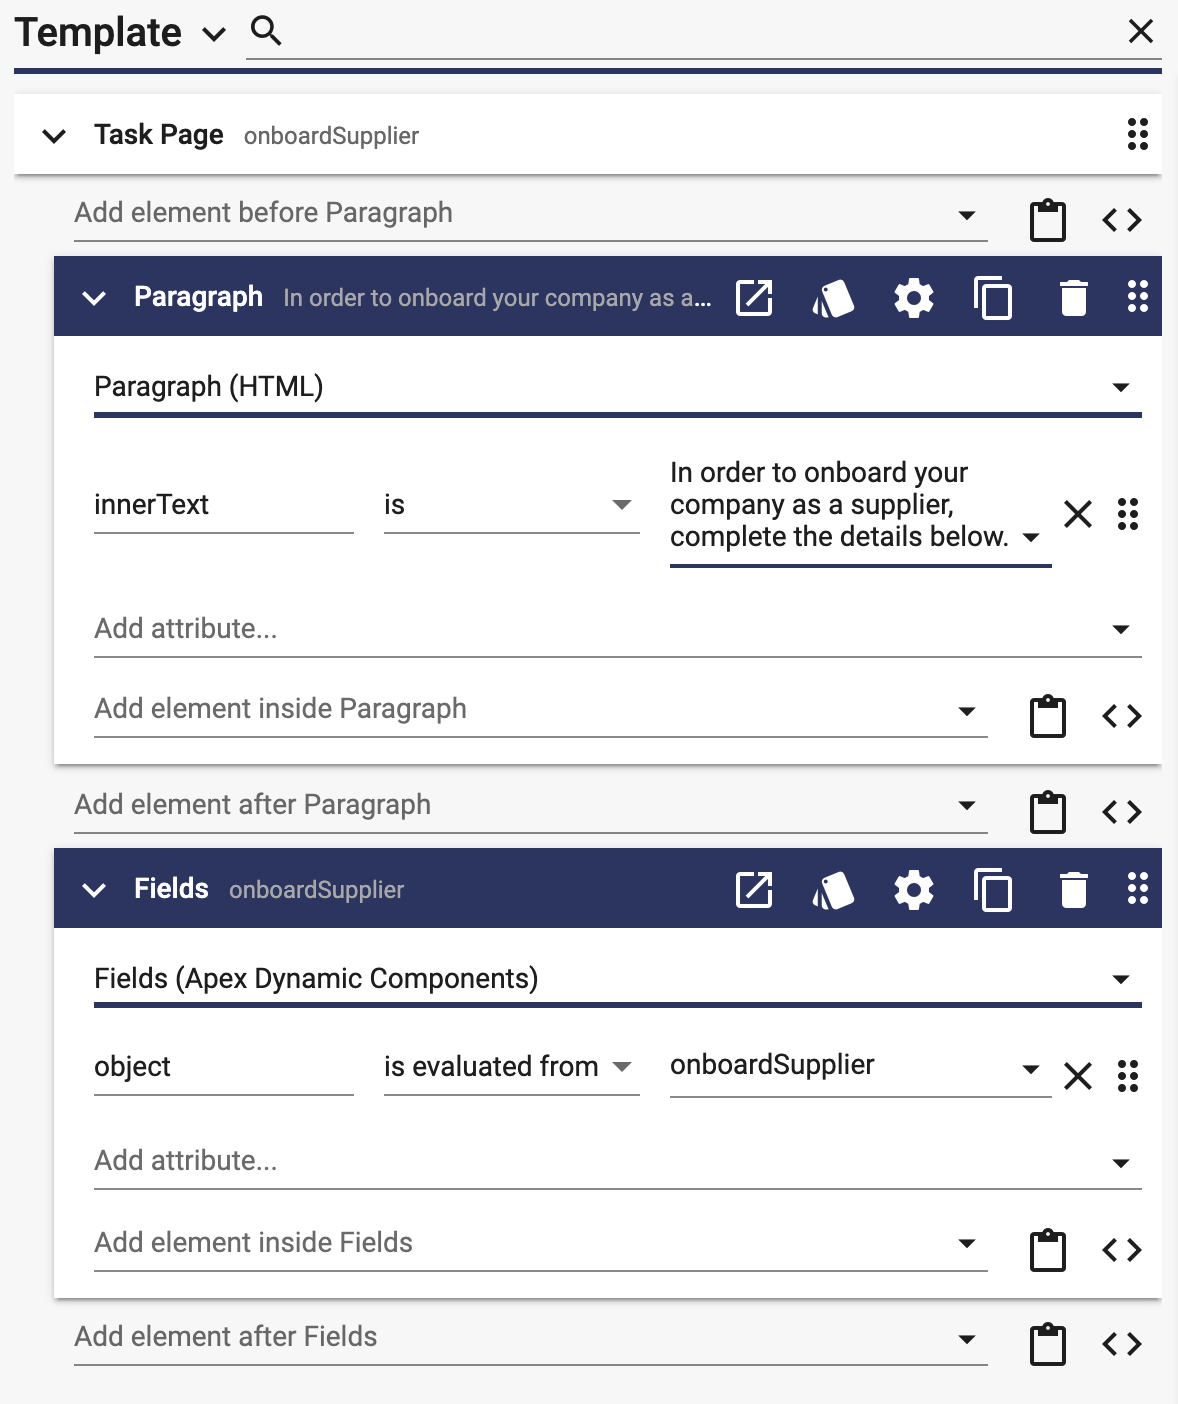
- Add a Paragraph with instructions for the user:
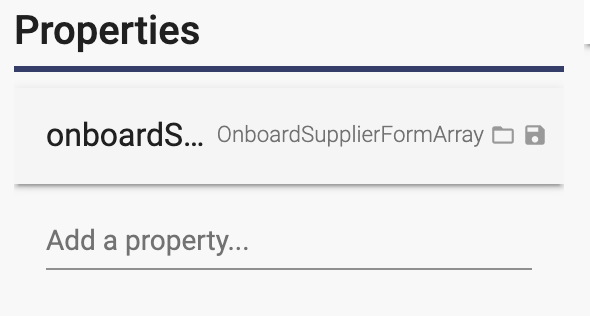
- Since the Contact Name and Email are not necessary on this page, you can remove them. First, select the onboardSupplier property on the left:
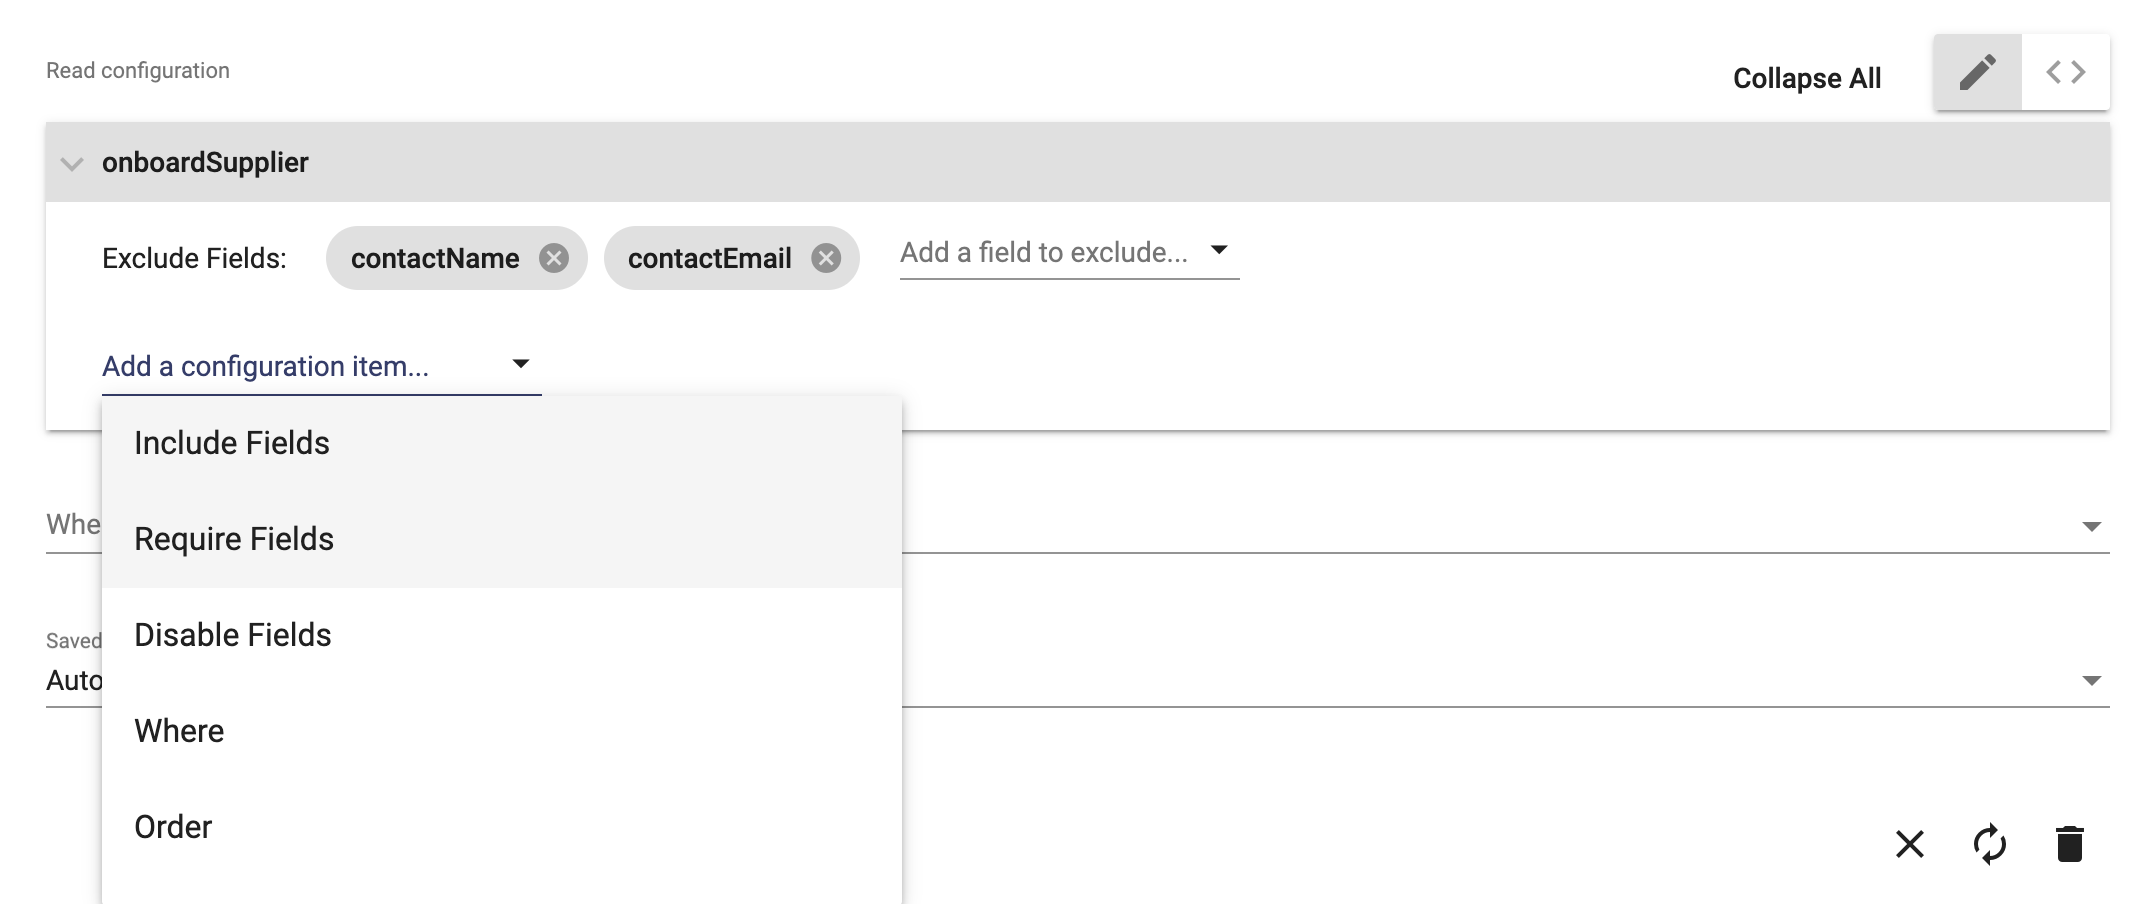
- In the read configuration, click Add a configuration item:
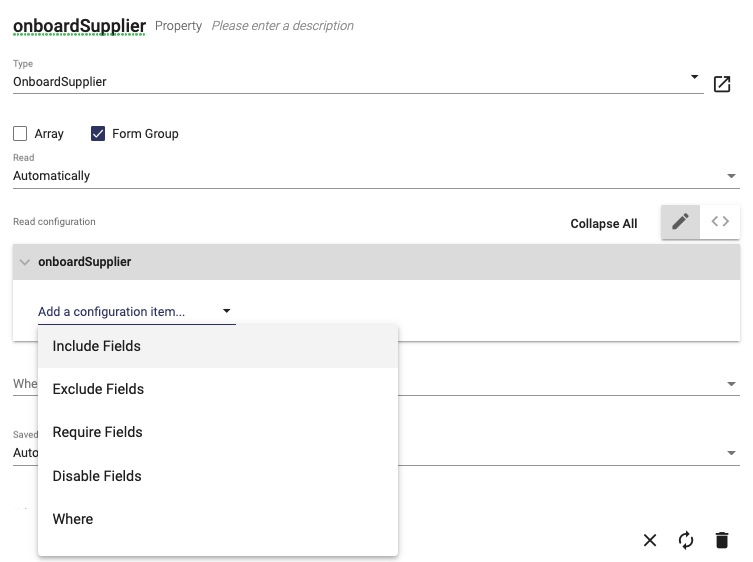
- Click on Exclude Fields.
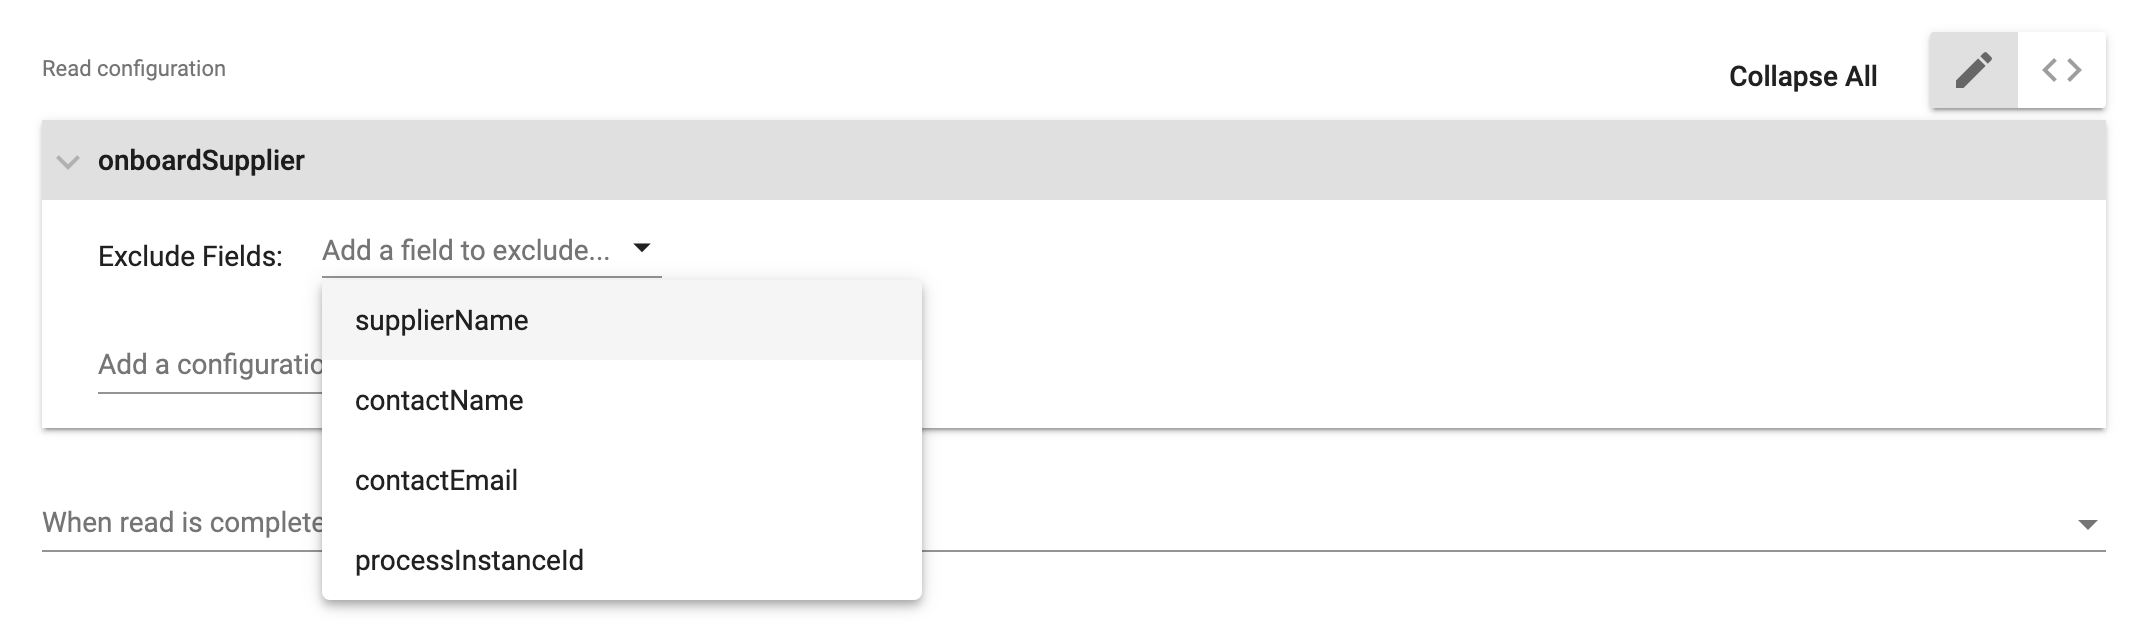
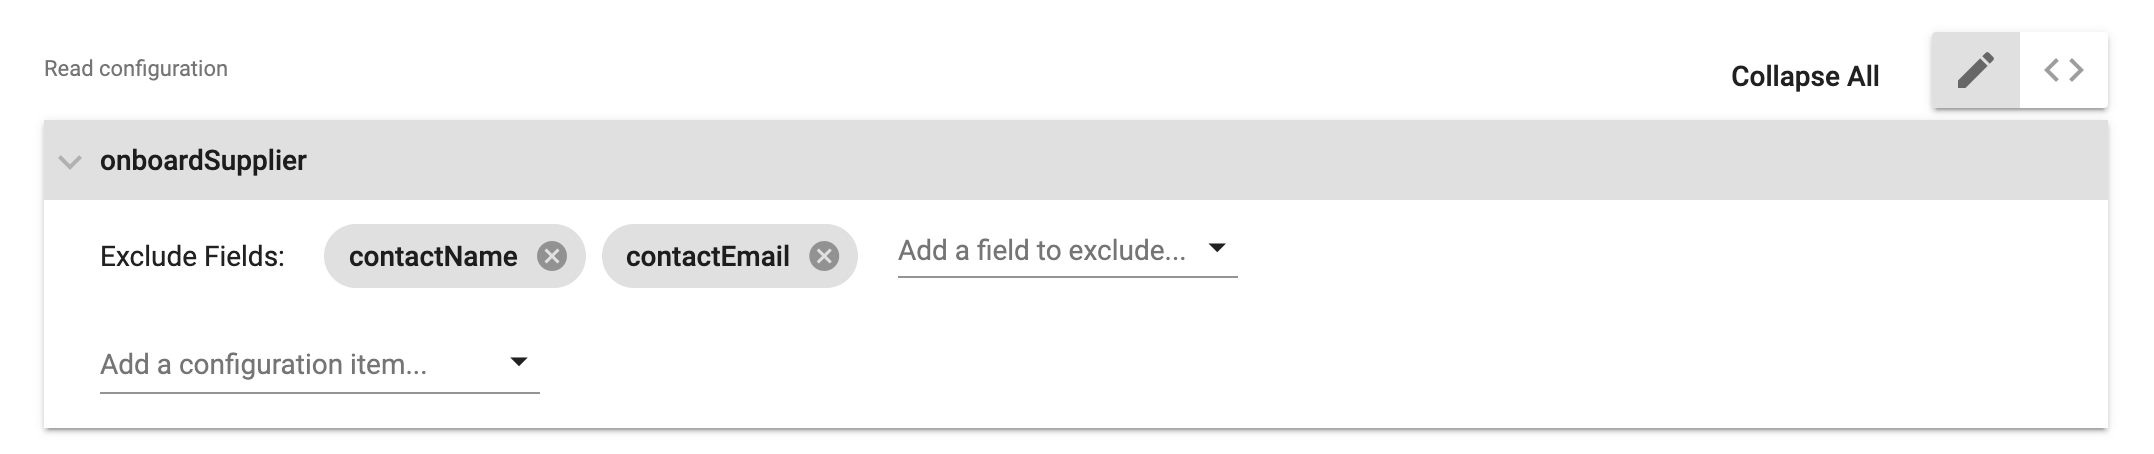
- Exclude contactName and contactEmail by selecting them from the Exclude Fields selection list:
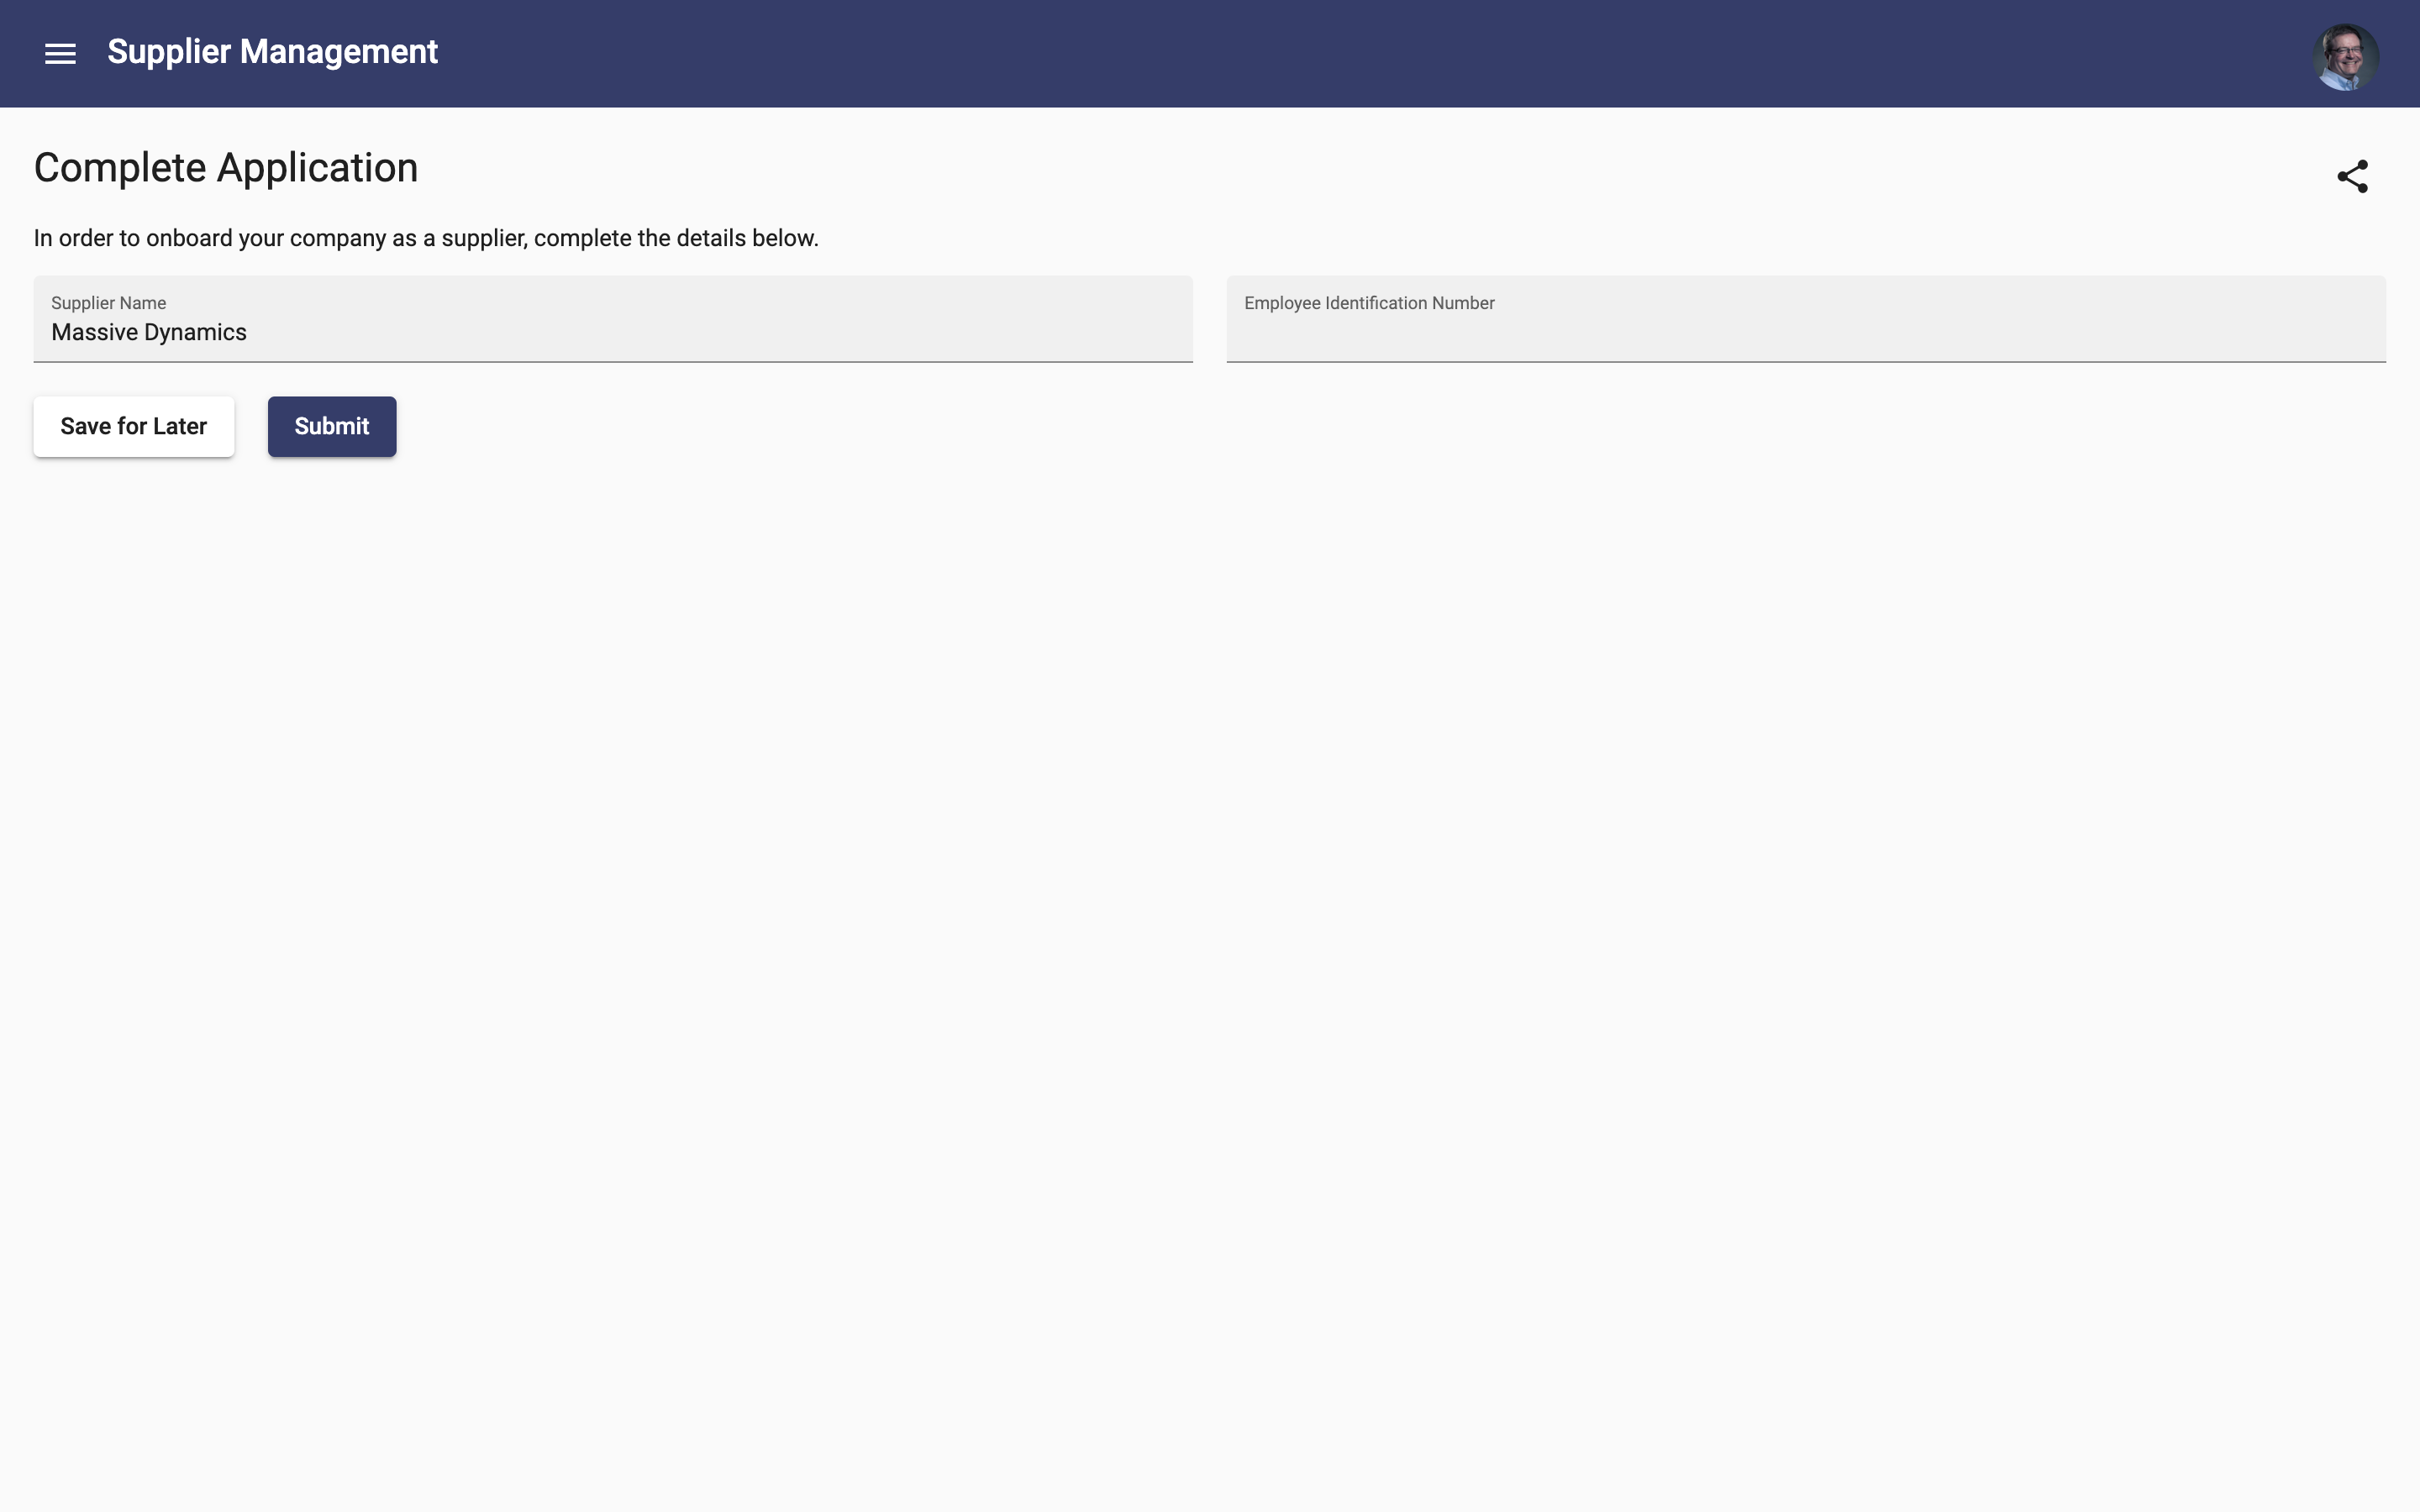
- Generate the user interface using the button on the dialog. Notice that the two fields for contact are no longer shown:
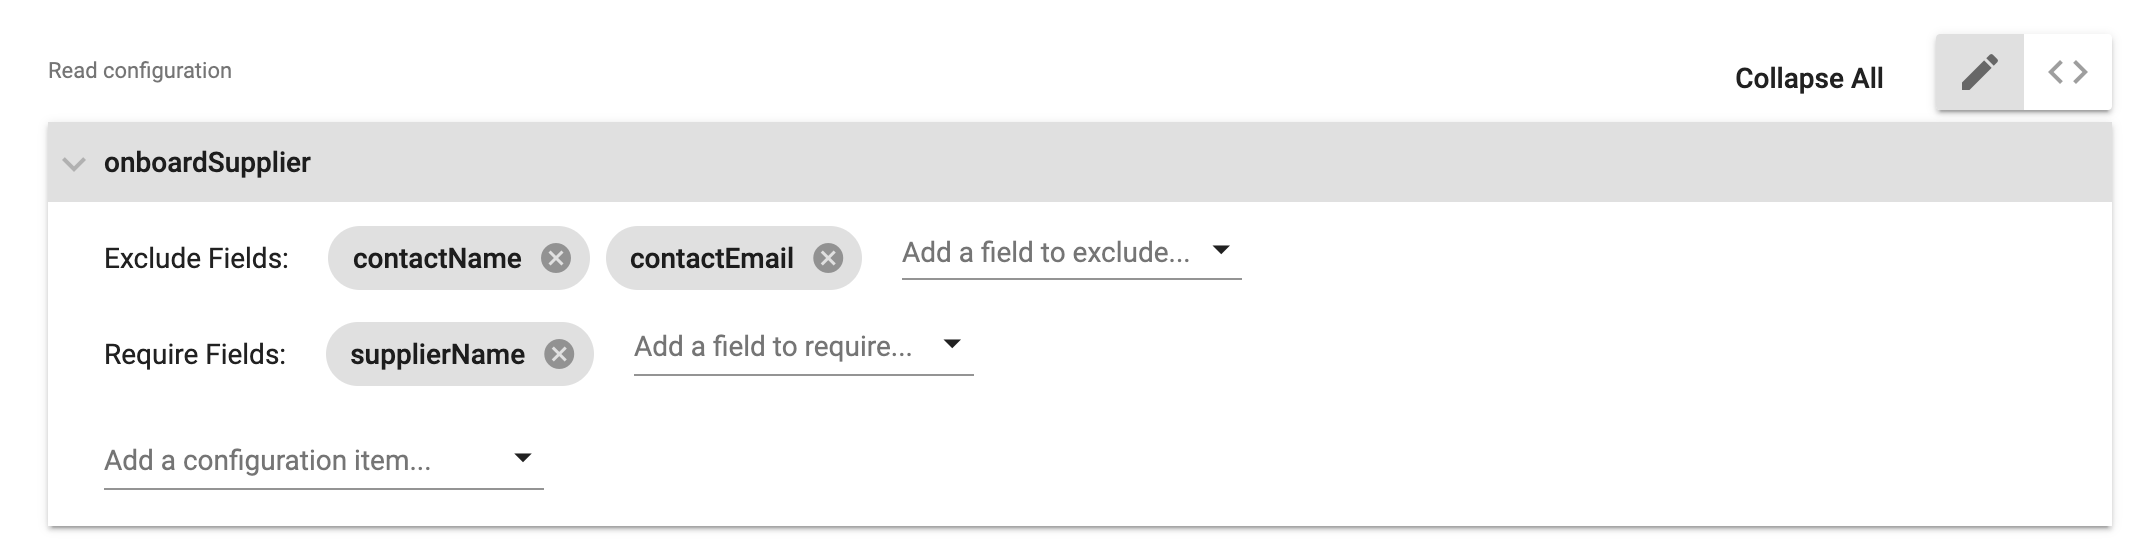
- The Supplier Name field remains, but it should be required. With the onboardSupplier property open, select Require Fields:
- Select supplierName as a required field:
- Generate the UI and verify that the field is now required:

- Do not submit the task yet, you will use it in the next lesson.
In this lesson you detailed the Initiate Onboarding and Complete Application activities, both as tasks assigned to users. You also created the My Tasks page to view and select tasks to work on. In the next lesson, you will add a system activity to complete the onboarding process.