

The next 3 lessons will focus on including process in the Supplier Management app that you created in the previous lessons. In this lesson, you will create a process and add activities to it. You will then add a start button from the suppliers page and run the process.
Create the Process
- Click Processes on the ribbon
Notice that Camunda Library is needed to include process functionality, so a message is shown suggesting to install it. - Add the Camunda Library to your project by clicking Install the Camunda 7 Library:

- Create the process by clicking the Add a Process button
 or the Add a Process card:
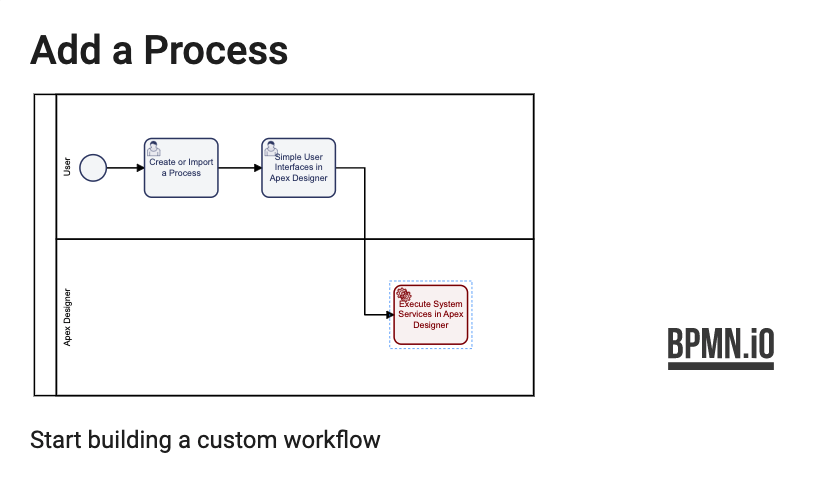
- Name your process. The best practice is to use the naming convention of a verb followed by a noun:
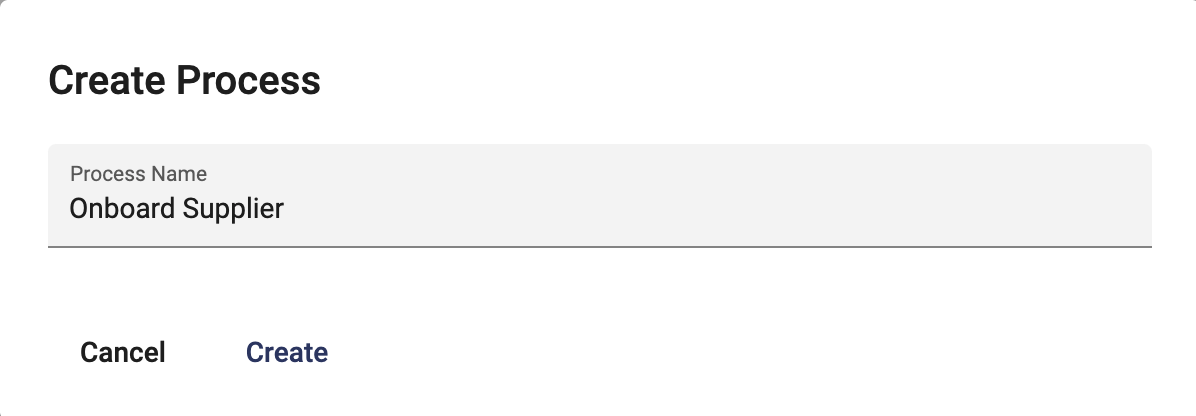
- Click Create to add the process.
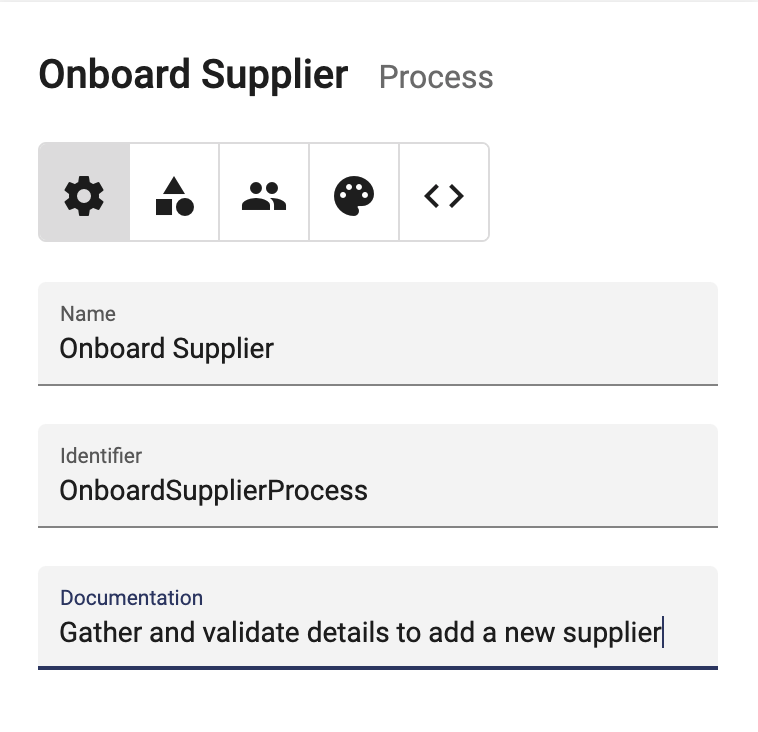
- Add a description in the Documentation field:
Add and Name Swim Lanes
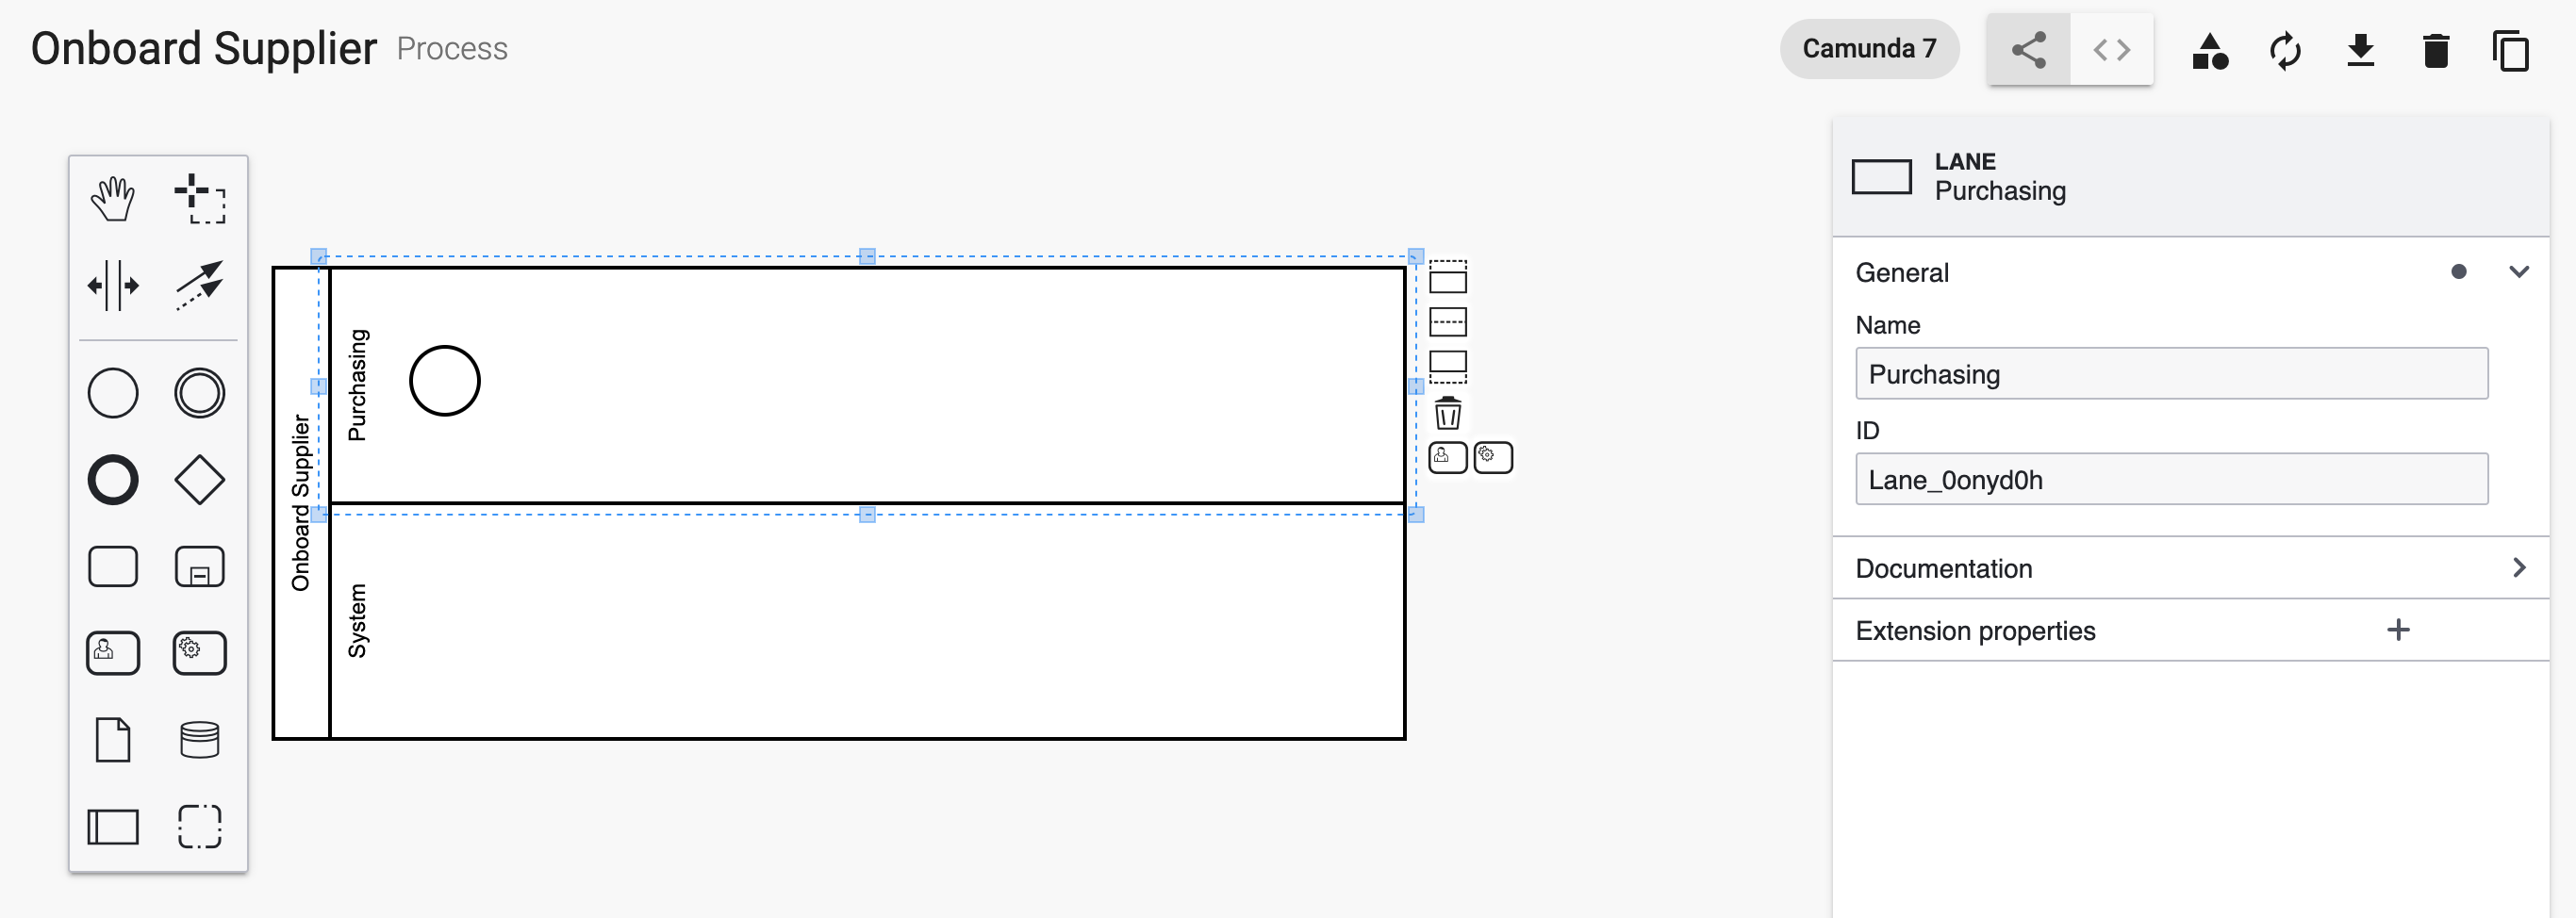
- The first swim lane is added with a default name of Participant. Select the swim lane and expand the General section. Rename it by clicking on the lane and typing "Purchasing" in the Name field on the right:
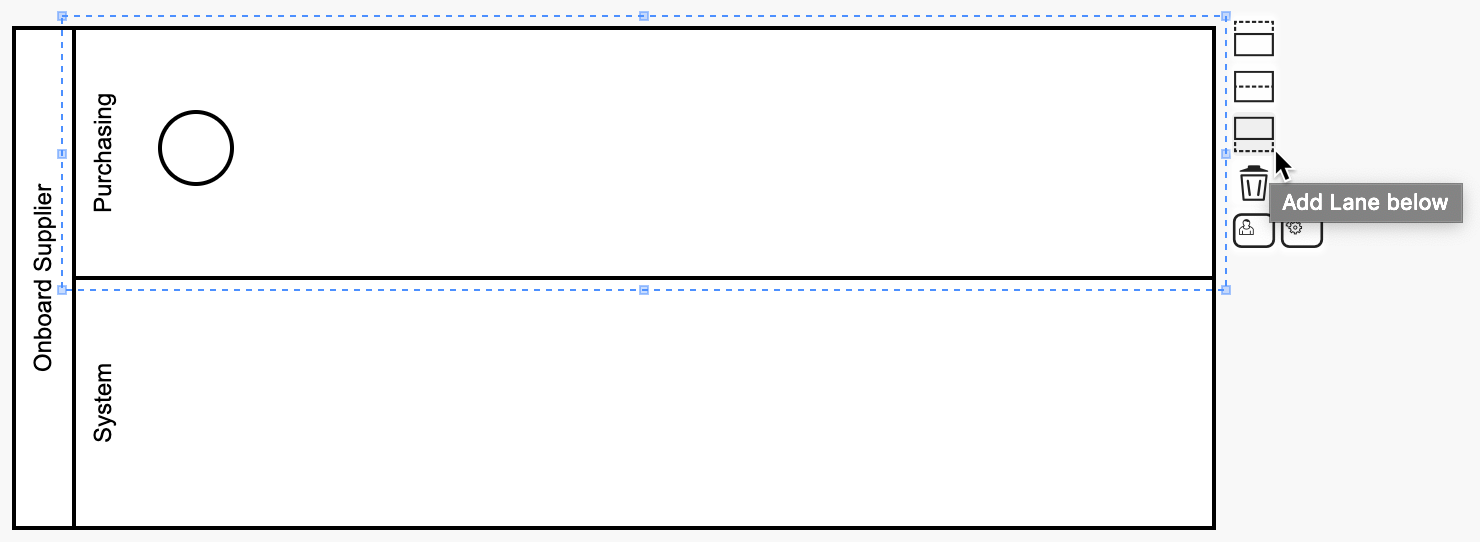
- With the swim lane selected, add a new swim lane by clicking the Add Lane Below button:
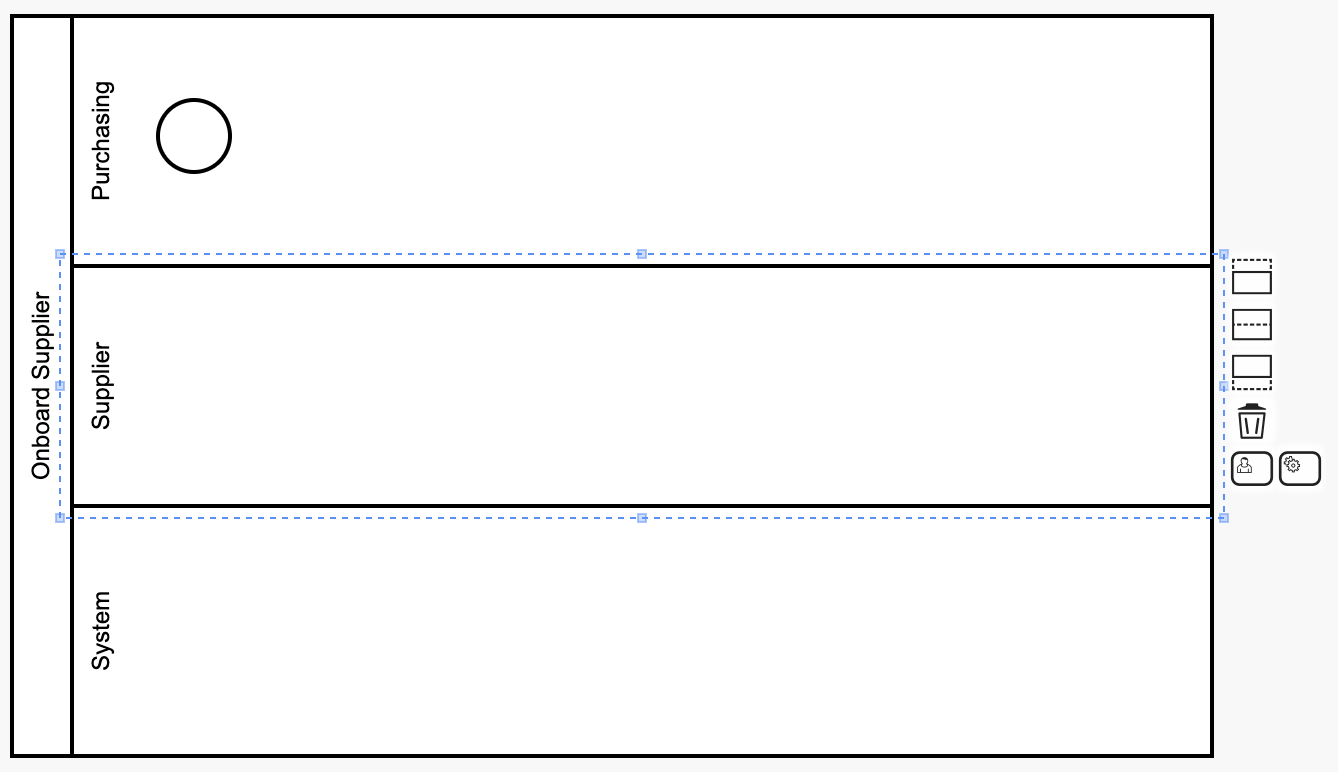
- Select the new lane and add the name as "Supplier":
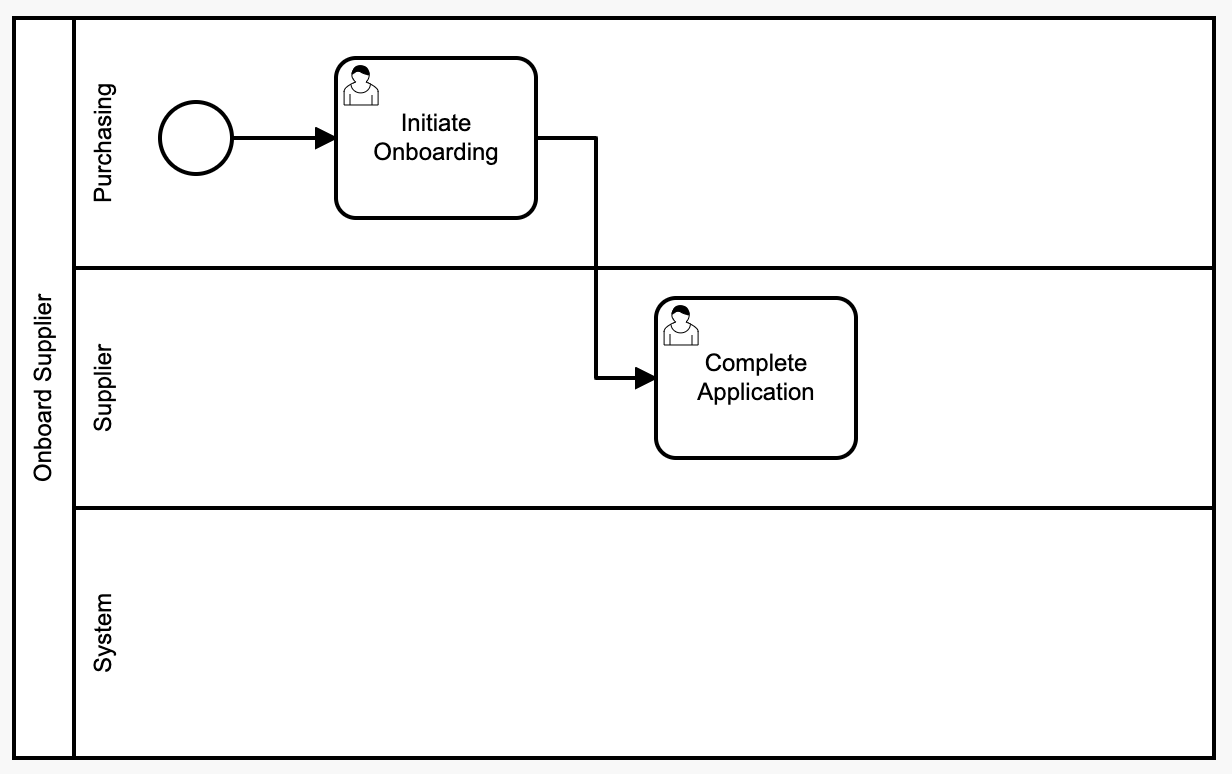
Add Activities
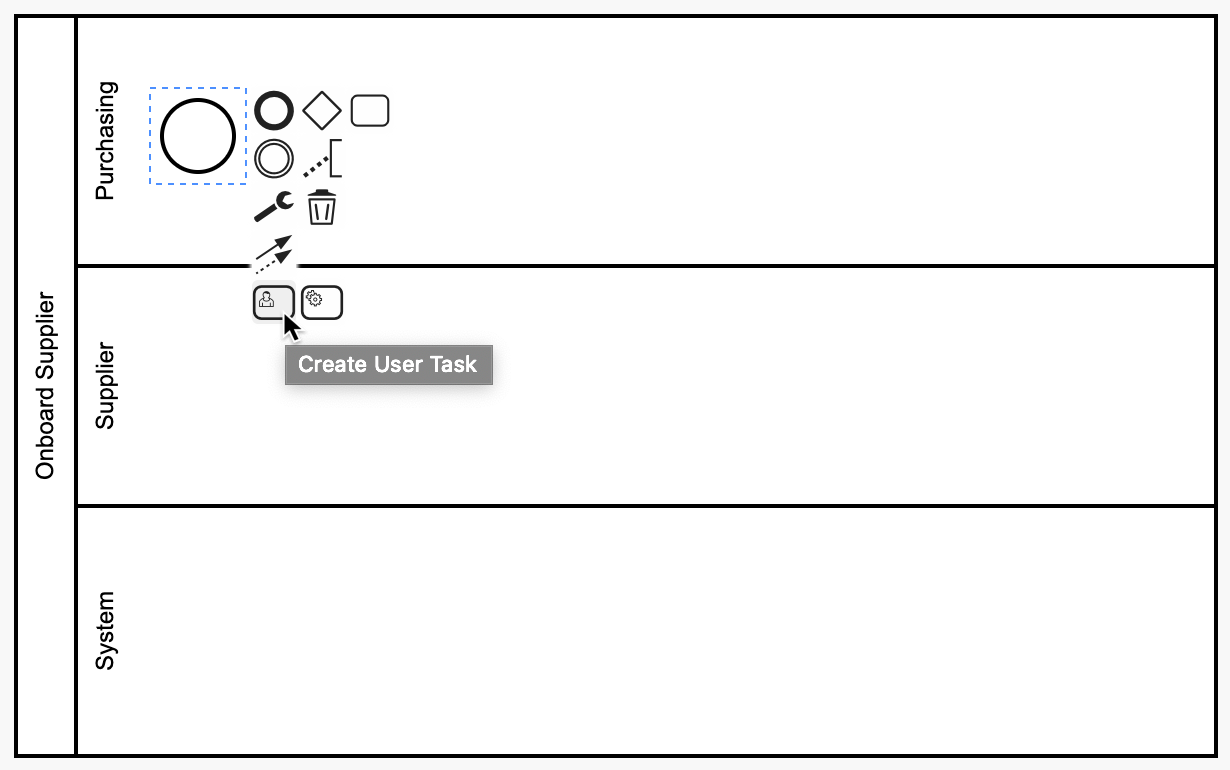
- Add an activity to your process by clicking on the start event (the circle in the Purchasing swim lane) and selecting the Create User Task icon:
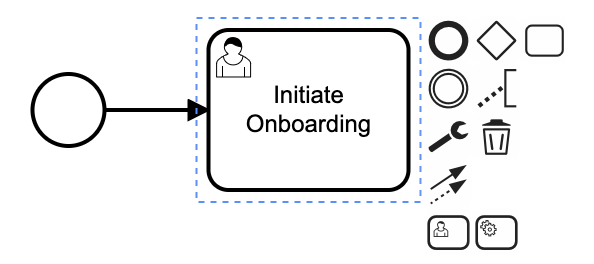
- The naming convention for activities is also a verb followed by a noun. Type a name for the activity as Initiate Onboarding:
- Create another activity. With the Initiate Onboarding activity selected, click the Create User Task icon.
- With the activity selected, name this activity Complete Application by typing the name and pressing enter.
- We would like this activity to be performed by the Supplier. Drag the activity straight down into the Supplier swim lane:
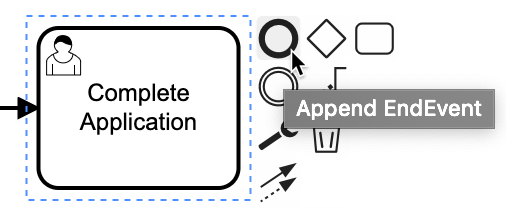
- After this activity, you can now end the process by adding an end event. Select the Complete Application activity and select the Append End Event icon:
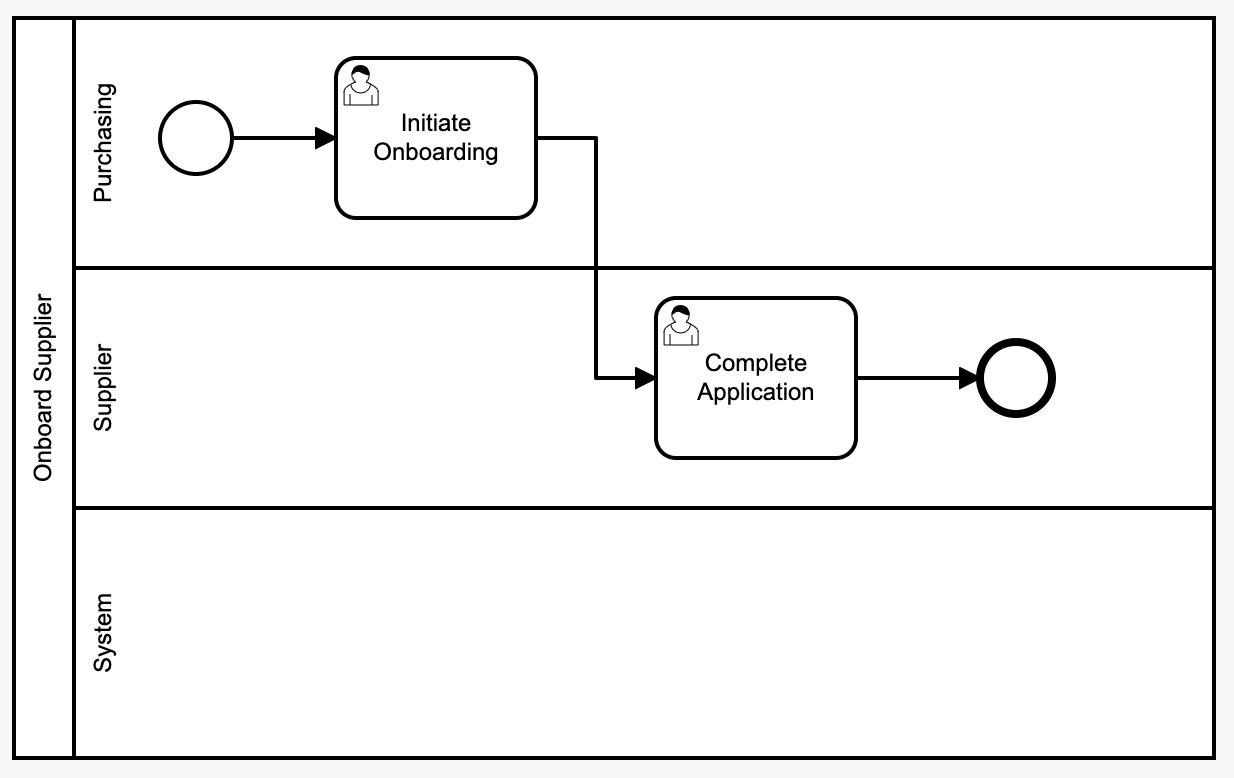
- Your process should now look like this:
With the process defined, it is now possible to run through that process. Before we do that, we need a way to start it.
Add a Start Process Button
- Navigate to the User Interfaces page using the button on the left ribbon and select the Suppliers Page.
- Delete the Add Button by clicking Delete .
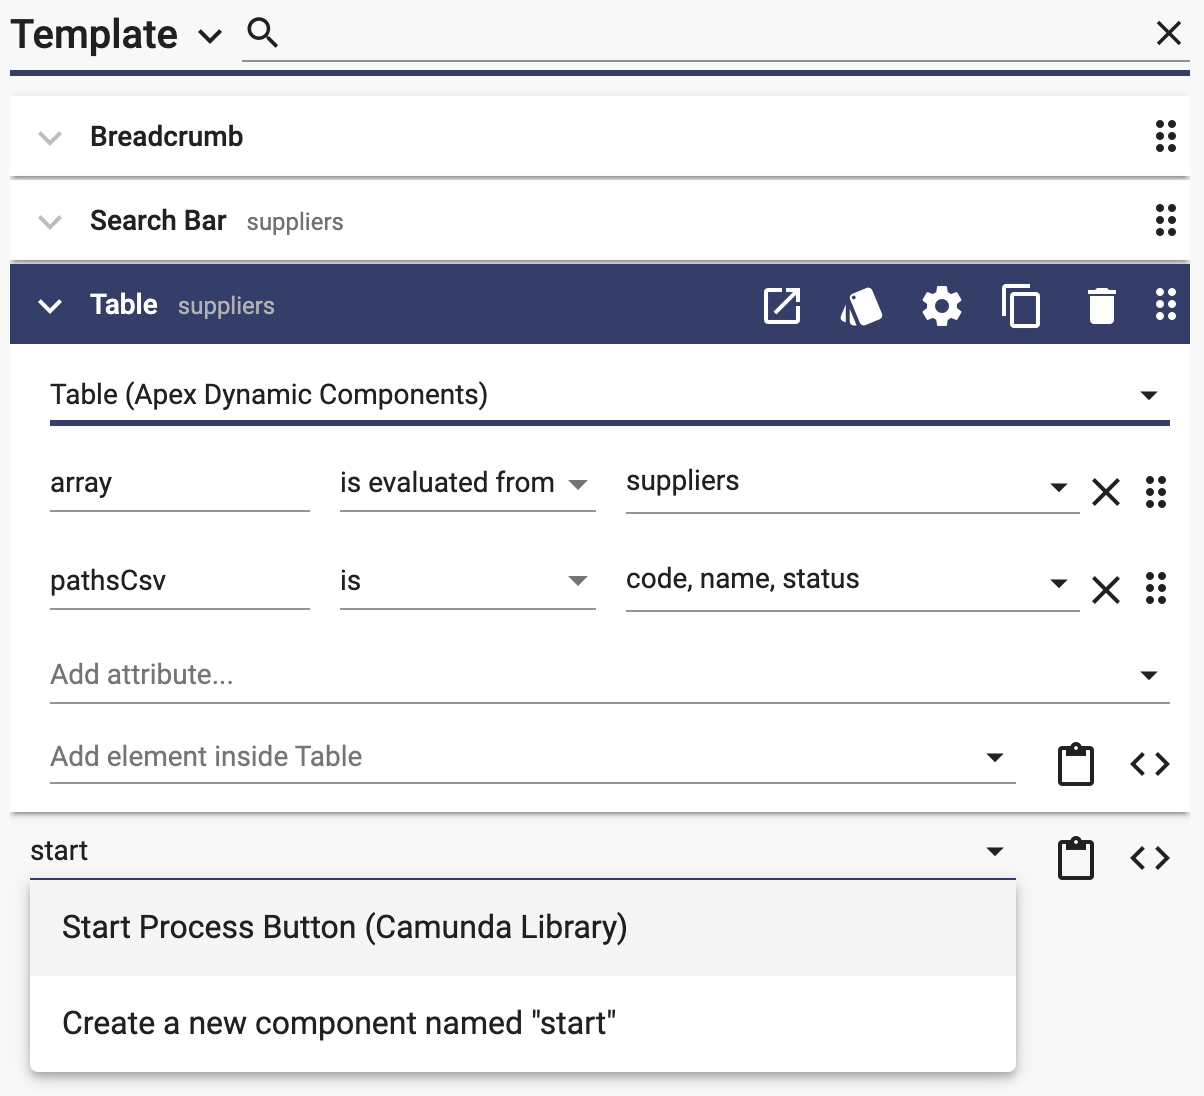
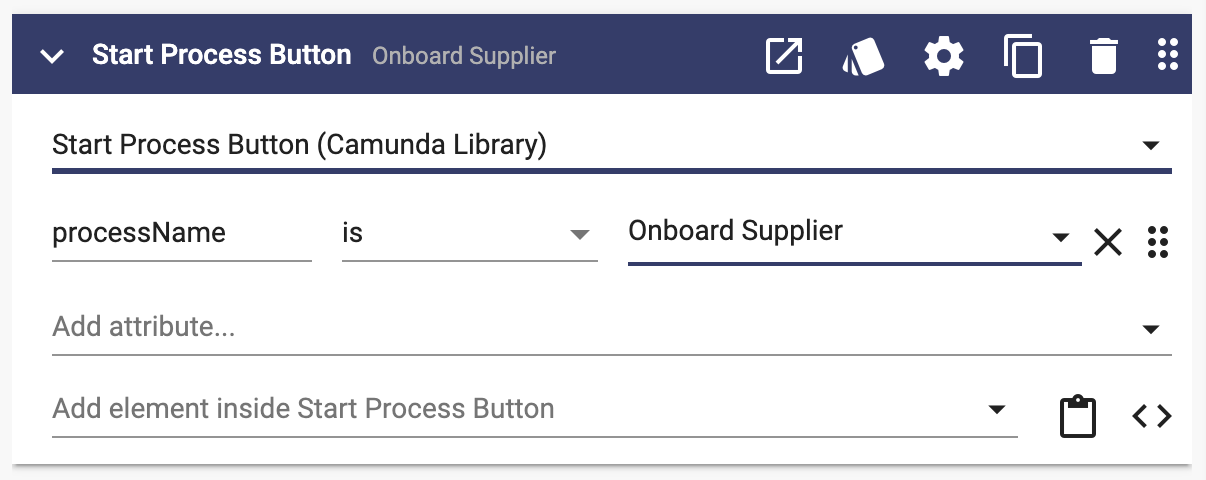
- In its place, add the Start Process Button. Do this by expanding the Table component, typing "start" in the "Add element after Table" field, and selecting Start Process Button:
- Add the process name:
Generate and Run
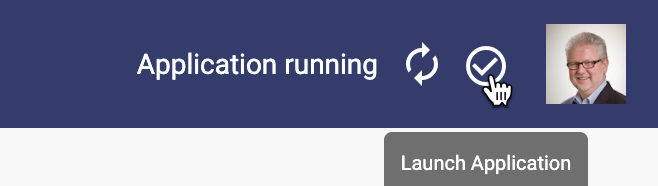
- Generate the app:

- If you have not already, launch the app:
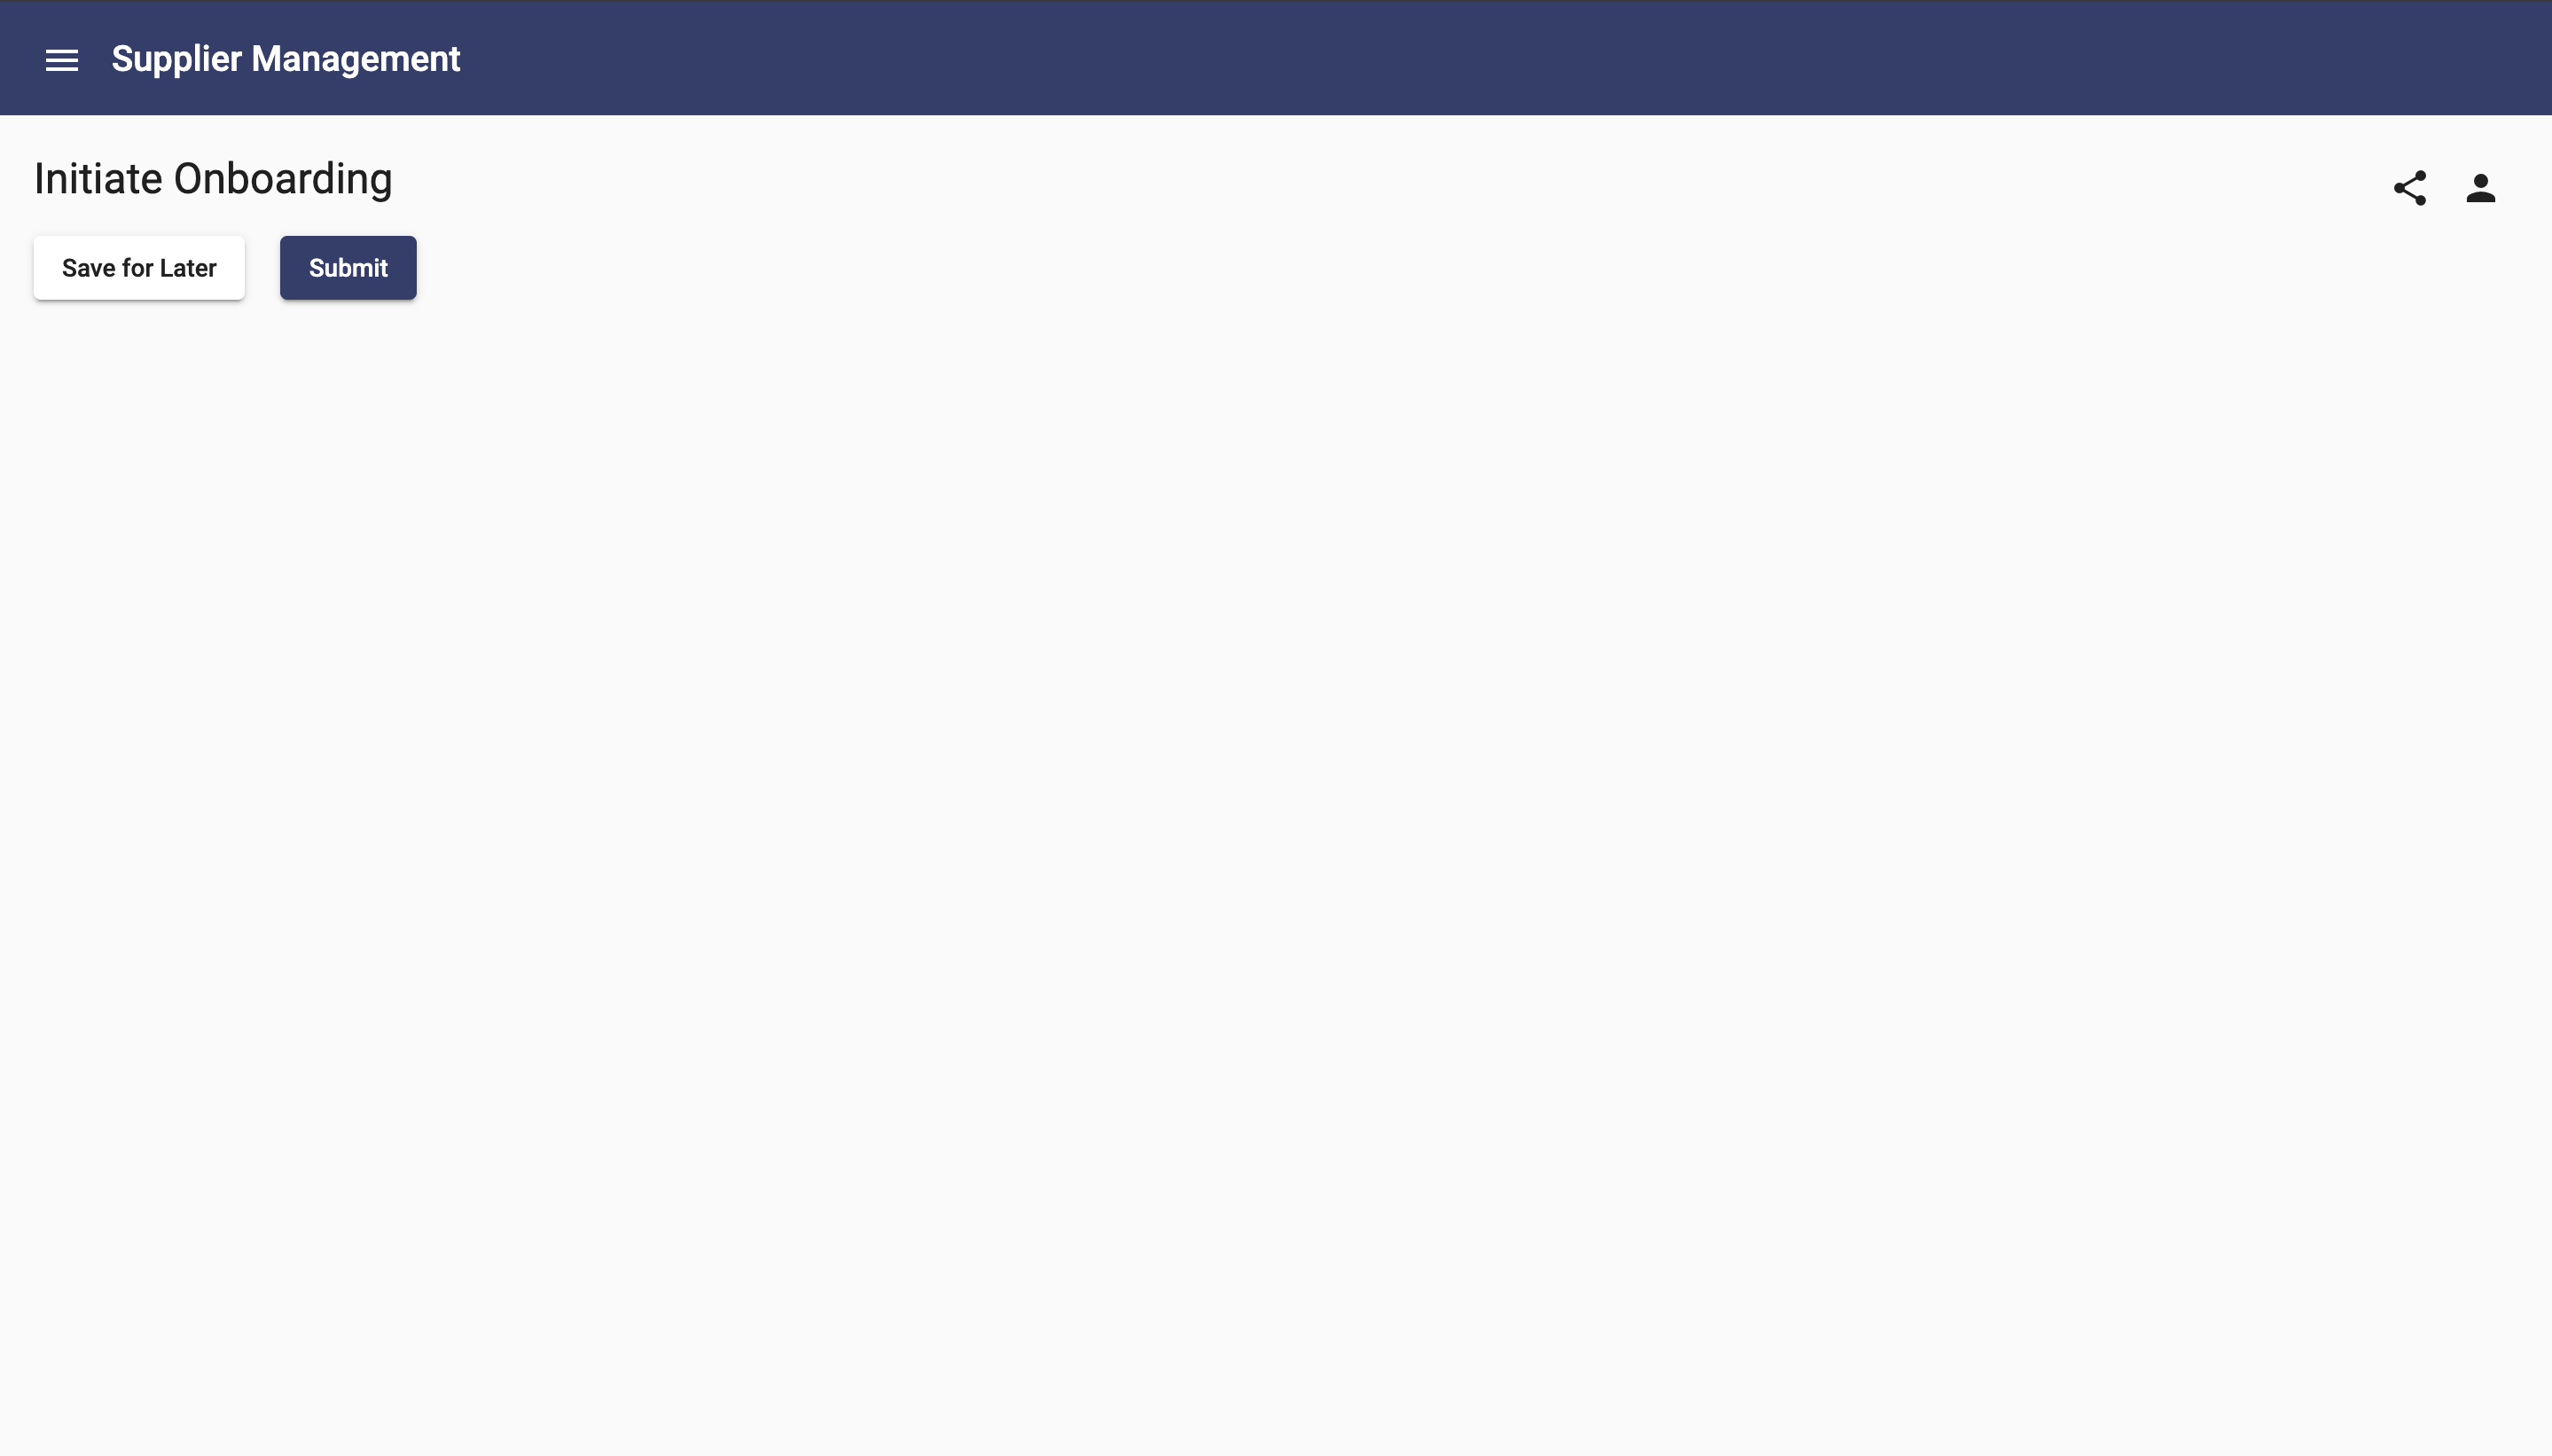
- From the Suppliers page, use the Onboard Supplier button to start the process.
- Congratulations! You have started your first process!
- As the process begins, you should see the page for the first task:
- Click the Show Process Diagram
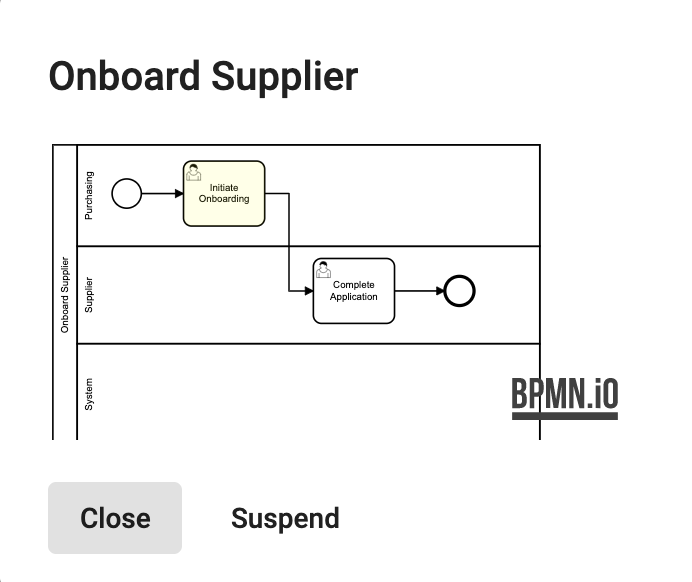
- Close the diagram with the Close button.
- Do not complete the task, leave it open for the next lesson.
Summary
You created your first Process and added swim lanes and activities. You added a start button on the Suppliers page to initiate the process. Then, you ran the process and saw the user interface for the first activity. In the next lesson, you will add details to the user interfaces. Click the Next Topic link below to continue.